
Can you believe today is the last edition of Frugal Gift Friday? That’s right! Today is the last Friday before Christmas, and you now have less than a week to get ready. Don’t worry, today’s thrifty gift idea is super quick, and you can whip up a bunch of these in a short amount of time. I’m going to show you how simple it is to make a repurposed pin cushion picture frame.
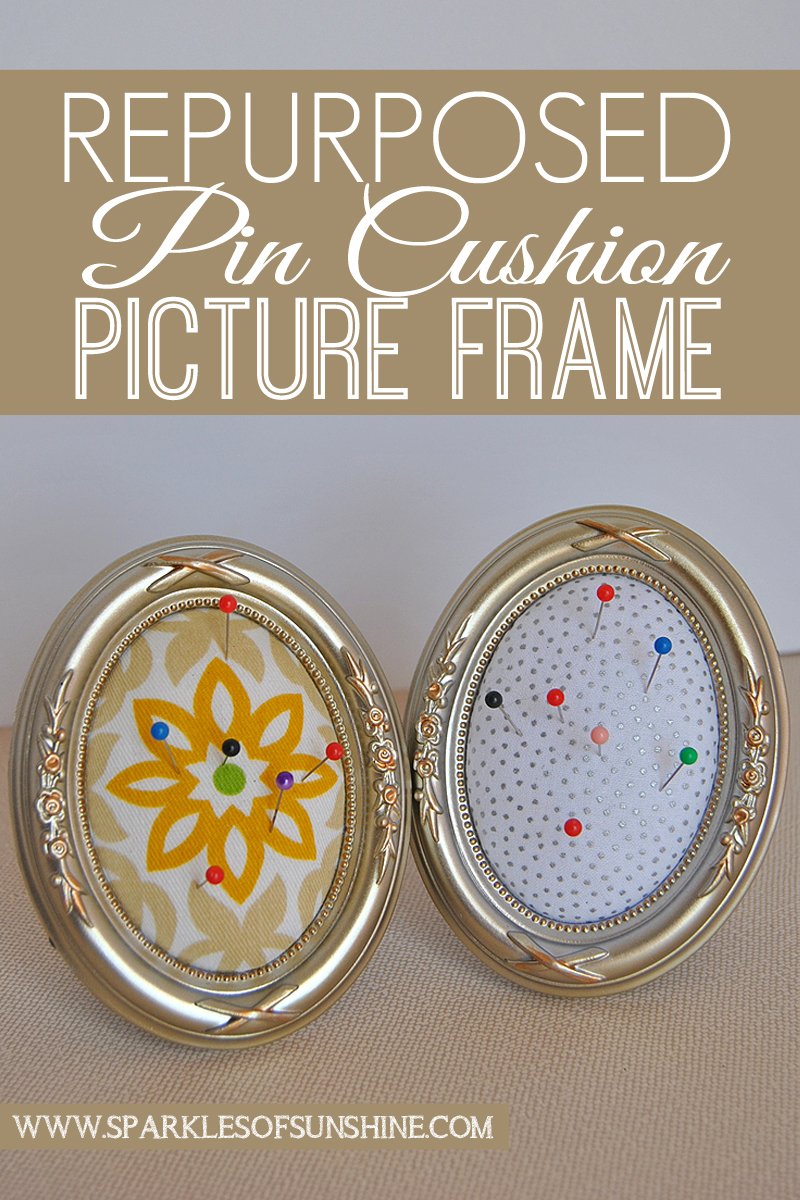
Today’s project is a really quick one, which is why I’ve saved it for last. Christmas may only be a week away, but you’ve still got plenty of time to make this one. This repurposed pin cushion picture frame is a wonderful gift because nobody wants to lose stick pins, right? This handy pin cushion can easily follow you anywhere you work, with no more worries about stick pins rolling onto the floor. I’ve seen this project done several different ways, but I’m going to show you the way that worked for me. Put down the hot glue gun, because you’re not going to need it after all.
You will need the following for this project:
- small picture frame
- fabric scraps
- quilt batting
- scissors
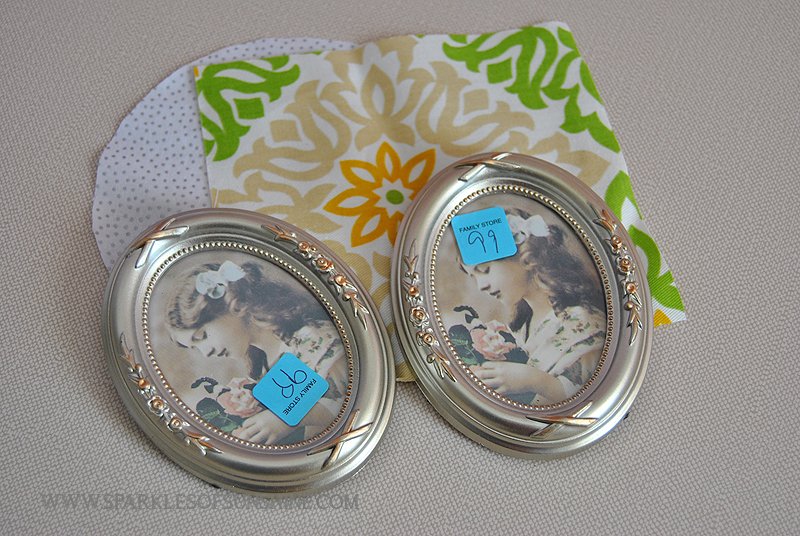
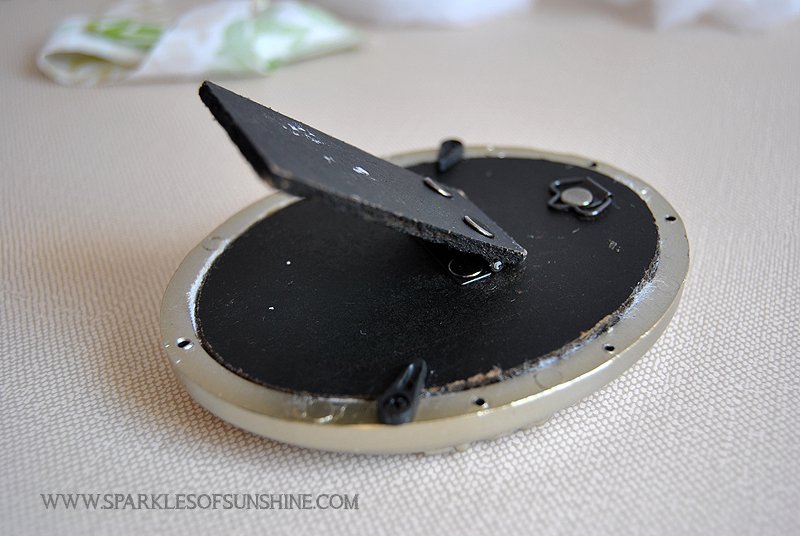
I was so fortunate to find these beautiful small picture frames at my local Salvation Army Thrift Store. They were already a steal, but I timed it right and showed up on a day when they were 50% off. Yay! You will need to remove the glass and anything else that’s in your picture frame because you will only be using the outside frame and backing for this project.
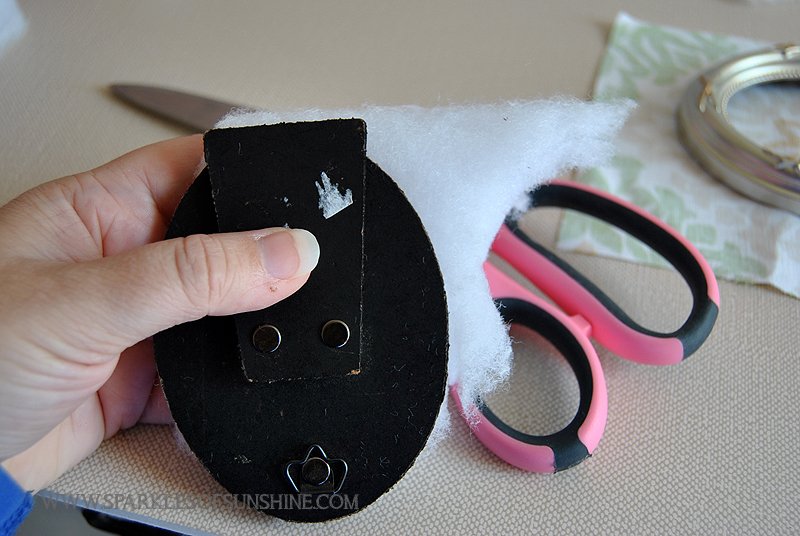
Using the back of the picture frame as a template cut out several layers of quilt batting.
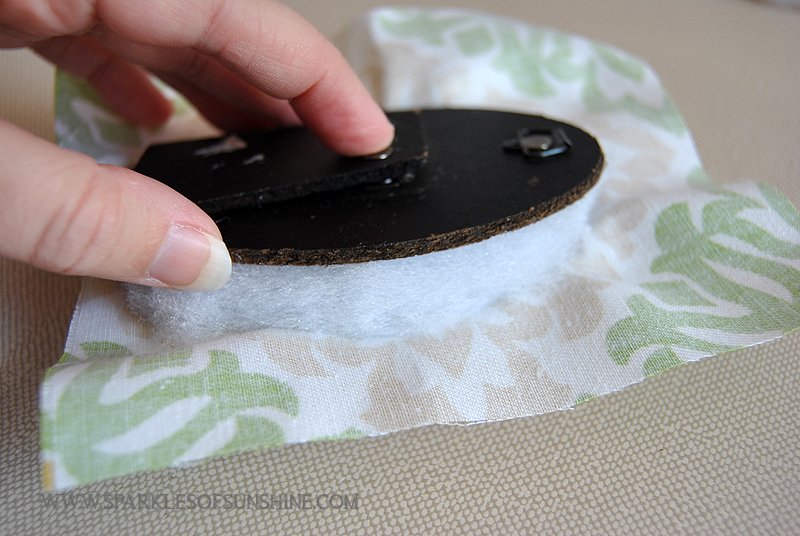
Place the picture frame face down, then layer the fabric, batting and back on top.
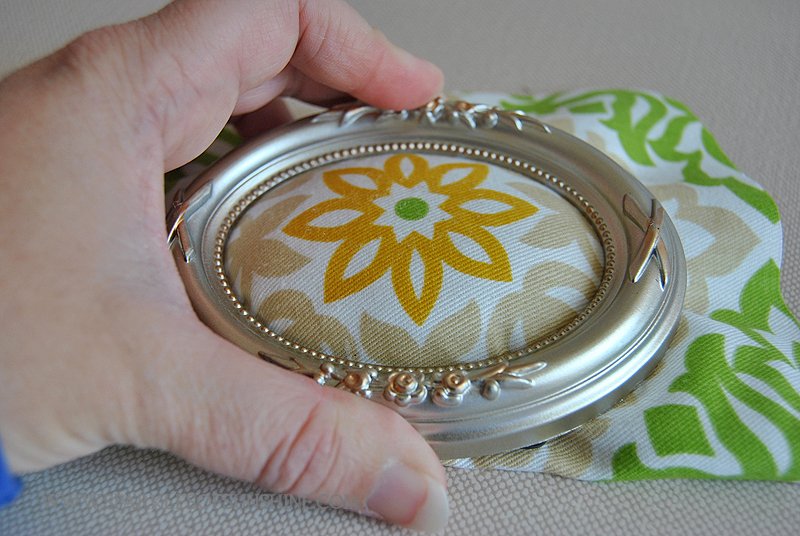
Press the back of the picture frame down and turn over to make sure you have the desired look you want. You can add more/less batting according to your taste. Now let’s trim the fabric for an easy fit. Turn it back over and use a pen to trace a line onto the fabric around the backing of the frame. Take the layers apart and use a pair of scissors to trim the fabric following the line you traced.
Now it’s time for the final step! Again, lay the picture frame face down with the fabric, batting and picture frame backing on top. Press the back of the picture frame down into place, using the clips or tabs to secure it into place. Trim any fabric or batting that may be sticking out the sides.
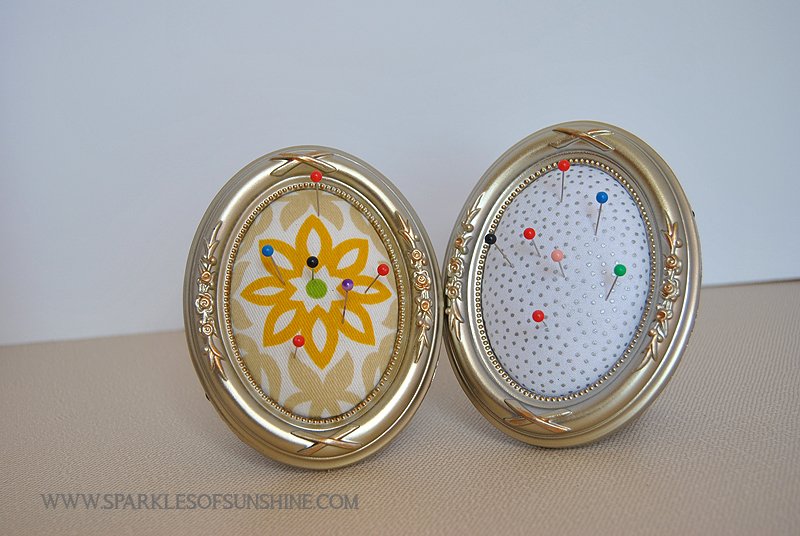
That’s all, folks! Wasn’t that simple as can be? You can pair this gift with a set of stick pins or small sewing kit and call it a day. Be sure to check out my previous Frugal Gift Friday projects for more thrifty last minute gift ideas.
- Christmas Cookie Sugar Scrub
- Easy Sew Wrist Support
- Upcycled Clipboard Easy Art Display
- Decorated Wooden Kitchen Utensils
- Personalized Cake Carrier
- Crochet Soap Saver Pouch


Leave a Reply