
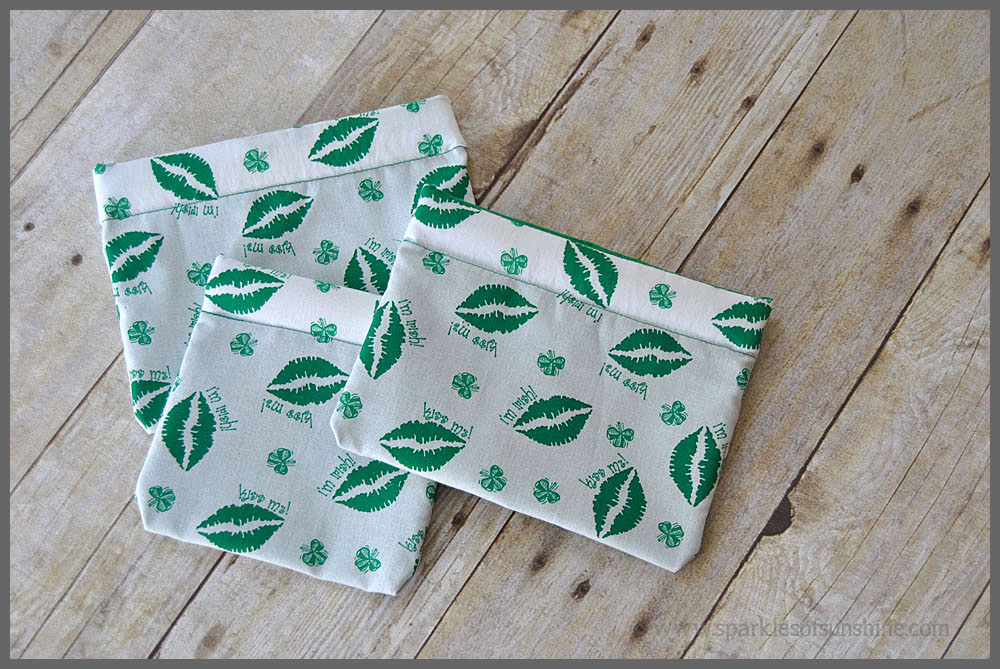
The weather here has been so icy, snowy and cold lately, and I am craving Spring with a passion! Even though the temperatures don’t agree with me, I’ve been busy making some Spring-themed crafts to cheer me up. I’m so glad you stopped by today so I can share with you how to make your very own St. Patrick’s Day Snappy Bags, too! I bet some of you are wondering what a snappy bag is, aren’t you? Well, I didn’t know what a snappy bag was until my talented sister-in-law made me one for Christmas one year. Ang is a very talented sewer and I always love the items she makes for me. The little bag she gave me was a sweet little bag with a closure that snaps open and closed. I was completely amazed when she told me the snap closure is made with a piece of metal tape measure! Isn’t that the coolest idea ever?? I knew you would agree, and I can’t wait to show you just how easy it is to make your own St. Patrick’s Day Snappy Bags. Yes, since a wonderful friend had given me this adorable St. Patrick’s Day themed fabric, I decided to use it to make my snappy bags a little festive.
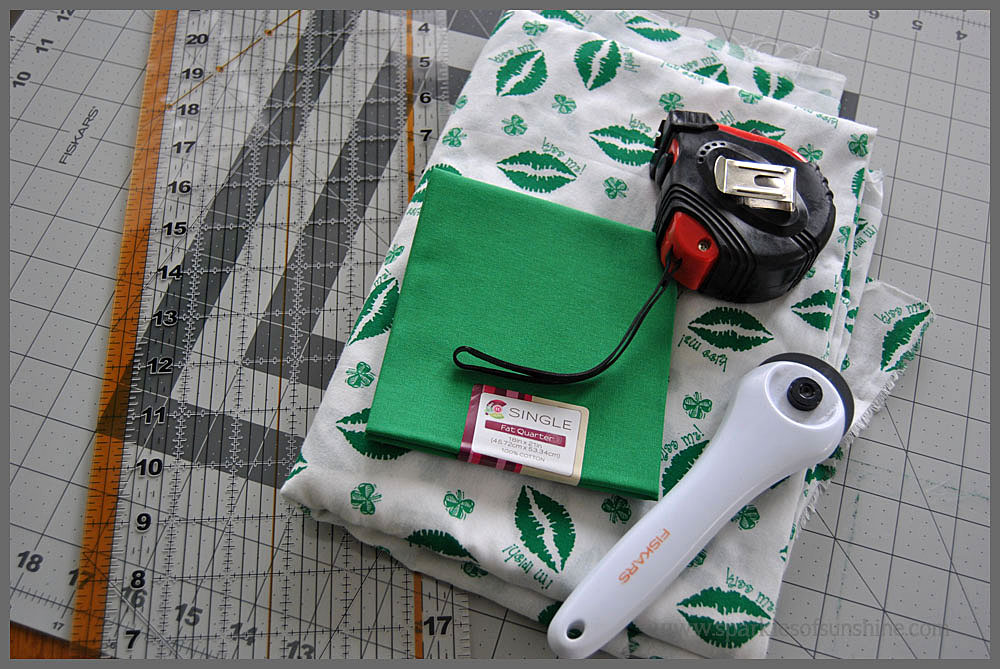 Here is what you will need for this project:
- Tape measure
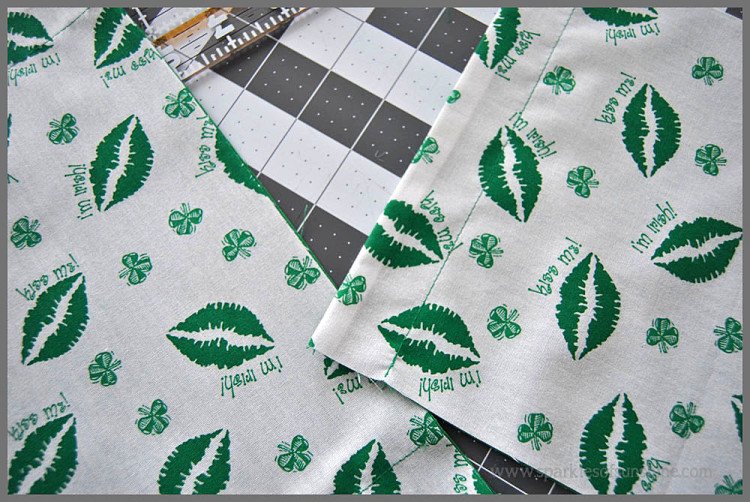
- Fabric in two coordinating colors/patterns…St. Patrick’s Day themed, of course!
- Scissors and/or cutter and cutting mat
- Sewing machine
- Coordinating thread
- Painters tape
Keep in mind when choosing your fabric that you will need fabric that the tape measure won’t show through. Since my fabric was mainly white and my tape measure tape yellow, I had the problem of the yellow showing through the white fabric. To remedy this problem, I slipped a piece of white felt into the casing before I slipped in the tape to ensure that it wouldn’t be seen. So, learn from my mistake and think of this when choosing your fabric!
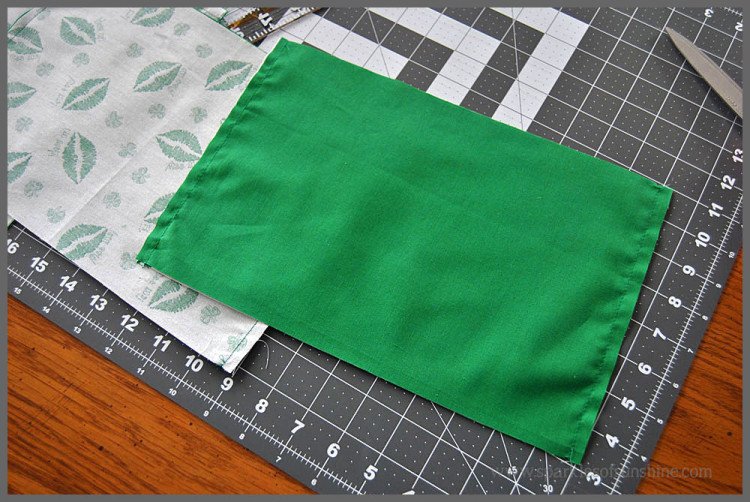
The first step is to cut your fabric. You will want to cut out one rectangle out of both of your coordinating fabrics in the same size. You can make your snappy bags any size you want! Here are the measurements I used for this project:
- Small Bag: 6 in x 12 in
- Large Bag: 8 in X 12 in
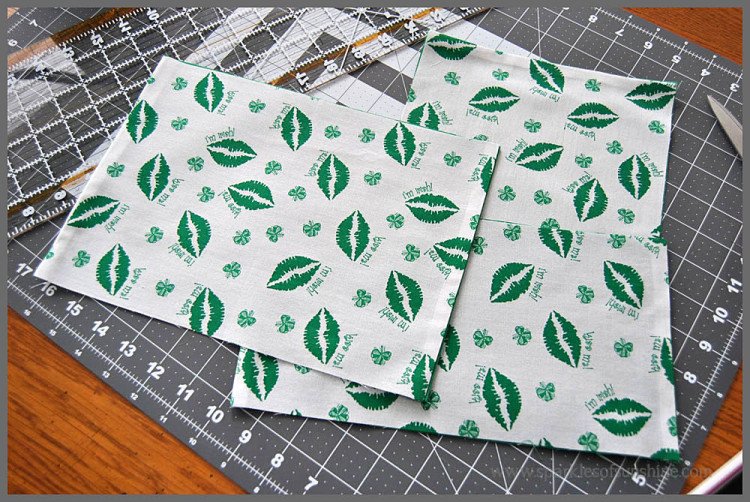
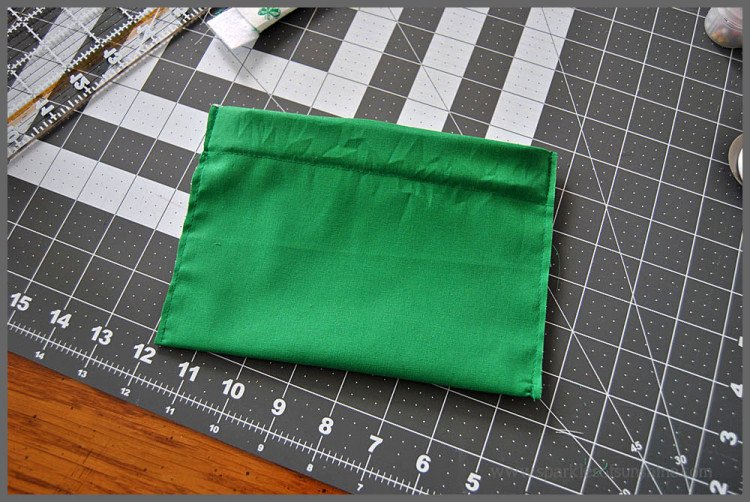
 With right sides of the fabric facing, sew a straight 1/4 in. seam across each end.
 Turn the fabric so it is right side facing out and press with an iron.
 Carefully take the tape measure apart and cut the tape into the pieces you will need for your bag. You will need two equal pieces for each bag. Here are the measurements I used for this project:
- Small Bag-5 1/4 in
- Large Bag 7 1/4 in
Round the corners of the tape measure. You need to cover the ends of the tape measure with painters tape to keep them from cutting through the fabric later. 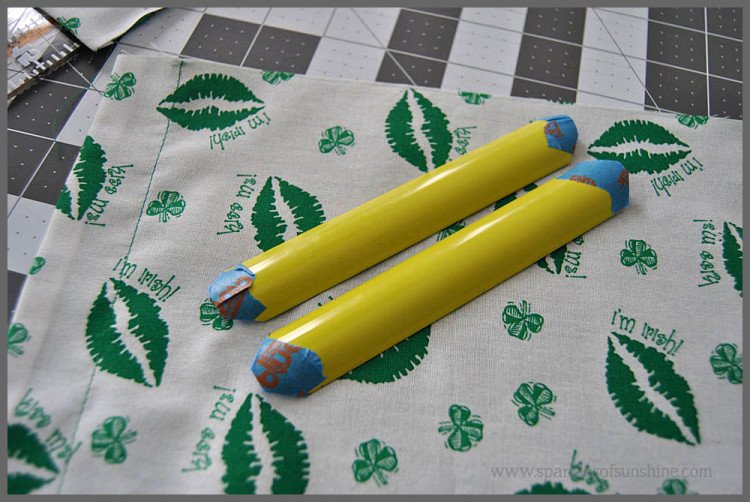 Now it’s time to make a casing (for the tape measure to slip into) on each end of the fabric. Since my tape measure was 1 in wide, I made a 1 1/8 in wide casing for my project to ensure I could slip the tape measure into place easily. To make the casing I measured down 1 1/8 in from the end seam and sewed straight across the fabric. Do this for each end of the bag.
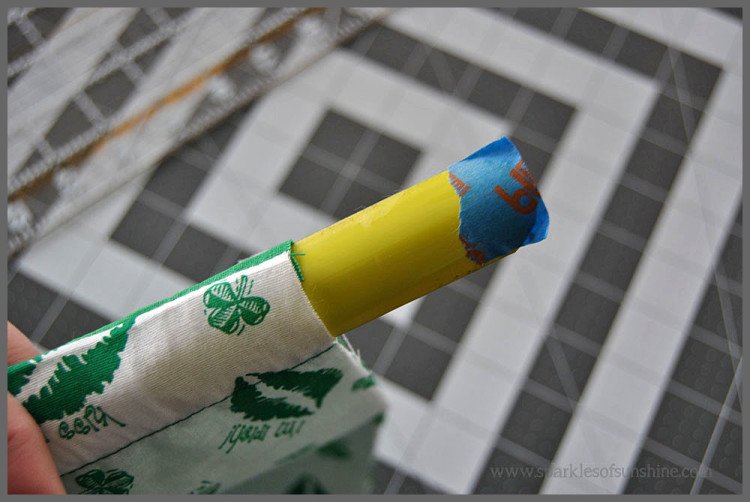
 Now slide the tape measure into the casing with the rounded side (the side without print) facing the outside of the bag.
 Fold the bag over so that the right sides are facing and sew up the sides of the bag.
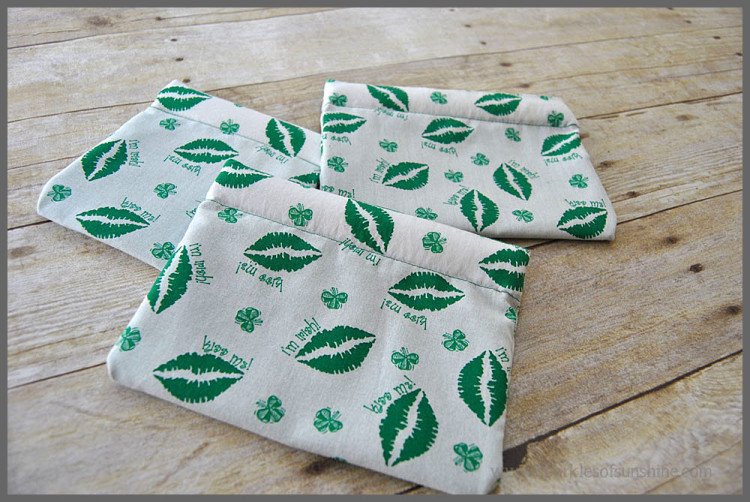
 Turn the bag right side out, and now it’s ready to use!
 What I love most about these bags is the simple snap closure. It’s amazing how the tape measure holds the bag together, but with a little push on the sides it opens fully to reveal its contents. Perfect!
 I also love that the closure snaps open wide so you can easily see all the contents. No more digging and searching for what I need!
 When my sister-in-law first told me about this project, I never would have thought I’d be able to make my very own. Fast forward a few years and a few mistakes later, and here I am…sharing this tutorial with you. I’m truly amazed at how much I’ve learned to sew all on my own. So for those of you without advanced sewing skills, don’t be scared. If I can make these St. Patrick’s Day Snappy Bags, you can, too!
Looking for another project for St. Patrick’s Day? Check out my easy to make DIY Felt Pocket Tissue Holders!
Shared with: Frugal Crafty Home Blog Hop, Merry Monday Link Party, Made by You Monday, Lou Lou Girls Fabulous Party, Create Link Inspire, Two Uses Tuesday, Teach Me Tuesday, Share It Link Party, Show and Tell, Do Tell Tuesday, Something To Talk About, What’d You Do This Weekend, Pin Worthy Wednesday, Whatever Goes Wednesday, Creative Spark Link Party, Worthwhile Wednesday, Moonlight & Mason Jars, The Creative Exchange Link Party, Thursday Favorite Things, Your Turn to Shine, On Display Thursday, Think & Make Thursday, Home Matters Linky Party, Pin Me Linky Party, Craft Frenzy Friday, A Morning Cup of Joe


Great idea! So adorable!
Thanks! It’s wonderful fabric, isn’t it? 🙂
Very cute!
Thanks, Christine! I thought these turned out cute, too!
Well who-da thunk? How cool! LOVE this idea. I’m not a big sewer but this I think I could do 🙂
Thanks! I appreciate you stopping by! 🙂
So cute, what a creative idea!
Thanks! These were so fun to make! 🙂
This is so creative! I have a few old tape measures that would work perfect for this project! Kenleigh will have so much fun helping me make them!!! Thanks for sharing this great project!
I am loving these. Not just for St. Pat’s though. I want to make some just to have. Thanks so much.
Super cute!!
Thanks! I think they’re pretty cute, too!
These are so cute! Thanks for sharing at What’d You Do This weekend? I hope you will join us again this Monday morning 🙂
Thanks, Joy. I’ll be sure to stop by. Have a wonderful week!
These are fantastic! Thanks for linking!