
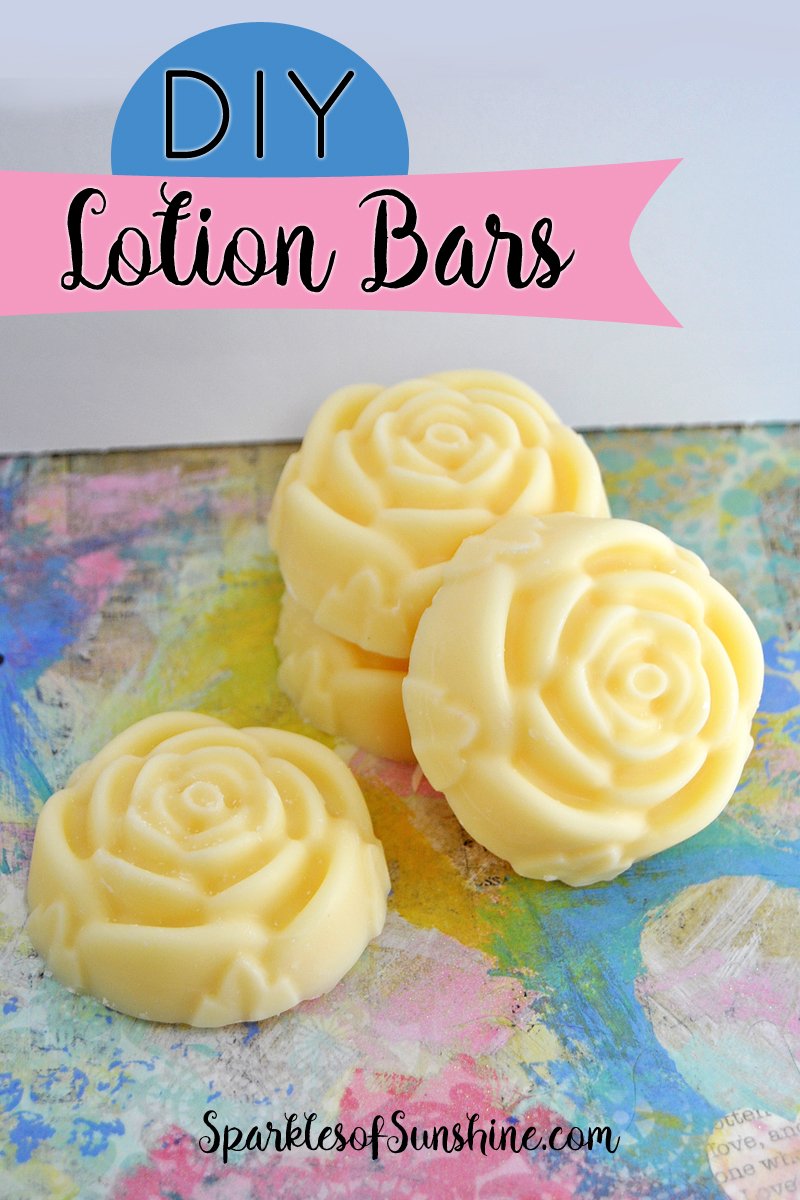
Want super soft, moisturized skin all year long? Today I’m sharing my secret to soft, silky skin. I started making these DIY Lotion Bars about 6 months ago, and I can’t even tell you the difference they’d made on my skin. Yes, they really are that great! Keep reading because I’m sharing all the details with you today!
Do you have trouble with dry skin? I often do. Partly because I take super hot showers, but mostly because I’m lazy. There…I admit it! Sometimes I’m in such a hurry after my shower that I don’t take an extra few minutes to put lotion on my skin. I’ve even tried spray on lotions that are intended to make it easy to moisturize your skin in a jiffy, but I don’t really like them since most of them contain alcohol. I did some research and decided to give DIY Lotion Bars a try. I’m so glad I did! Not only do I know exactly what goes in them, such as shea butter and coconut oil, but they are also super easy to use and can even be used in the shower. How’s that for fast and easy??
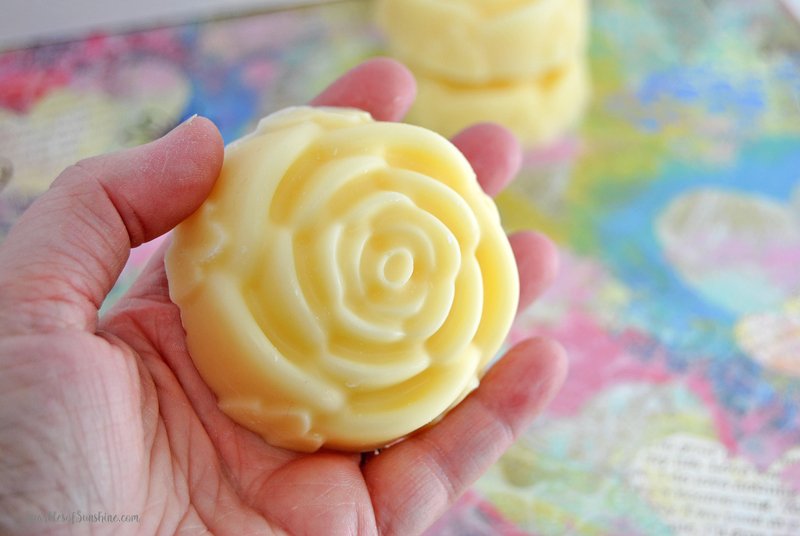
Tell me, have you ever used a lotion bar? Years ago my sister-in-law gave me one as a gift and I LOVED it. It was so easy to use because all you do is simply rub the bar over your skin. Boom! That’s it! I honestly don’t know why I forgot about the convenience of using lotion bars, but I’m so glad I started making my own. I keep my DIY Lotion Bar in the shower and rub it over my body before I get out. It keeps my skin super moisturized and smelling so good. Don’t worry, I’m sharing the simple recipe with you today so you can have super soft skin, too! This post contains some affiliate links. Click here to read my full disclosure policy.
Materials needed to make DIY Lotion Bars:
- 1 1/4 cup Beeswax Pellets
- 1 cup Shea Butter
- 1 cup Coconut Oil
- 40 drops Essential Oil
- Silicone Mold (here’s the mold I use)
First, combine the beeswax pellets, shea butter and coconut oil in a microwave-safe bowl. Microwave for 1 minute on high. Stir. Repeat until mixture is completely melted (about 4-5 minutes depending on your microwave).
Next, stir in the essential oil(s) of your choice.
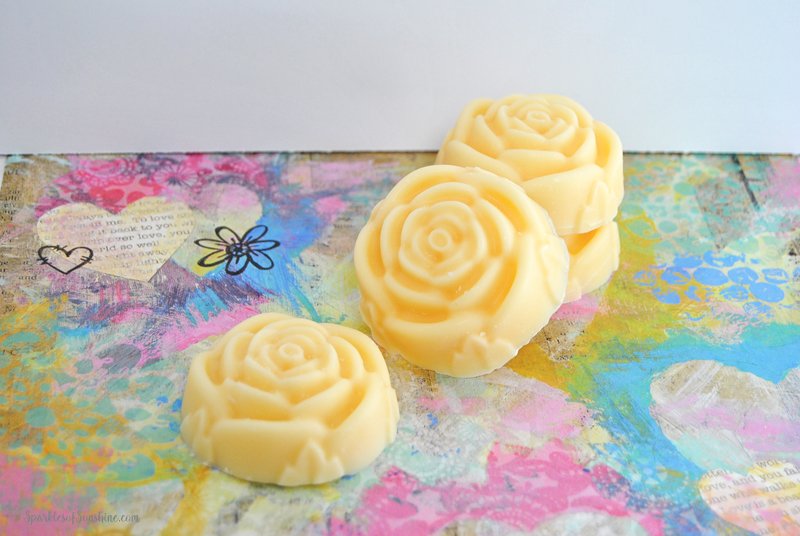
Pour the mixture immediately into the silicone mold. Once the mixture thickens enough for you to move the mold without spilling anything, you can place the mold in fridge/freezer until completely hardened. This usually takes about 1 hour depending on the size of your mold.
Remove bars from mold and store in a container or ziplock bag of your choice.
Some of my favorite combinations of essential oils for my DIY Lotion Bars are Ylang Ylang and Patchouli, Lavender and Lemon, and Rosemary and Lavender. This is the fun part because you get to experiment and create your very own scent!
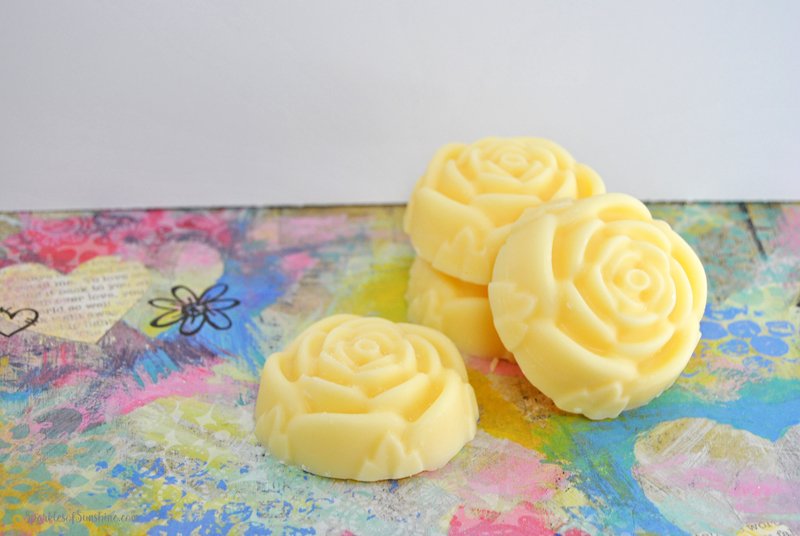
If you’ll be giving these lotion bars away as gifts you can wrap in parchment paper or wax paper and secure with a pretty seal. 🙂 Have fun making your own DIY Lotion Bars. I hope you enjoy them as much as I do!
Other posts you don’t want to miss:


Leave a Reply