
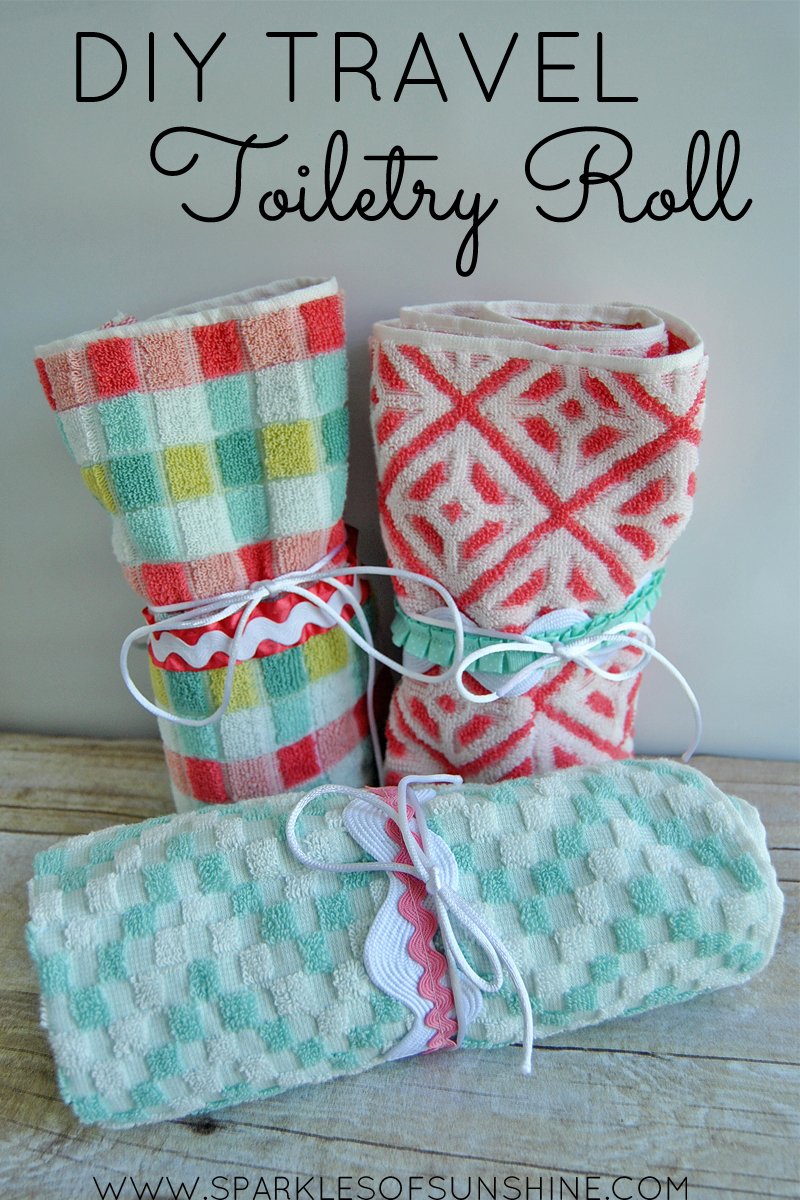
I had seen DIY travel toiletry rolls made from washcloths on Pinterest and decided to give the project a try. I decided to make one using a hand towel instead, mostly because I wanted to make sure my toothbrush gets covered up when I roll mine up instead of sticking out the end like some I had seen in pictures. Just being real, folks.
I also wanted to dress mine up a bit and make it more fun with some decorative trim. Nobody ever said bathing has to be boring, right? What can I say? I love pretty things so I had the pretty feminine touch to this project. I’m sharing the easy tutorial below, so you have fun making your own!
Materials needed to make a DIY Travel Toiletry Roll:
- hand towel (standard size)
- decorative trim of choice
- sewing machine
- straight pins
- coordinating thread
- small rope trim for the tie
Project instructions:
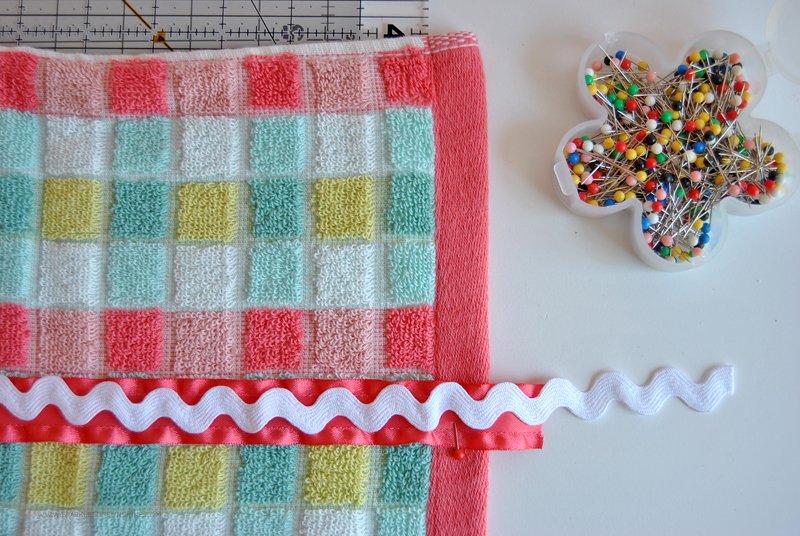
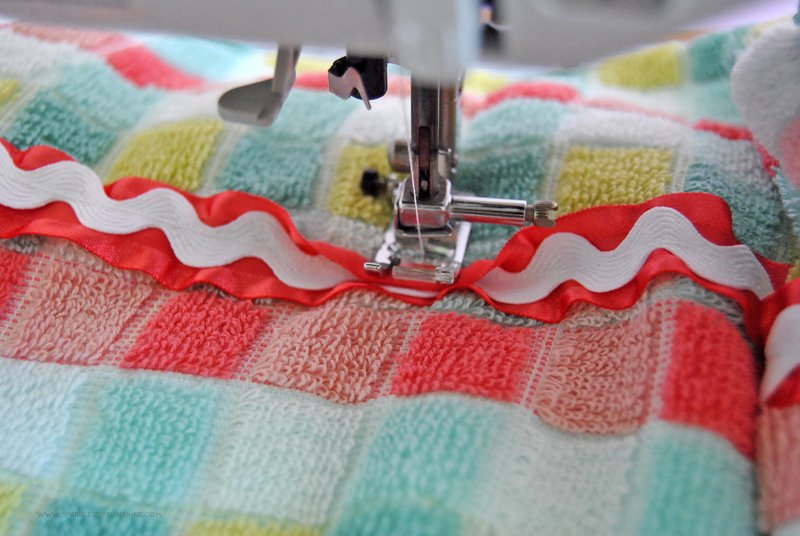
With the hand towel laying with the long sides horizontally on a flat surface, measure 5.5 inches from the top of the hand towel. Lay the decorative trim across the length of the towel, pin into place and use the sewing machine to stitch it onto the towel.
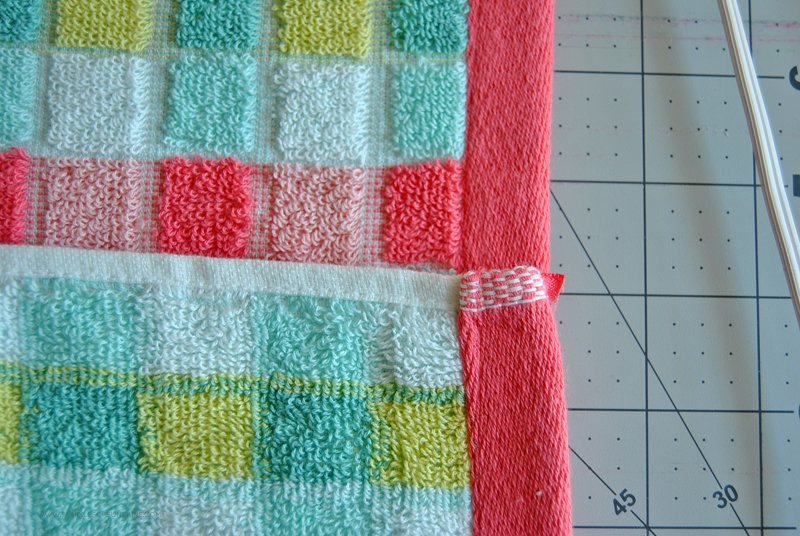
Fold up the bottom of the towel so that it slightly covers the trim. Line up the right sides and pin into place. Use the sewing machine to stitch up this end of the towel, with the seam running along the inside of the outer towel band.
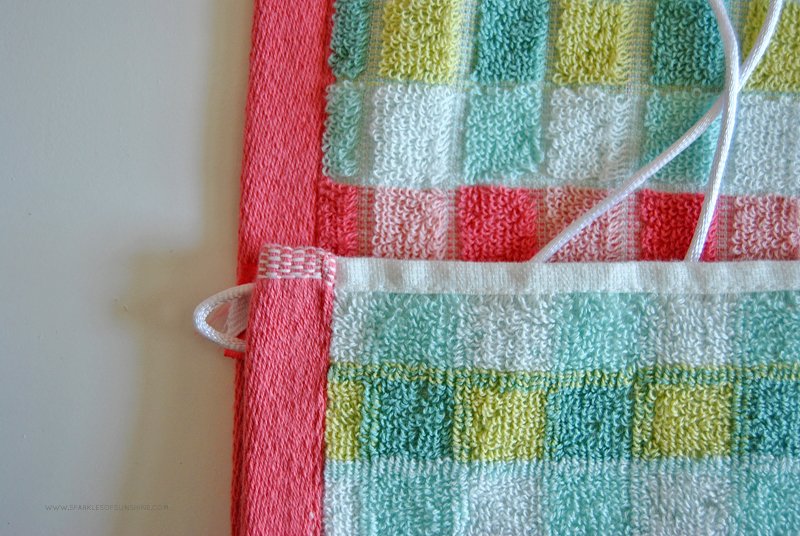
Fold up the left side of the bottom of the towel so that it slightly covers the trim. Line up the sides and pin into place. Take a piece of small decorative rope about 32 inches long and fold it in half. Tuck the folded end between the towel layers as seen in the picture below. Then use the sewing machine to stitch up the left end of the towel like you did previously on the other side.
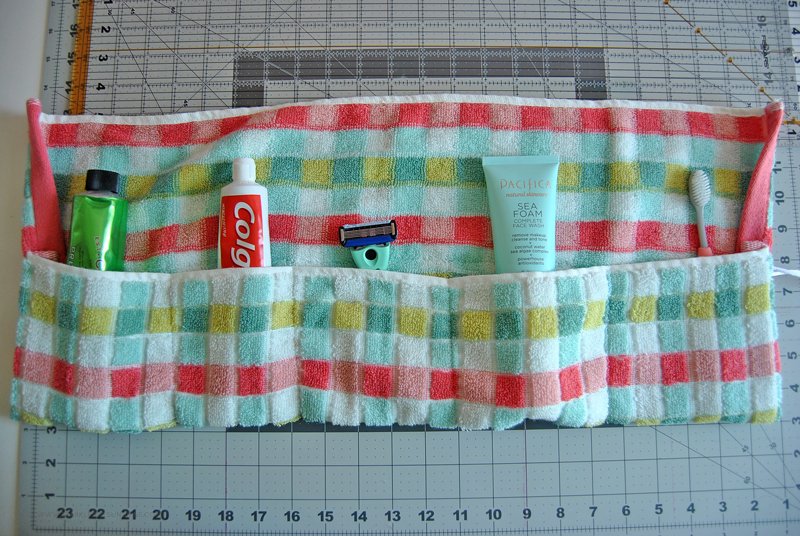
Turn the hand towel so that it is right side facing out. Now it’s time to divide up the big pocket into smaller sections. You can make your pockets whatever size you want, but I opted to make mine 4 or 5 inches wide. Use pins to mark where you want to sew your pockets. Do this on the outside of the towel that has the trim (we want to see the trim so we don’t sew over it!). Sewing your pockets is super easy because all you do is sew a straight seam from the bottom of the folded hand towel up to the trim. You can see in the picture below how I folded my trim over a bit to get the seam as close to the trim as possible without sewing over it.
Once you’re done sewing the straight lines for your pockets, your DIY travel toiletry roll will be ready to use. Add your contents and I’ll show you how easy this thing packs up.
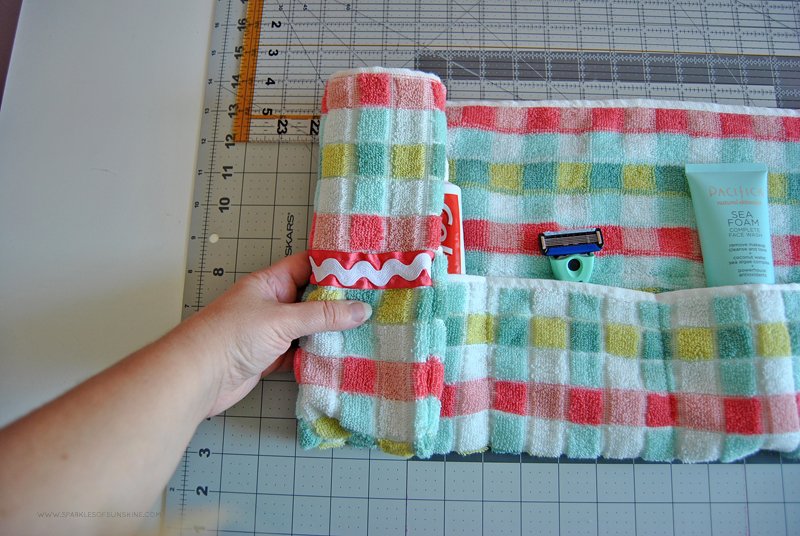
Once you have your items inside, begin to roll it from left to right.
Continue until the entire towel is in a roll. Wrap the decorative rope around it.
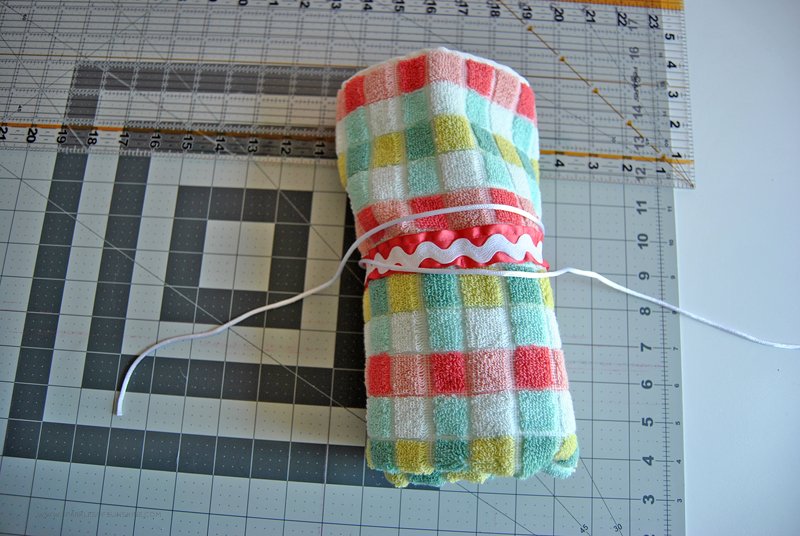
Now tie to secure your roll, and you’re good to go!
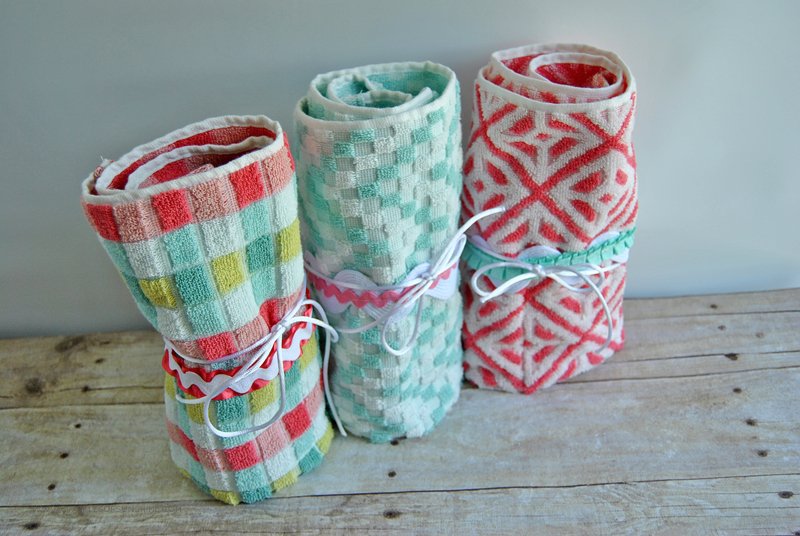
This DIY travel toiletry roll is perfect for any trip, but I made these for a special reason. We like to spend a lot of time at the campground during the summer, and these will be perfect to grab on the way to the bath house. Everything always gets wet there anyway. Now I won’t have to worry about my toiletry case getting wet because this DIY travel toiletry roll is meant to get wet and can dry out easily. I can’t wait to give these to my mom and two nieces so they can enjoy them this summer. I know they’ll love them, too! How will you use yours?


Hi Christie! First time here…saw you & this project on Pinterest & was immediately drawn to the pretty towels. I haven’t seen the other towel projects like this you speak of…yours is the first one, but I love them! So cute!
Thanks, Florence. I’m so glad you like them, too! 🙂