
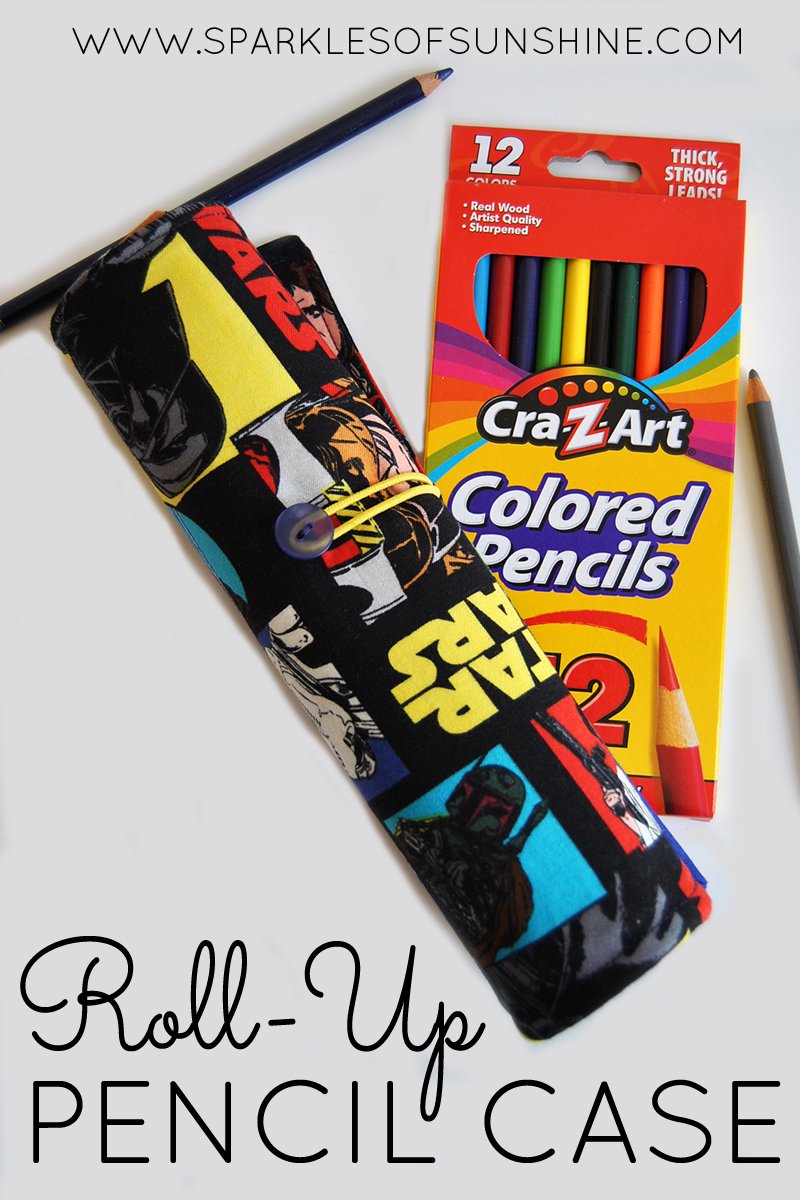
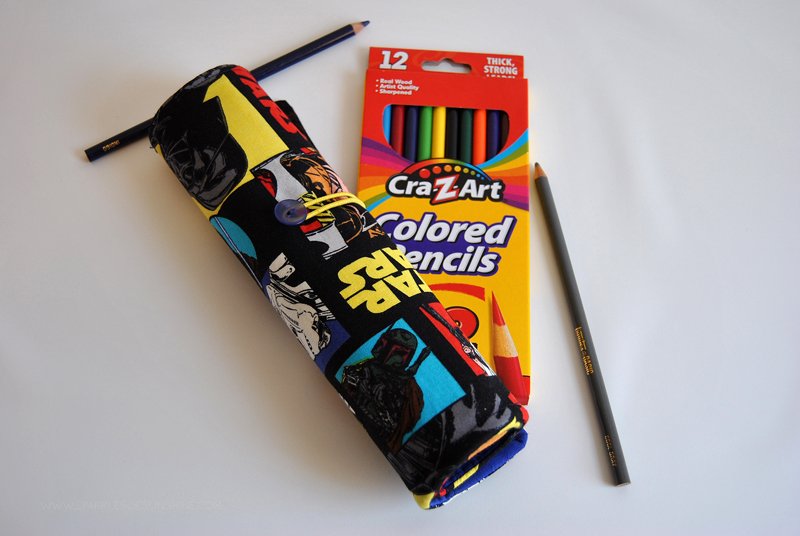
These days I’m finding any excuse to break out my sewing machine, so when my nephew’s birthday rolled around I pulled out some fabric and got to work. He’s quite the budding artist so I knew he’d appreciate a Roll-Up Pencil Case to store his colored pencils in. Guess what? I was right! I hope this means he’ll remember me when he becomes famous. I bet there’s someone in your life that would love one, too. Check out the easy sewing tutorial below.
For this project you will need the following:
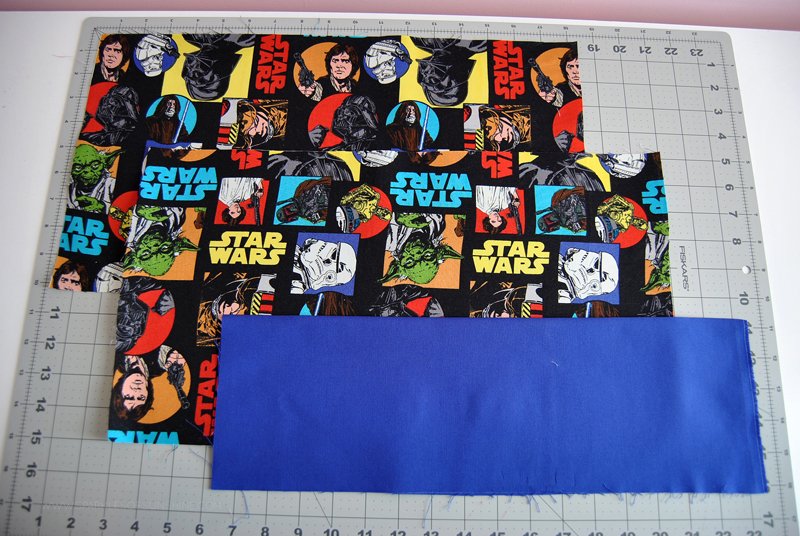
- 2 pieces of fabric 10 X 17 inches (this is the main fabric that shows on the outside)
- 1 piece of coordinating fabric 10 X 17 inches
- 1 piece of Fusible interfacing 10 X 17 inches
- Small elastic hair band
- Button
- Sewing machine/coordinating thread
- Sewing needle
- Pencil/chalk for marking
Project Instructions:
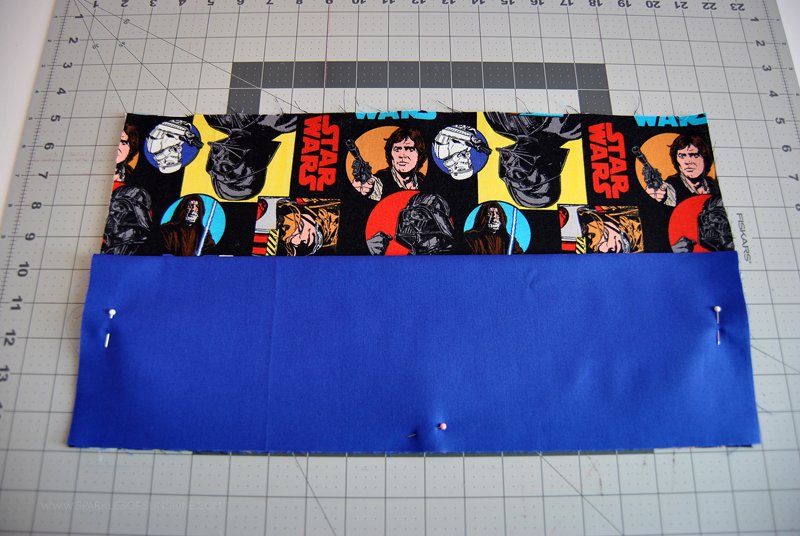
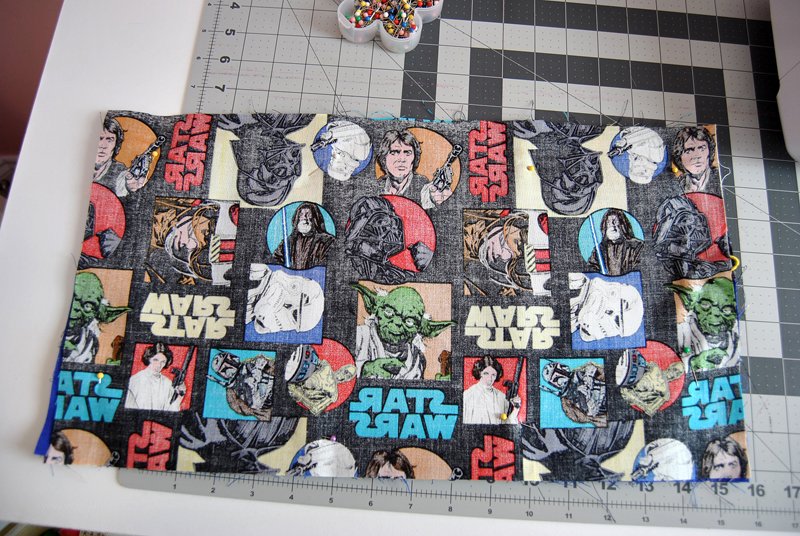
Iron fabric and cut into measurements as indicated above. Attach fusible interfacing to wrong side of one piece of the main fabric. For the coordinating fabric, fold it over so it measures 5 X 17 inches and iron. This is the pocket piece.
Lay the piece of fabric with interfacing right side up. Lay the folded pocket piece on top with the unfolded side lined up alongside the bottom of the fabric. Line up the edges and pin into place. Sew fabric together working your way down one side, along the bottom and back up the other side.
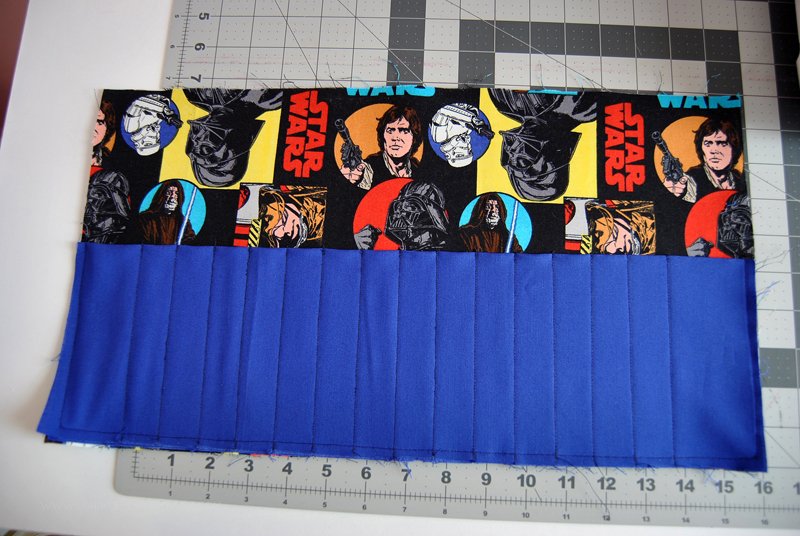
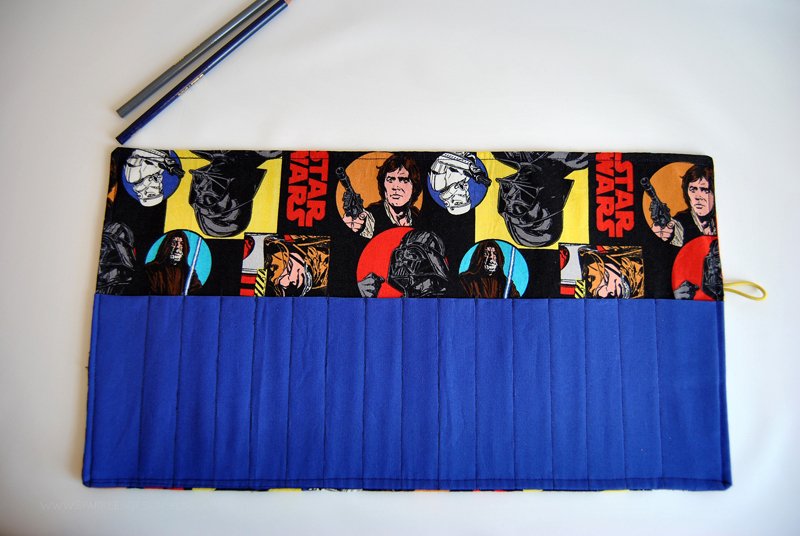
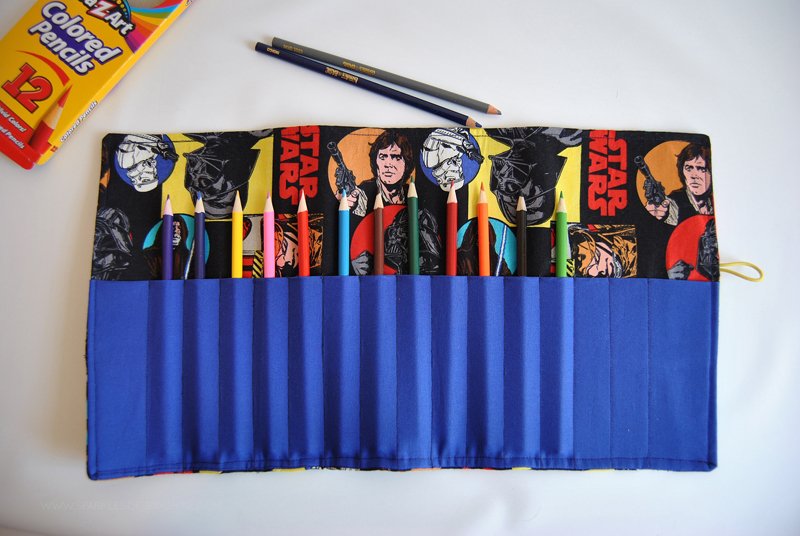
Now it’s time to make the pockets; you can choose what size you want to make them. I made mine 1 inch wide with the two pockets on the ends larger for bigger items. Whatever size you choose, use a ruler to mark your increments along the bottom of the pocket piece, and then again at the top of the folded pocket piece.

Sew the pockets by starting at the center, back stitching for reinforcement, then sewing a straight line all the way down using your marked increments as a guide.
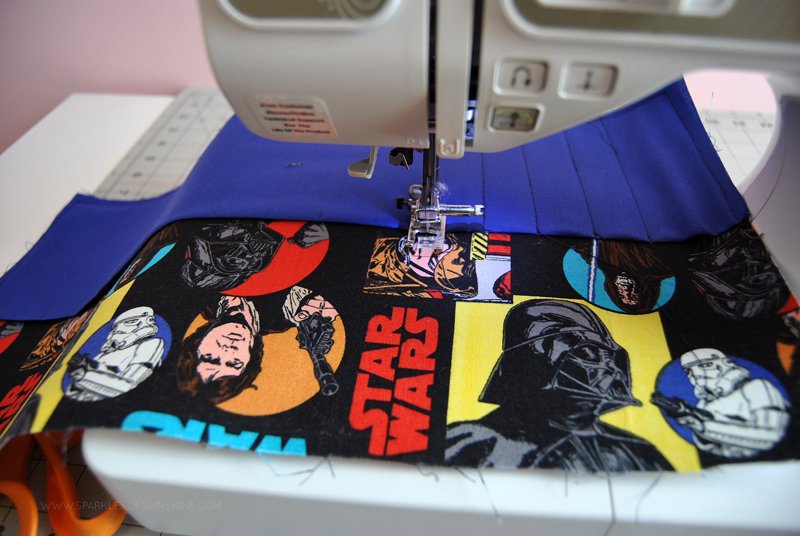
Repeat until all pockets are completed.
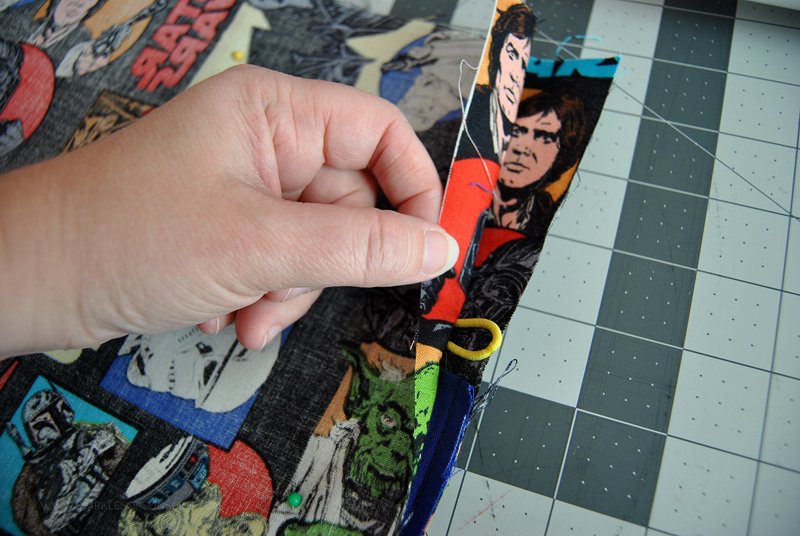
Lay the remaining piece of fabric on top so that right sides are facing. On the right side, tuck the elastic hair band piece between the pieces of fabric and pin into place. You want just the end of the elastic sticking out (see picture below for reference).
Pin fabric into place and stitch 1/4 inch seam around the entire piece, leaving a 2 inch opening. Turn fabric right side out and iron flat, tucking in the edges of the opening. Sew another 1/4 inch seam around the entire piece of fabric to close opening and give the project a finished look.
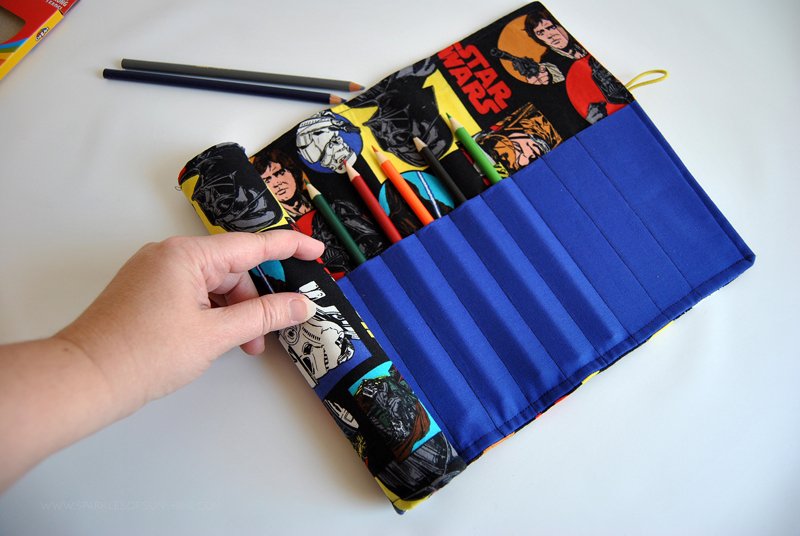
The last task is to sew the button into place. To do this you will want to put pencils in the pockets…
roll up the case…
and determine where the button needs to be sewn for the elastic closure to work.
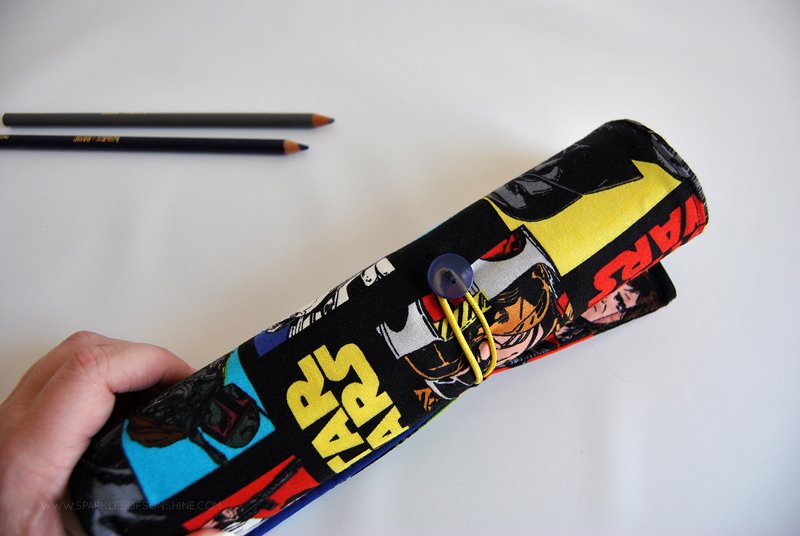
Mark it then sew on the button. That’s it! Enjoy your Roll-Up Pencil Case!


Leave a Reply