
Today I’m excited to share with you a project I made for a friend of mine recently. While searching online for artwork ideas for my home, I ran across some really cute printable art for nurseries. I immediately thought of my friend, so I contacted her and was excited when she said she didn’t have much art for her nursery walls yet. I was so happy I knew someone in need of nursery artwork, because this project was just too cute to pass up!
 Believe it or not, there are a lot of free art prints available online. All you have to do is print them, pop them into a frame and you’re done! I don’t like to do things the easy way, so I decided to use Mod Podge to adhere these adorable prints to canvas instead.
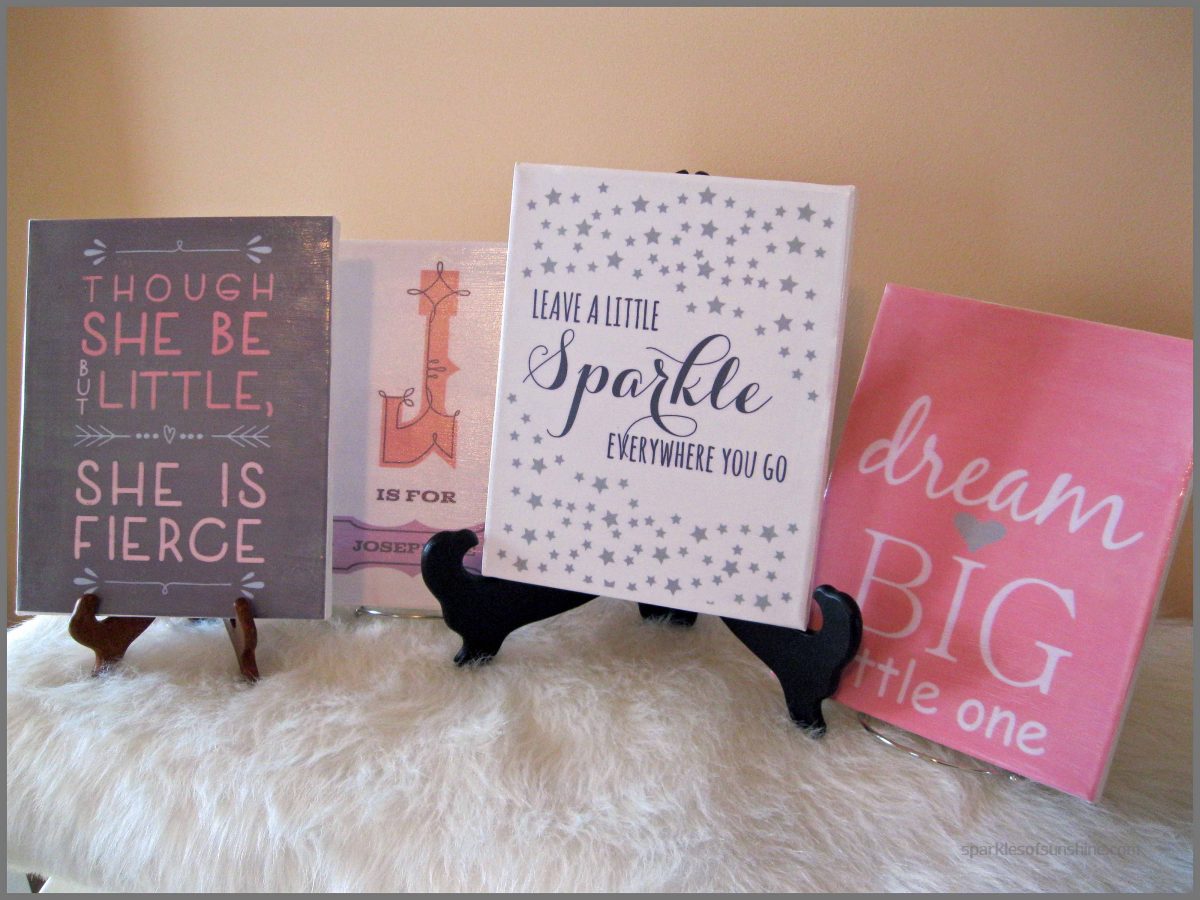
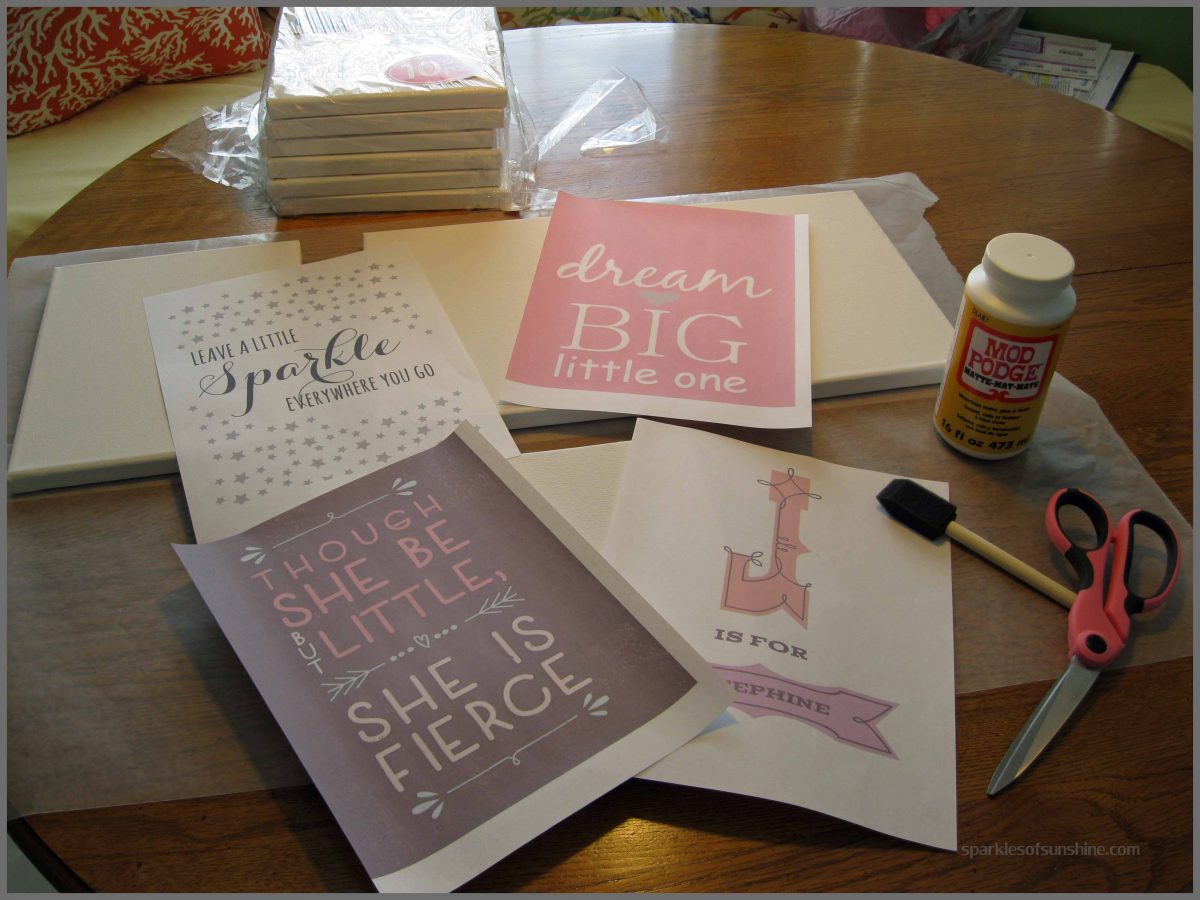
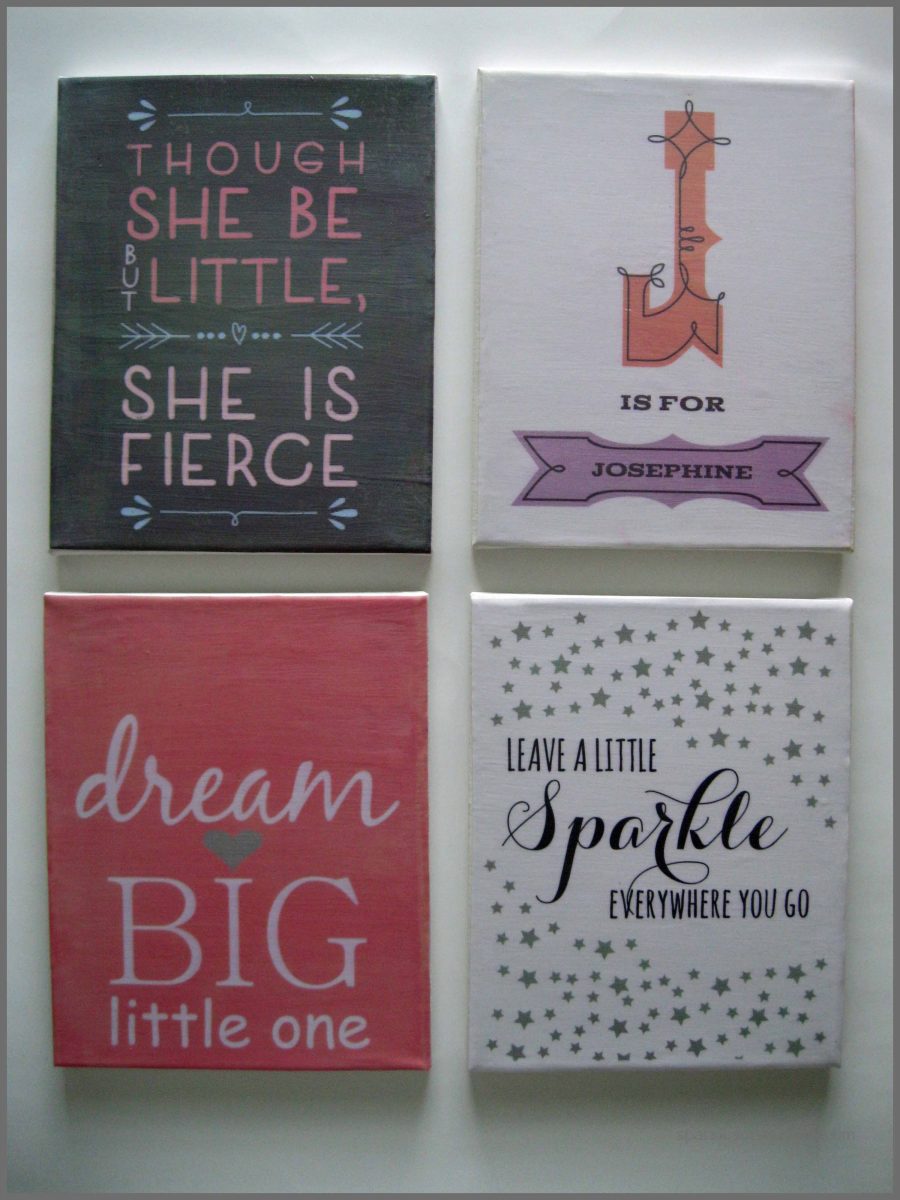
Here are the prints I chose for this project. The color is different on a couple of these because my printer was running low on black ink. This actually worked out better for me since her nursery colors are pink, lilac and grey. Perfect… I love it when mistakes work out in your favor! All of these printables are free for your personal use.
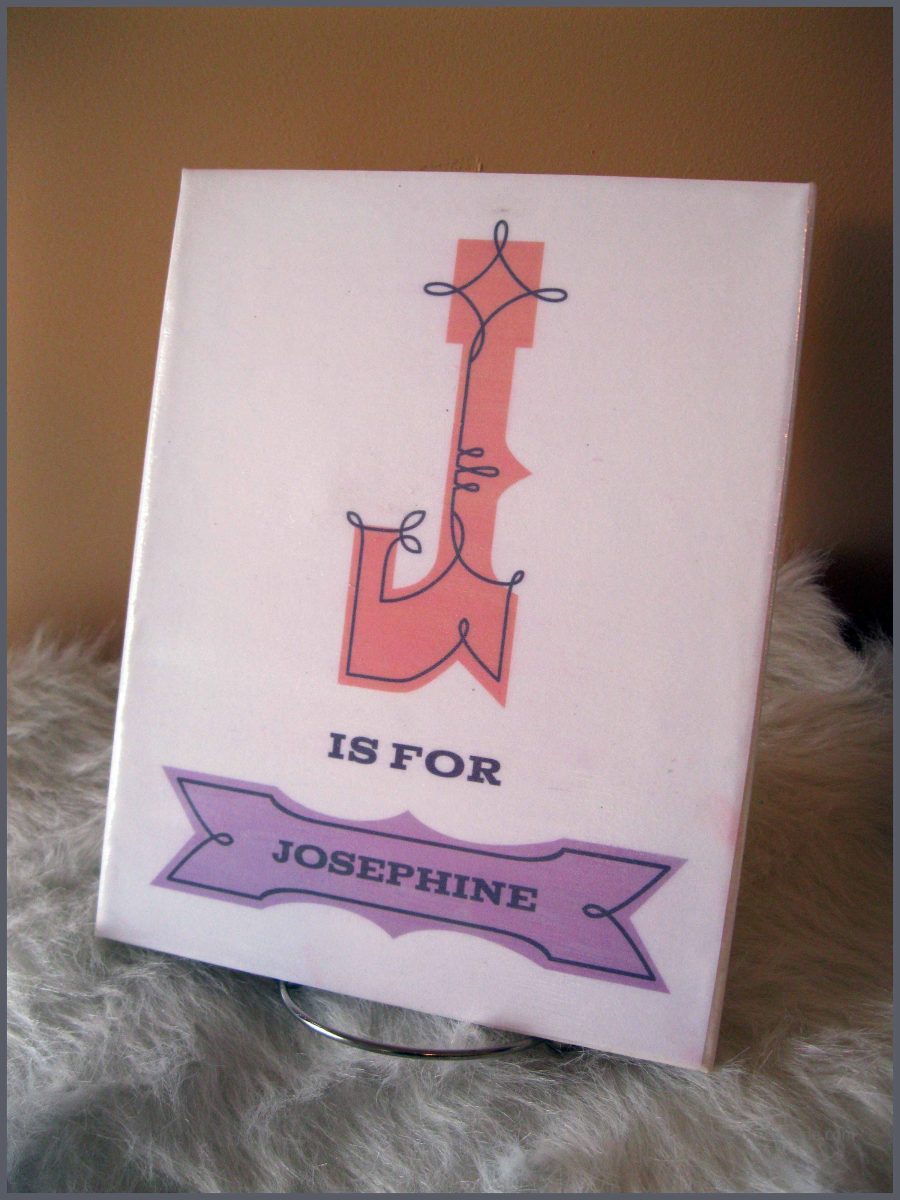 This cute printable from The Little Umbrella can be customized. You type in the initial and name, choose your colors and print. Find can find it here.
 This adorable print was created by Sonnet from SohoSonnet Creative Living, and of course I am in love with it. We all need some sparkle in our lives, right? I think I’ll be making one of these for myself soon! Check it out here, along with some others to chose from.
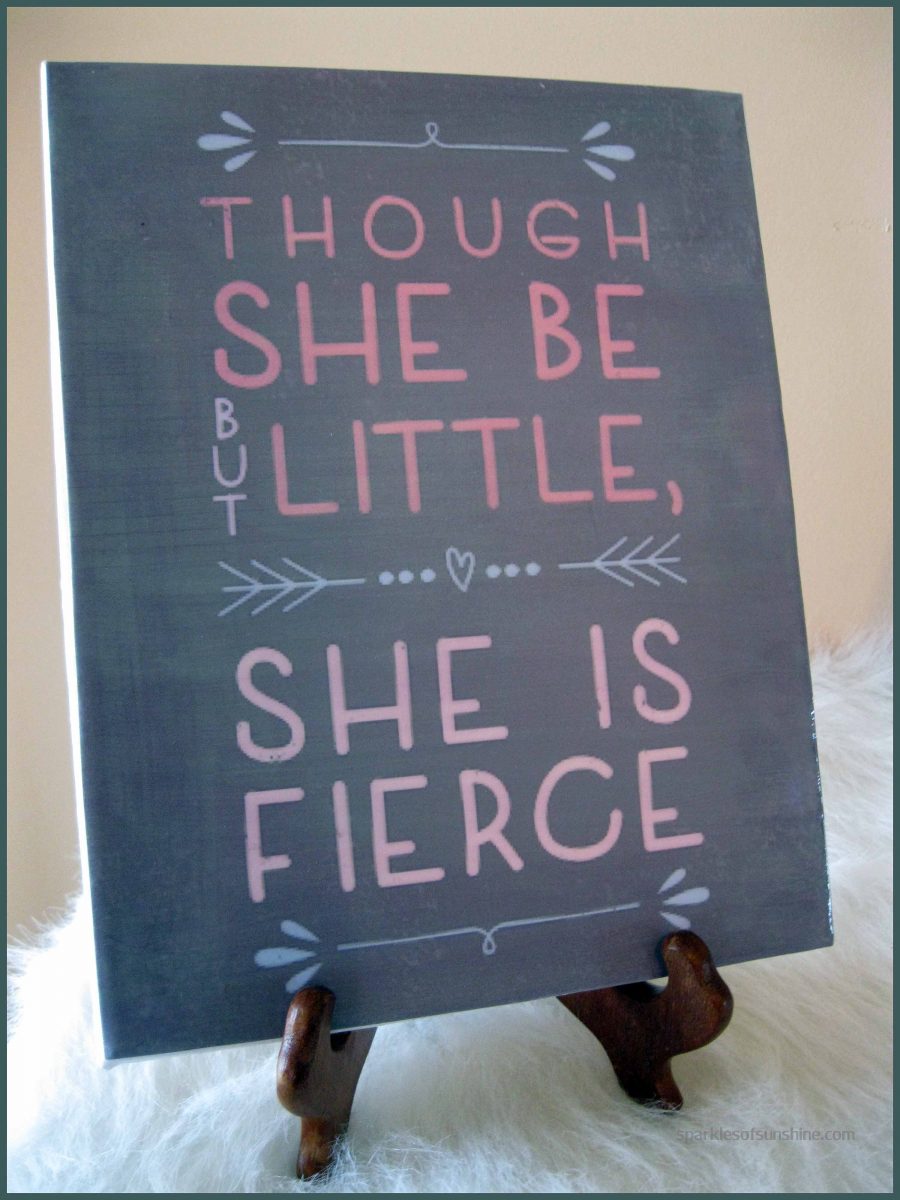 A nursery isn’t complete to me without a Shakespeare quote on it’s wall. I wonder if you can tell I was an English major in college? You can find this adorable chalkboard print here.
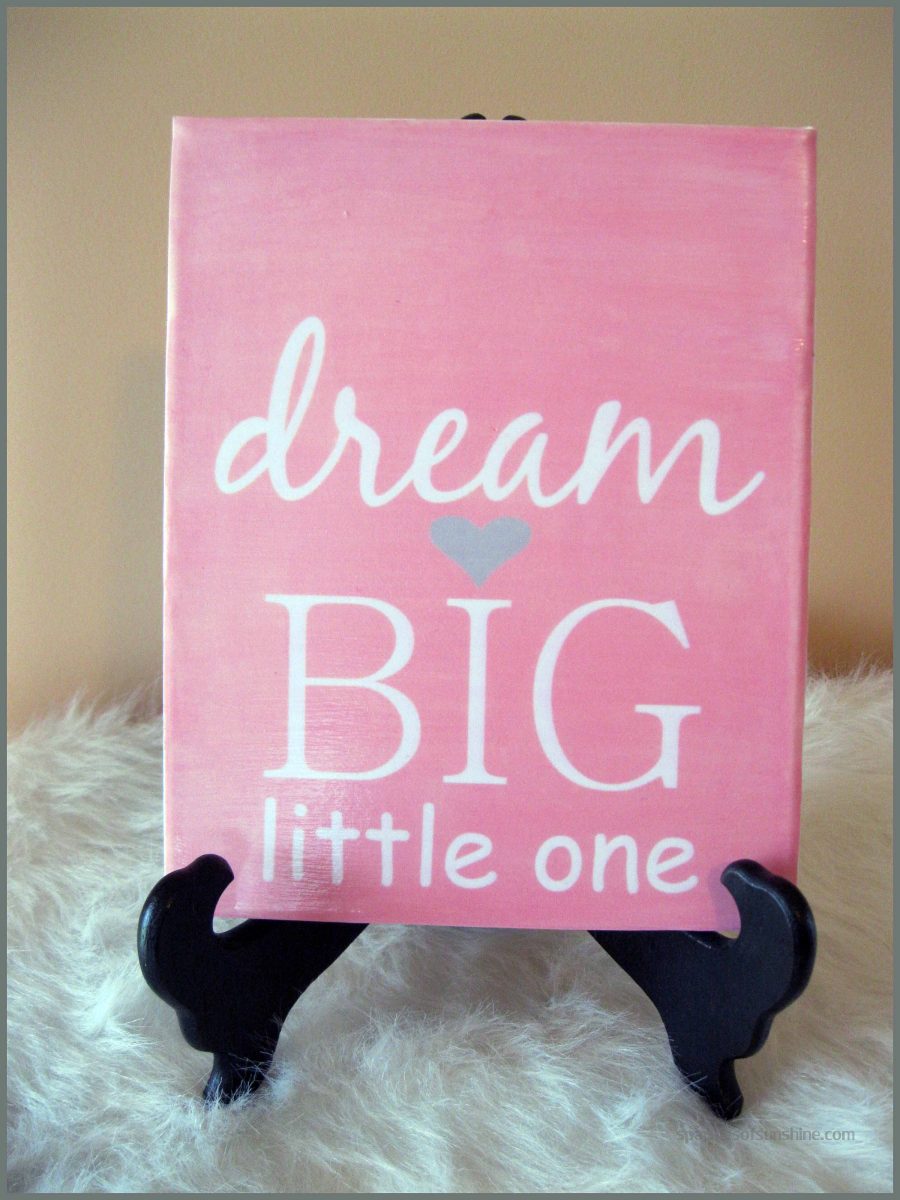 This printable from Delightfully Noted comes in six different colors. It can be downloaded and printed at your local printing shop if you want to save your printer ink. Find it here.
Once you decide on your prints, all you need is some blank art canvas, a pair of scissors, Mod Podge, a sponge brush, and a can of acrylic sealer and you’re ready to go!
 First, trim the prints to fit your canvas. You may have to center it over the canvas before trimming.
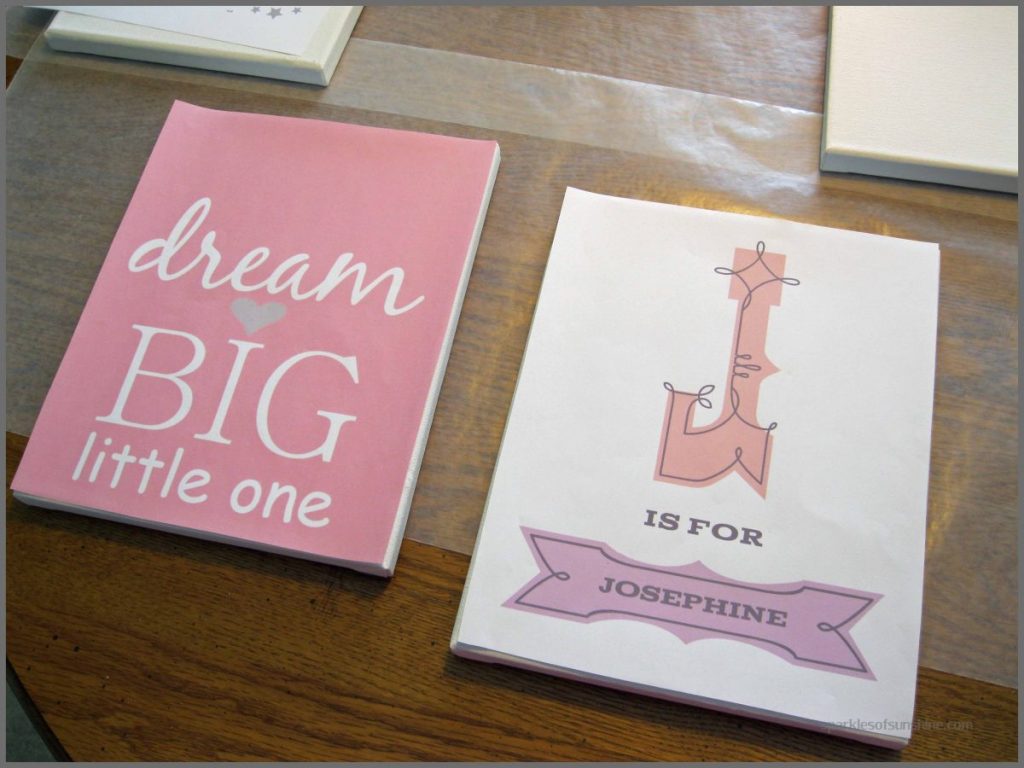
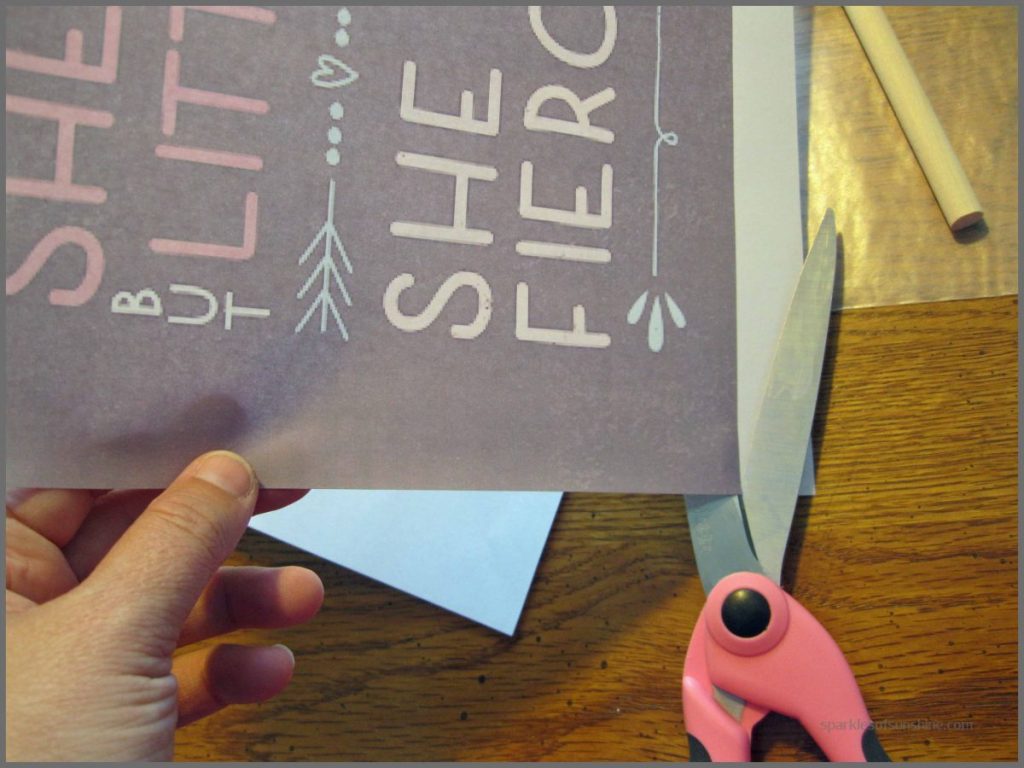 Remember it’s easier to trim before you apply the Mod Podge, rather than afterwards. I placed my prints over the canvas after trimming to make sure they fit properly.
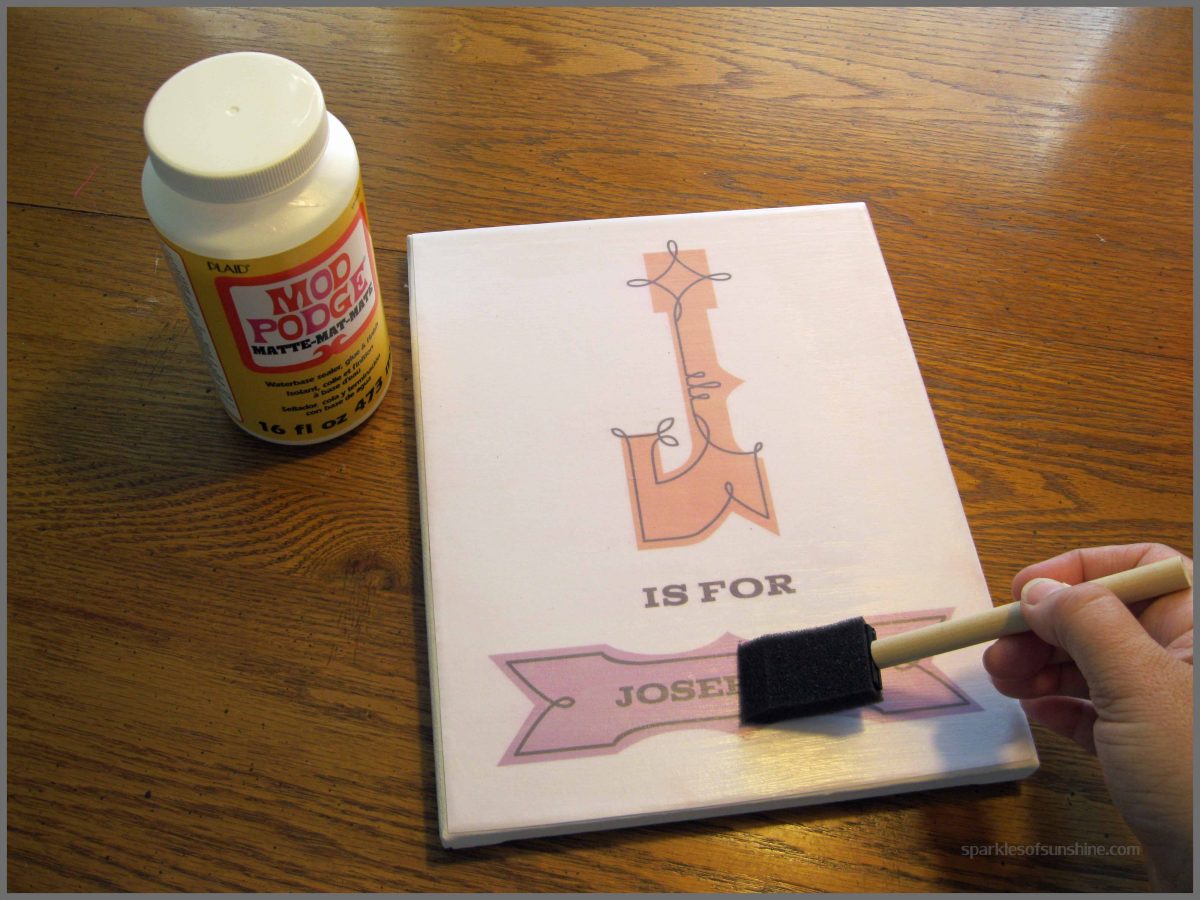
 Now it’s time to apply the Mod Podge. If you need instructions on how to decoupage, check out my post here. The only difference is it will take a lot more Mod Podge for this project since the canvas will soak it up. Also, be sure to turn the canvas over and smooth from the back, inside the canvas frame, to prevent wrinkles. Other than that, follow the normal decoupage routine. I do suggest that if you use an inkjet printer to print your printables, spray them with an acrylic sealer and let dry before you begin this project. I didn’t do this, and the ink did bleed in some areas during the process. I never claimed to be perfect, did I?
 Once the Mod Podge has dried and you’ve applied the sealer, you can enjoy your new artwork. These are so cute, and I can’t wait to see them once she’s hung them on her nursery walls! These would work so well on a gallery wall, or placed on a dresser for display.
 What do you think of my new nursery artwork? It is easy to adhere prints to canvas with Mod Podge, so why not make a few for your own, or for a gift? Need ideas for other areas of your home? I have a board on Pinterest with links to other free printable artwork for the rest of your home, including kitchens, bedrooms and bathrooms. You can find me on Pinterest here. As always, I would love to hear from you. Please let me know if you decide to try this project on your own!
*Shared at the following Linky Parties: Inspiration Gallery Link Party, Frugal Friday, and The Creative Exchange


I LOVE, LOVE, LOVE these! I can’t wait to see them!
I know! I hope you like them as much as I do!
What a great way to use the printables!