
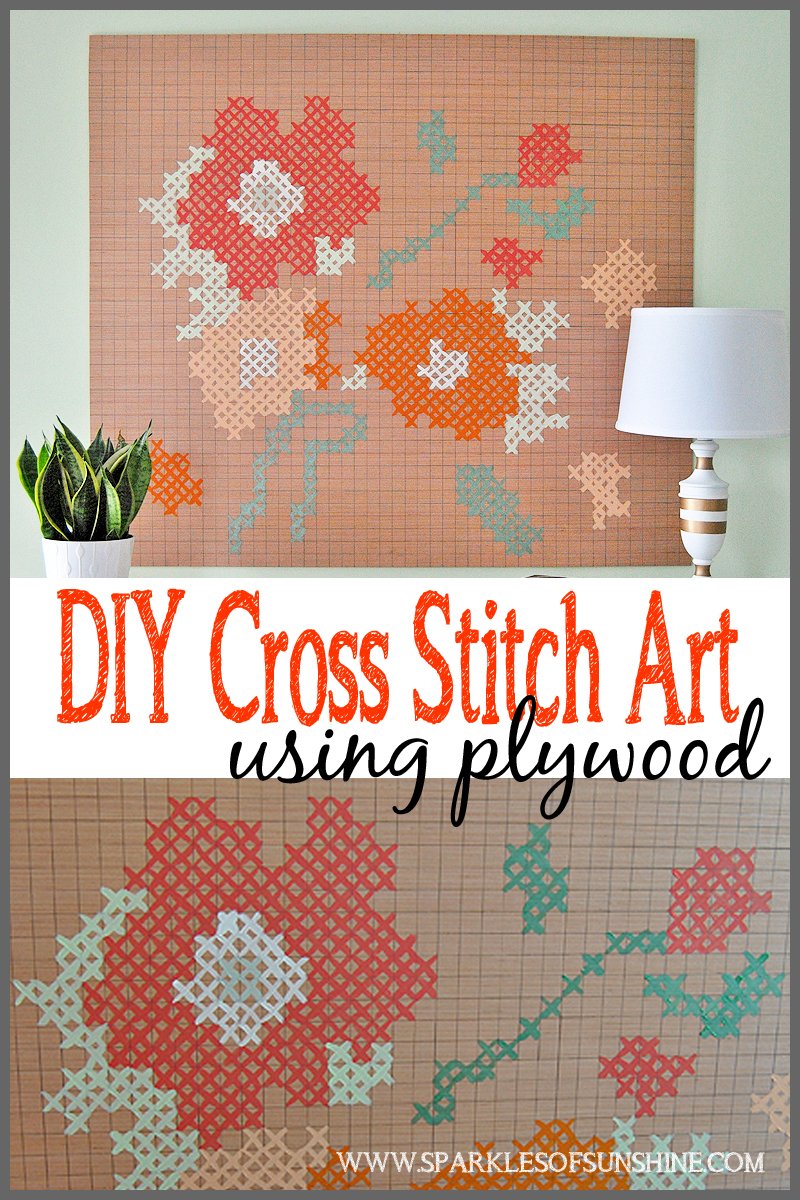
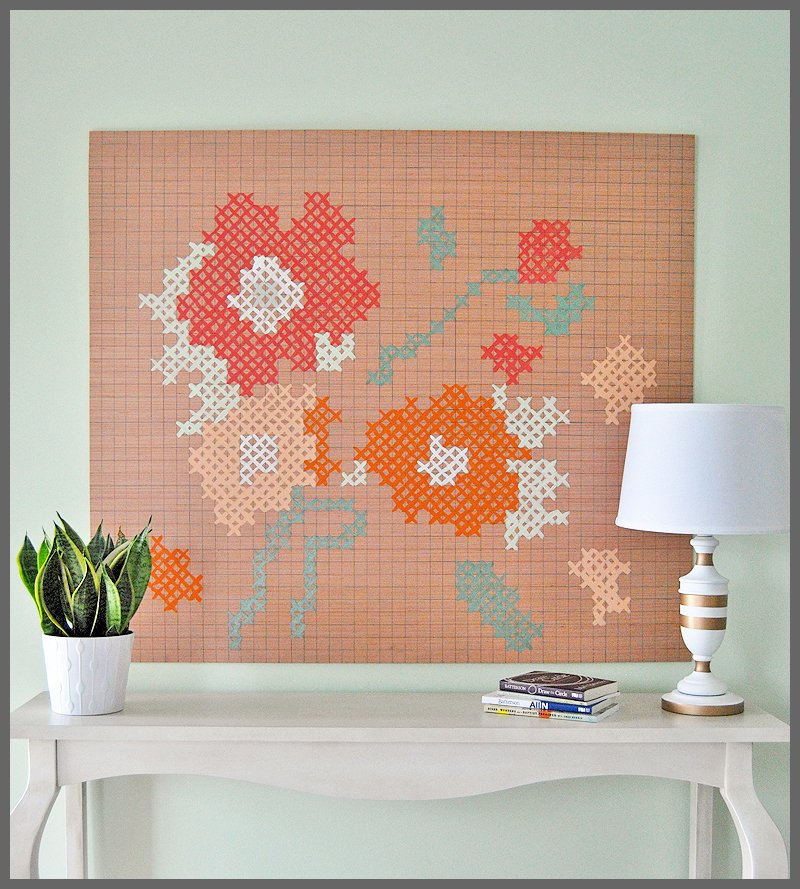
Looking for an affordable large scale artwork option? Don’t break the bank! Would you like to make your own artwork like this easy DIY cross stitch art using plywood? Plywood is cheaper than canvas, doesn’t have to be framed, can be cut to any size and chances are you’ll have left over wood for another project. Sold yet? Great! You know I love to share all the details with you, so let me share how easy it was to make this DIY cross stitch artwork.
 I had a space above a console table in my living room that needed new artwork. I took down my gallery wall when we repainted the living room and decided not to put it back up again. I was tired of my old art pieces. I wanted something different, and thought a large piece would look great centered over the table. Plus it would help balance the room since my large entertainment center sits on the opposite wall. I had seen pictures of cross stitch art murals before, but I wasn’t sure if I wanted to be that committed. When I received my Do It Yourself BHG magazine in the mail and saw cross stitch art painted onto plywood, I was inspired. After a trip to Lowe’s Improvement Store and Walmart, I was ready to give it a go. Let me tell you about the easy process.
First, we measured the space where we wanted the artwork to go to decide the size of our plywood piece. After my husband cut the plywood to size, it sat in my spare bedroom for a week. Or maybe two. Yes, I was really dreading drawing the lines on the plywood. My great-grandmother used to say that dreading something it worse than doing it, and she was right! It wasn’t so hard after all to get these lines drawn, with the help of my talented hubby. Errik marked all the sides of the plywood with a pencil in 1 inch increments. Then using an long board as our guide, we lined the board up with the marks on opposite sides of the plywood and used a pencil to draw the line. It was actually pretty easy, but did require some back stretches during the process!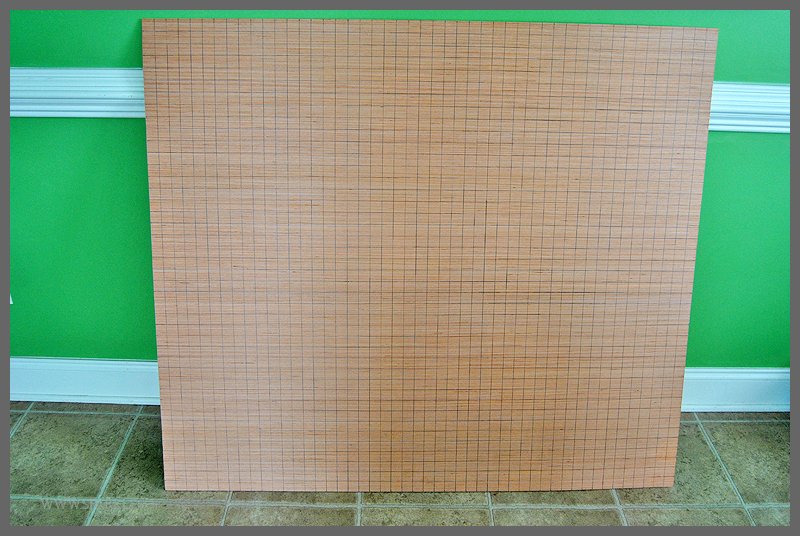 I thought about using another cross stitch pattern as a guide, but ultimately I decided on using the one BHG provided on their website. I did make a few changes to the colors and moved some of the flowers around on my board, but it is still pretty close to their pattern. Making the flowers was easy since all you do is paint an “X” in the corresponding squares using paint.
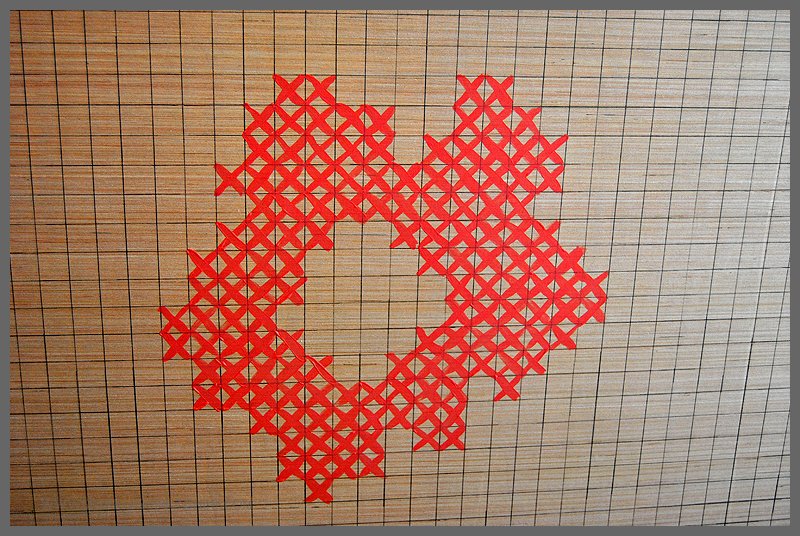 Once it was dry, Errik used construction adhesive to add a small board to the back of the plywood. Once it was dry he was able to adhere a wire hanger to the board using a staple gun.
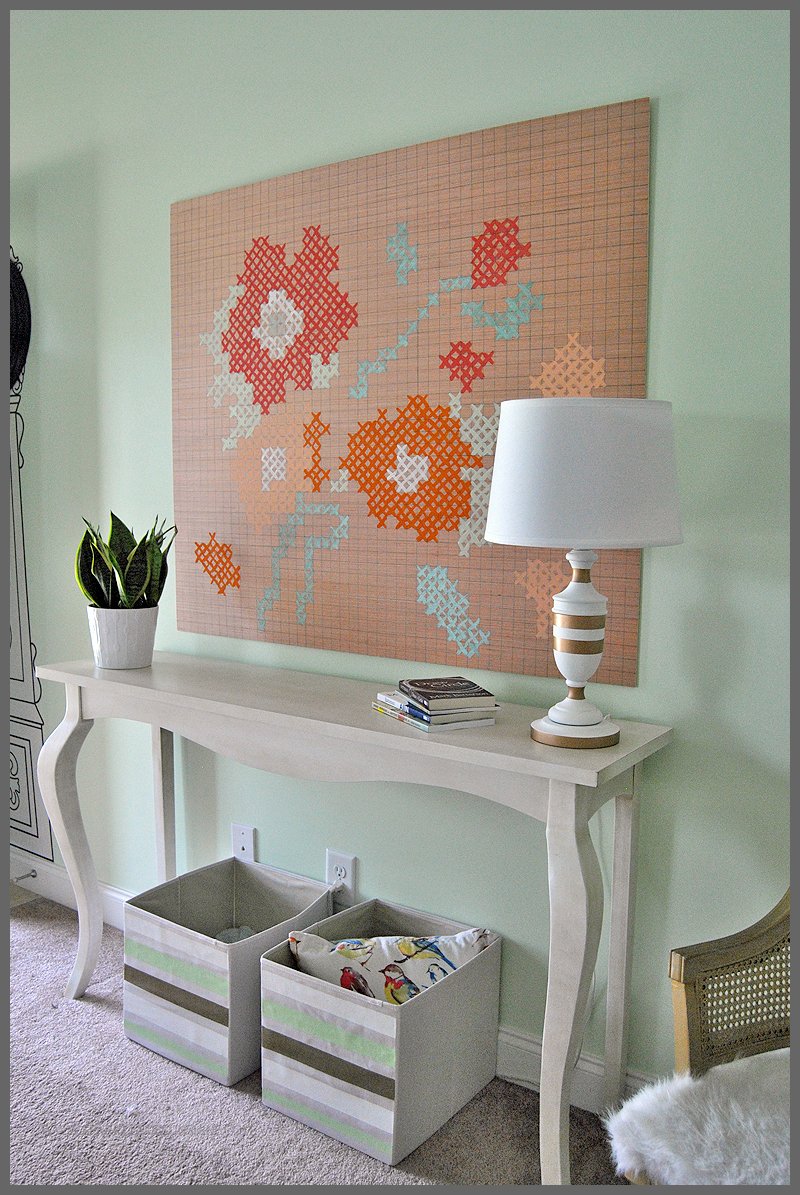
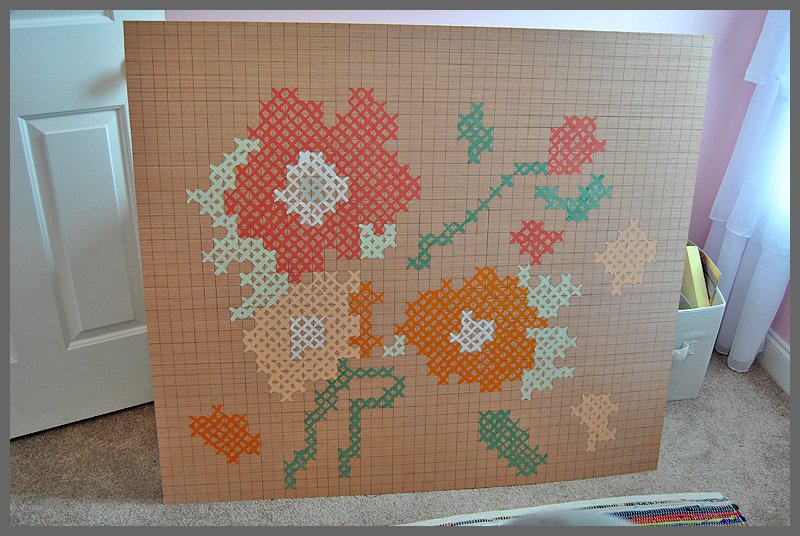 All we had to do was hang it above the console table and then we were done. Ahhh…what a relief to have a beautiful new art piece in our home! I love how this piece adds color to our living room space, and it fills in the big, empty space above the table.
 This piece also reminds me of my grandmother since she helped teach me to cross stitch and I used to make her cross stitch gifts for Christmas when I was growing up. In fact, she refused to take down a Christmas tree I once cross stitched for her and left it up on her wall all year round. It drove me crazy to see Christmas decor out in August, but it meant so much to me that she liked it that much. Can you tell I’m smiling now? Well, now I can think of her whenever I walk into my living room. I bet she would have thought this project was really cool!
 Would you like the grand total for my DIY cross stitch art using plywood? I spent $15 on the plywood, $12 on paint, and all the rest of the supplies came from my craft supply and our shed. Can you imagine finding artwork on this large of a scale for $27 anywhere else? I think not! Not only was this an affordable option, but it turned out to be a fun project as well. I enjoyed painting the cross stitch pattern while jamming to my favorite tunes, and it was a fun way to spend an afternoon. Do you have plans this afternoon? Got any plywood??


[…] DIY Cross Stitch Art Using Plywood […]