
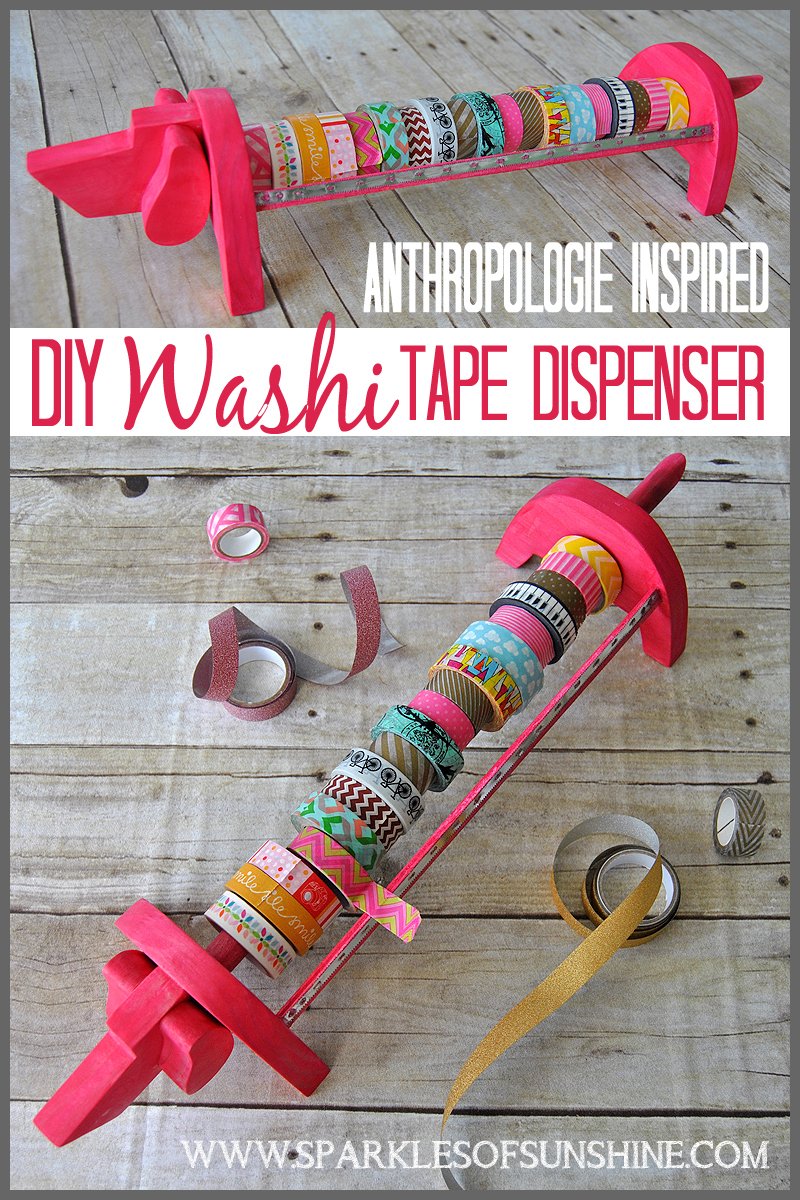
Looking for a way to store your countless rolls of Washi tape that are scattered over your desk? I was, too. I saw a storage dispenser at my local craft store, but let’s face it, I felt my beautiful rolls of tape deserved something better. I wanted my Washi tape stored in style, so I did what any crafter does…I went directly to Pinterest.
I saw that many others had simply used an old plastic wrap box to store their Washi tape, so I settled on that idea and headed to The Dollar Store to pick up a box and so I could get started. As I was picking out some pretty paper to Mod Podge onto the cardboard box, I decided against the idea. I still think it’s an excellent, easy idea for Washi tape storage, but I wanted something original. I scoured the paper towel holders at my local retail and thrift stores for ideas. Nothing hit me, but then…I hit jackpot! When I searched online and found a really cute puppy paper towel holder at Anthropologie, I knew it would make a perfect tape dispenser for my tape! All I needed was smaller version for my tape, so I got out my pen and paper and got to work sketching it out so my hubby could help me with it when he got home for work.
Here is what we used for this project:
- A piece of scrap wood found in our shed (We used a 1 X 4)
- Dowel rod (we used one 5/8″ thick)
- Metal strip with teeth from a plastic wrap box
- Wood Stain or paint
- Wood glue
- Jigsaw
- Drill
- Sandpaper
- Router
- Skill Saw
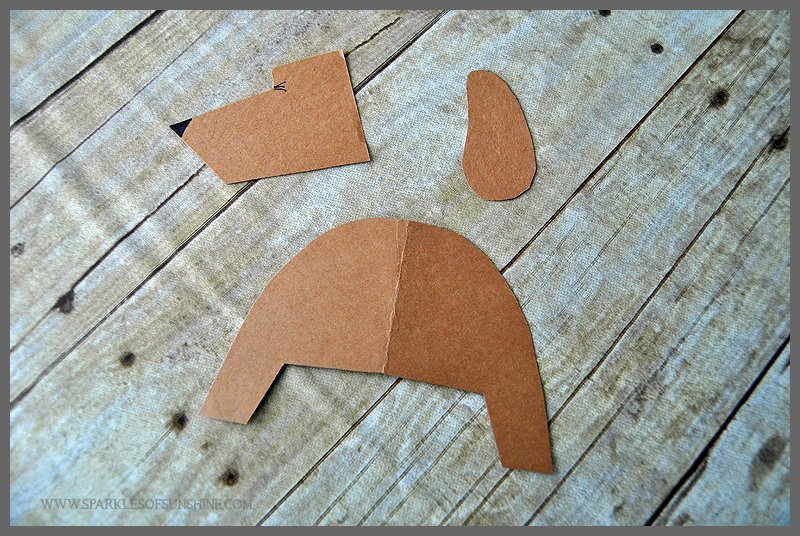
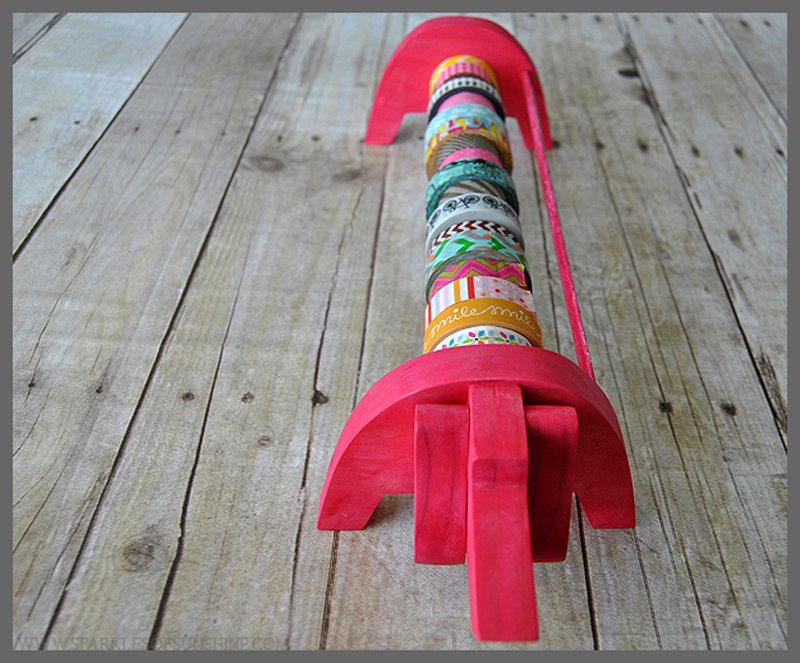
First I sketched out the pieces needed. You will need the head, two ear and two body pieces. I traced these onto a piece of wood and my hubby used the jigsaw to cute them out for me. I’m happy that my hubby is talented enough to help me with my projects. This isn’t the first time he’s brought one of my ideas to life!
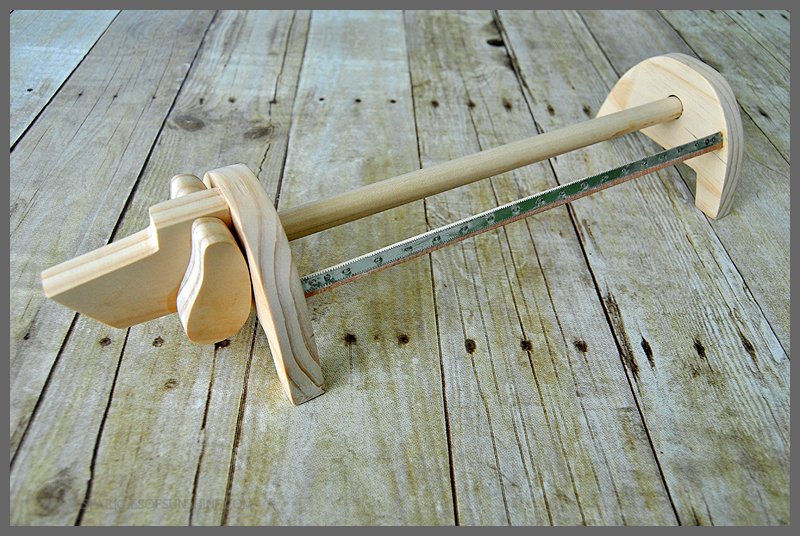
For the back body piece, Errik drilled a hole slightly larger than the dowel rod in the middle. He laid this piece onto the front body piece and traced the circle out with a pencil. He then used a router set at half the depth of the wood to carve out the circle in the middle of the front body piece so that the rod can rest easily into place. He sawed a small piece of wood and used wood glue to adhere the metal strip to it, making sure the teeth were sitting slightly over the edge. He marked a spot onto each body piece and routed out a small slit for the end of this piece to slide into and secured it into place with wood glue. The face and ears were then glued onto the front body piece. The last step for him was to cut the tail to length, sawing it at angle.
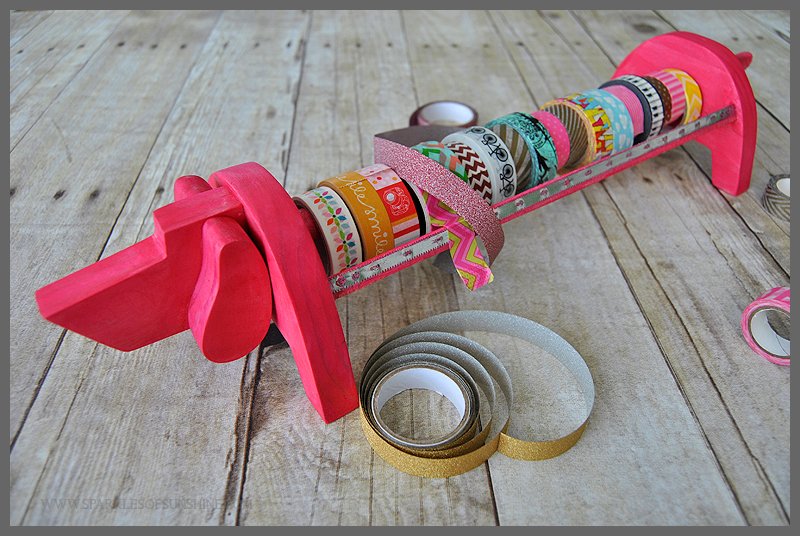
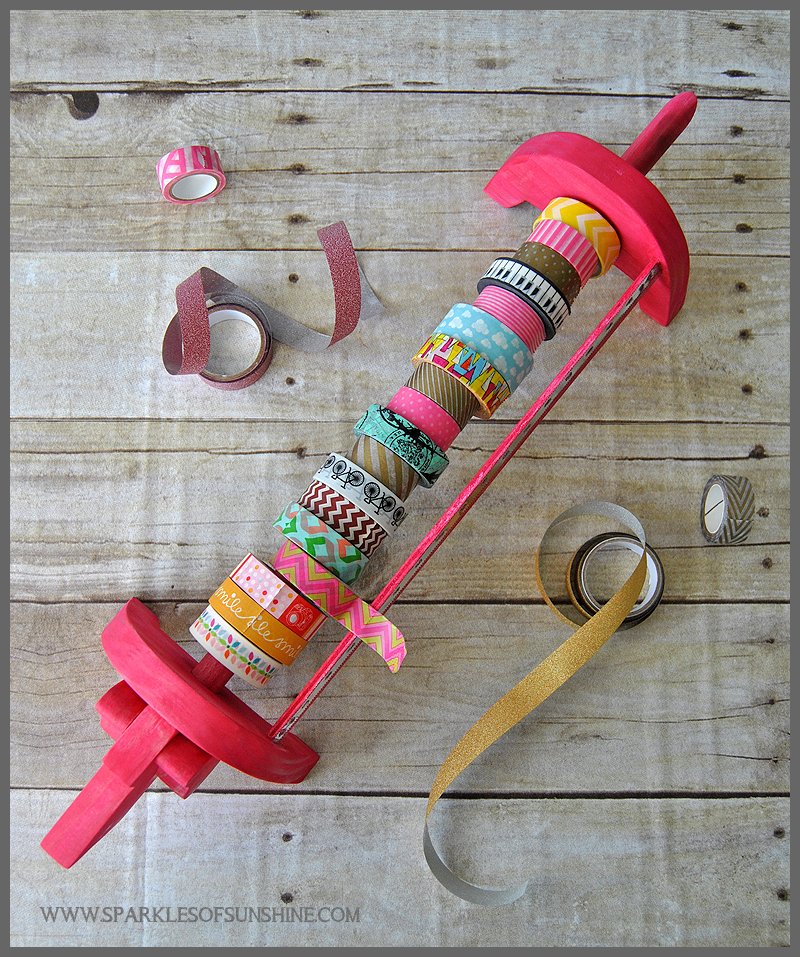
He brought it in and I already was giddy with this piece. What’s not to love? The only thing I like better than a sweet doggie tape dispenser is a pink doggie tape dispenser, of course, so I pulled out my Martha Stewart Crafts Wood Stain in Orchid and got busy.

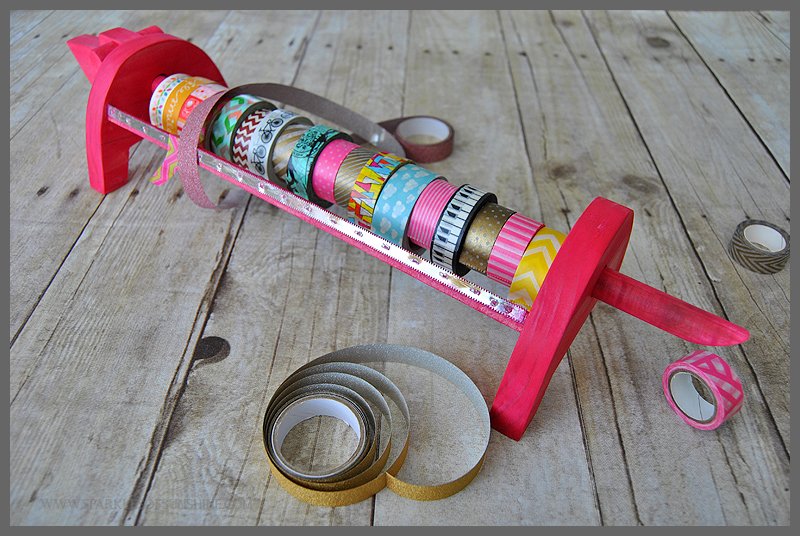
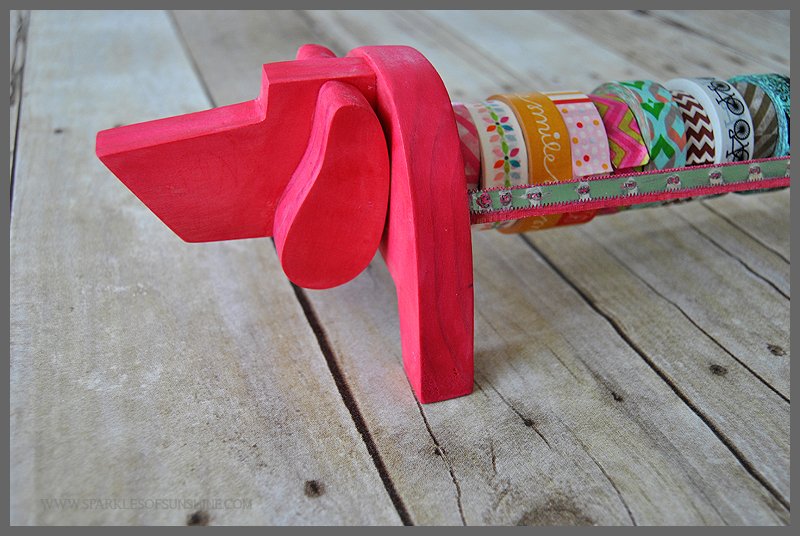
I used a sponge brush to apply the stain to the wood and let it sink it. When it was dry I added my countless rolls of Washi tape. This Washi tape dispenser is easy to use. To add or remove tape all you have to do is pull on the tail to slip the middle rod out slightly, slip on your rolls of tape (or remove them), then push it back in. Super easy!
I love that I can easily see all my rolls of tape, and it’s easy to cut with the nifty metal edge piece. Perfect!
I know it’s functional, but can I just say that this DIY Washi Tape Dispenser is adorable? Seriously, just looking at it makes me smile. When I told my husband this he said we should dye Lanie’s hair pink (our little Shih Tsu). Don’t worry, he was joking! Besides, I’d never chance her getting pink dye on my white slipcovered couches…
This little guy looks so cute sitting on my office bookshelf. I love that it adds a pop of color and brightens up the room.
Pink is my favorite color, of course. I don’t care how old I get, I still swoon at the sight of pink. You could make yours any color you’d like, though. You could use paint or stain, or even leave it natural if you’d like to. It’s up to you!
I’m so glad Anthropologie inspired me to make this super cute DIY Washi Tape Dispenser. I’m using it every chance I get now. It’s just so much fun to pull out this pretty in pink doggie tape dispenser!! What do you think?


Another outstanding idea for dog lovers!
Great job! Thank Errik for an outstanding job of cutting!??
So glad you like it, too! 🙂
Really great job! Love the fun color too! I would love to have this in my craft room – pink and all! Hope you have a great holiday weekend!
Thanks, Laurie. This really was a fun project to make. I’m so glad you like it, too!
OMG this is super adorable! I am in love!!
I am, too. I’m thinking of giving her a name, what do you think? LOL
How do you get the rolls onto the dowel rod? Does the tail pull out?
Yes, the tail pulls out and the tape slips onto the rod.
This is the best! Wish I was handy with a saw!
I wish I were, too! I am learning, but I’m glad my hubby is more talented than me!
Your puppy is adorable! I’ve included it in my latest post about creative space organization. Thanks for sharing!
http://www.thepaperycraftery.com/other-fun-things/creative-space-organization-ideas/
That is awesome! Thanks so much for including me in your post. XOXO
This is the cutest thing ever! I have considered doing the plastic wrap box but it didn’t inspire me much. I need to make this ASAP (or at least as soon as it’s warm enough to be in the garage for more than 5 minutes).
Thanks so much, Kati. I used my little Washi Doggie today when I was mapping out next week in my planner. Hope it warms up in your garage soon so you can make and enjoy one, too! 🙂
I can not get over how awesome and innovative this is!!! Super Cute!
Thanks so much, Olivia. I absolutely LOVE using my Washi tape thanks to this dispenser! XOXO
Adorable! I am SO jealous and wanting my own! Thanks. For helping me get my next project idea! 🙂
Yay! Let me know how your project turns out! 🙂
Super duper cute!! I have 3 Dachshunds LOL so this is extra appealing!
Super adorable…I think Martha would also be proud of your creativity! Keep those ideas rolling 😊
Thank you so much, Mildred! 🙂