
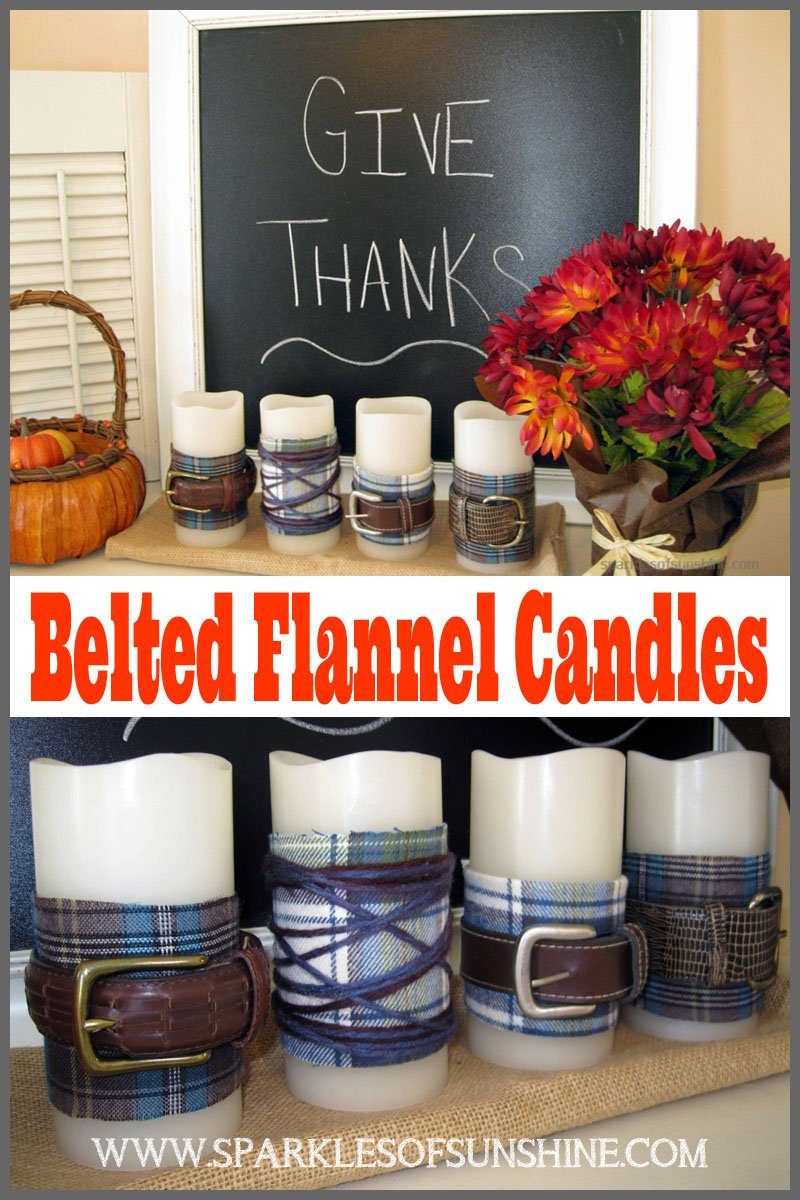
 Fall is in the air, and cooler weather is on the way. Although it’s slightly depressing to me since I love the summer months, there’s something nostalgic about fall weather. It makes me think of football games, corn mazes, hayrides and fall festivals. There’s nothing nicer than bundling up in flannel for these events. If I can dress up in flannel for fall, is there any reason why my candles can’t?? I would say no, so let’s take a look at today’s project!
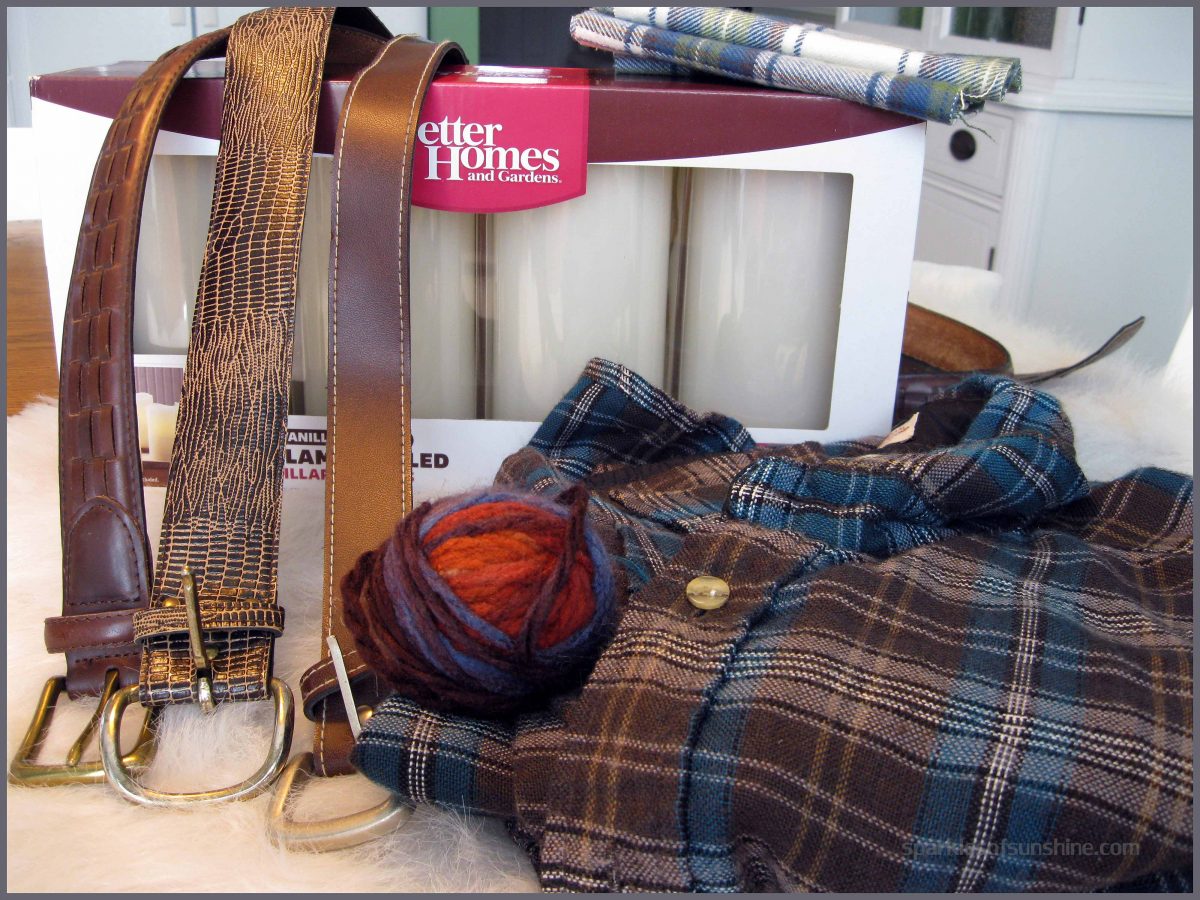
For this project you will need some flannel. I used some leftover flannel from a pillow I made recently, as well as material from an old shirt. You will also need leather belts, candles, scissors and glue gun/sticks. If you don’t have any old leather belts, check out your local thrift store. I paid about $1 each for my belts at Goodwill. Can’t find any belts? Grab some yarn and you can try the yarn wrapping candle. Alright, let’s get started!
 I started out by cutting off a sleeve of my flannel shirt to use for material.
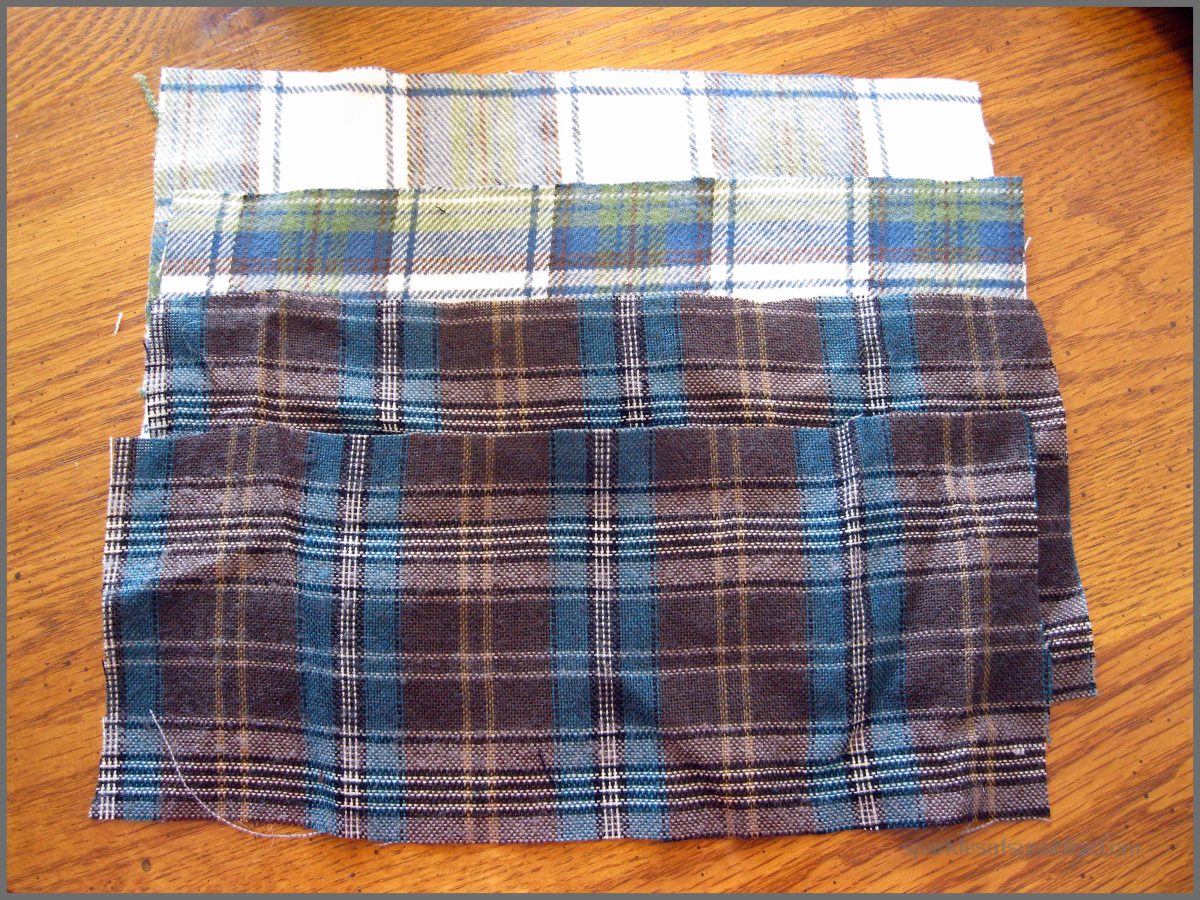
 Next, I cut 4 pieces of fabric into rectangle pieces. I determined the width I wanted by wrapping the fabric pieces around the candle and trimming the fabric until I was satisfied with it. I used various widths of fabric for my candles, but you can do yours all the same if you’d like. Your choice! I decided not to hem the edges since I wanted a rustic look for these candles.
 I then wrapped the fabric around the candles and secured the ends together with some hot glue.
 They look nice already, but now it’s time to dress them up!
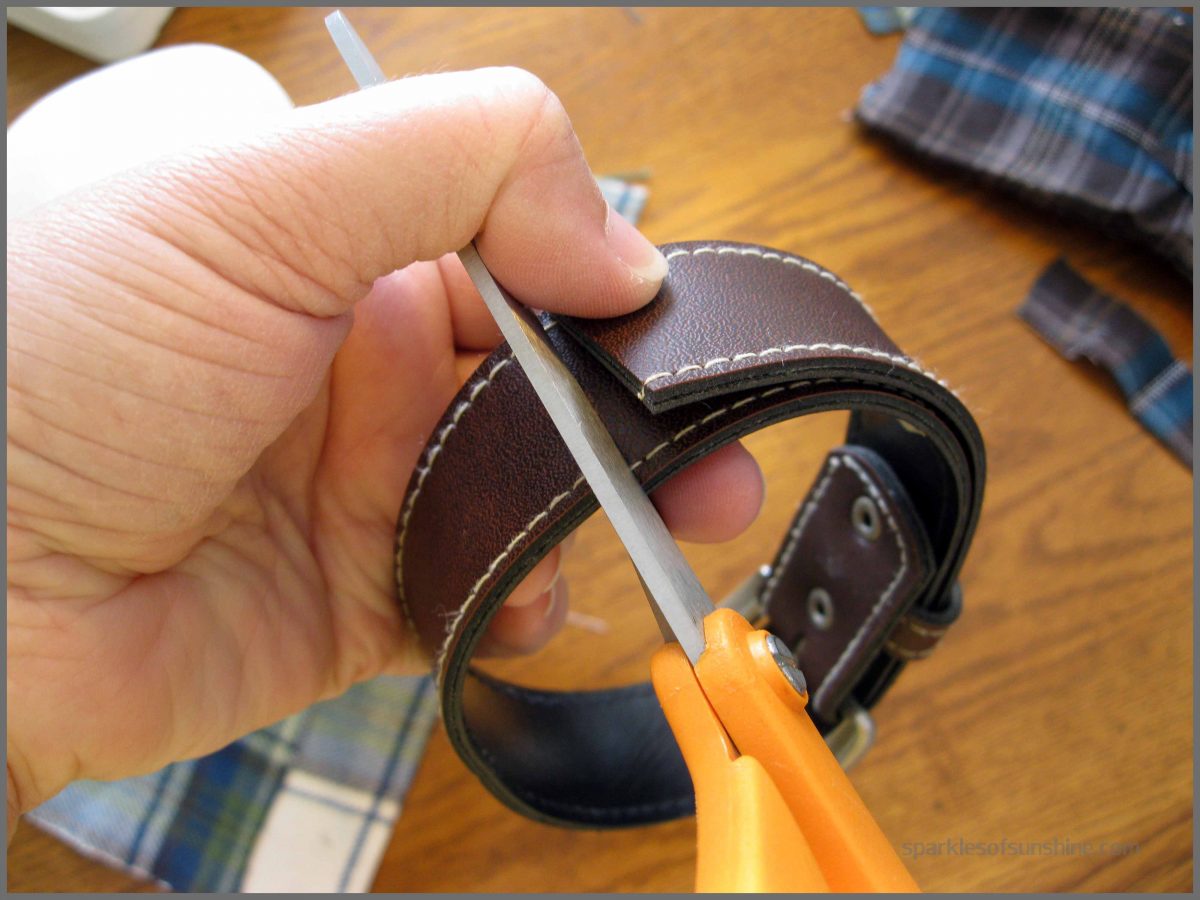
 Now it’s time to trim the length of your belts. You will want to wrap your belts around the candles until they fit snug, then cut the end of the belt so your belt length will end at the back of your candle.
 Next, determine where a hold is needed for the belt prong, and use a pair of scissors/knife to create a hole.
 Now we have 3 shorter belts to wrap around our candles.
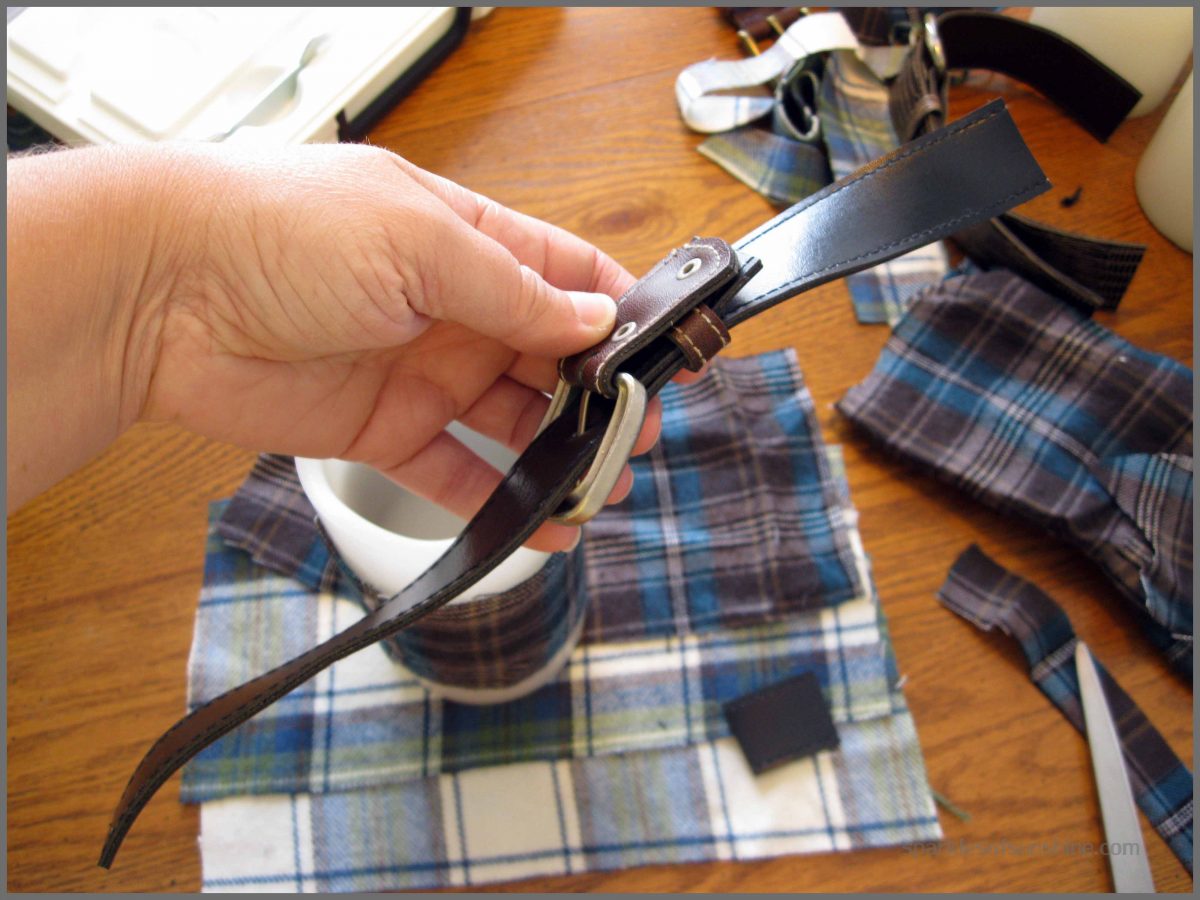
 Go ahead and buckle your belts around your candle. Your belt will fit loosely, but that’s ok. We will fix that! Mark where the loose strap ends, slide the belt off the candle, and then cut the belt open in the back at that spot.
 Notice there are two straps of leather on one side of the belt loop. You don’t want extra bulk up front so the buckle will lay flat. I cut my belt off at the front to eliminate the extra strap.
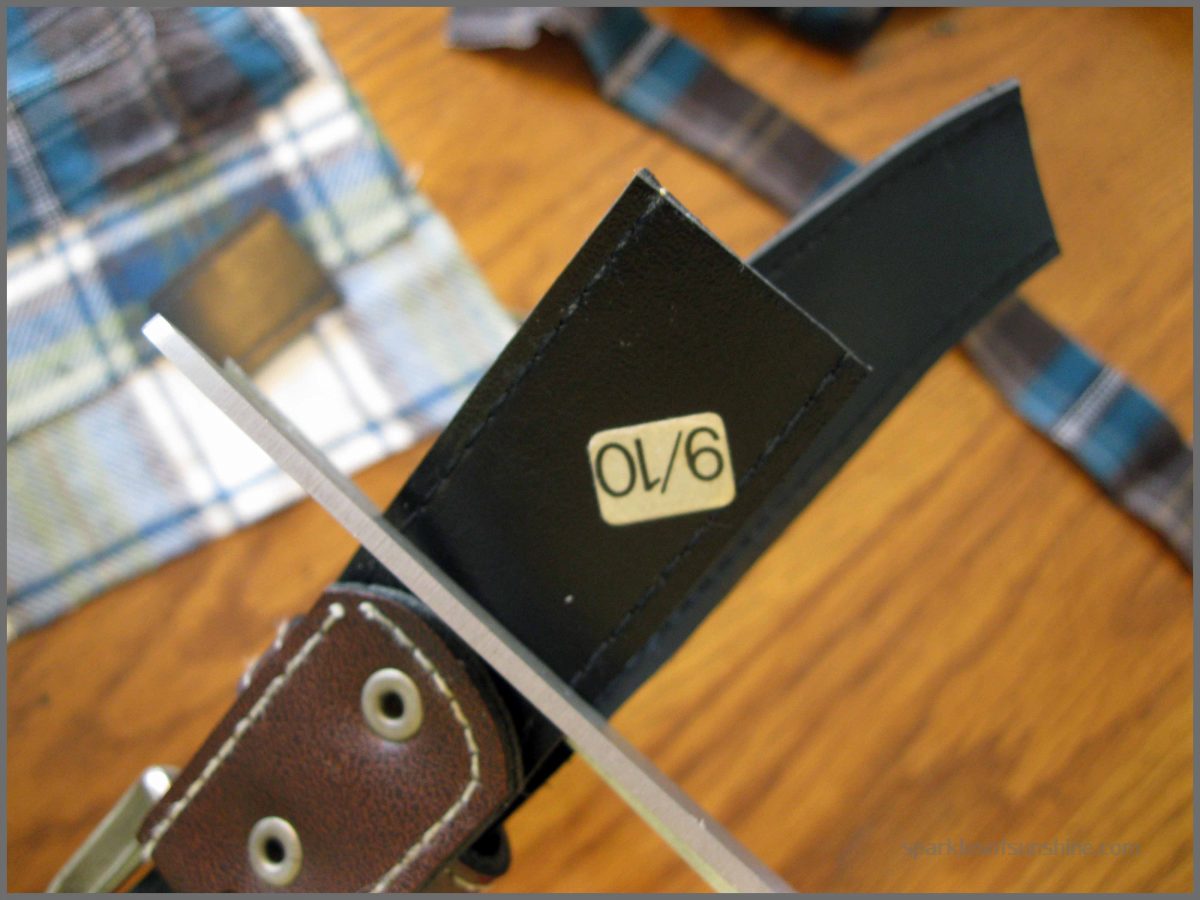 Your belts should now look like the belt below.
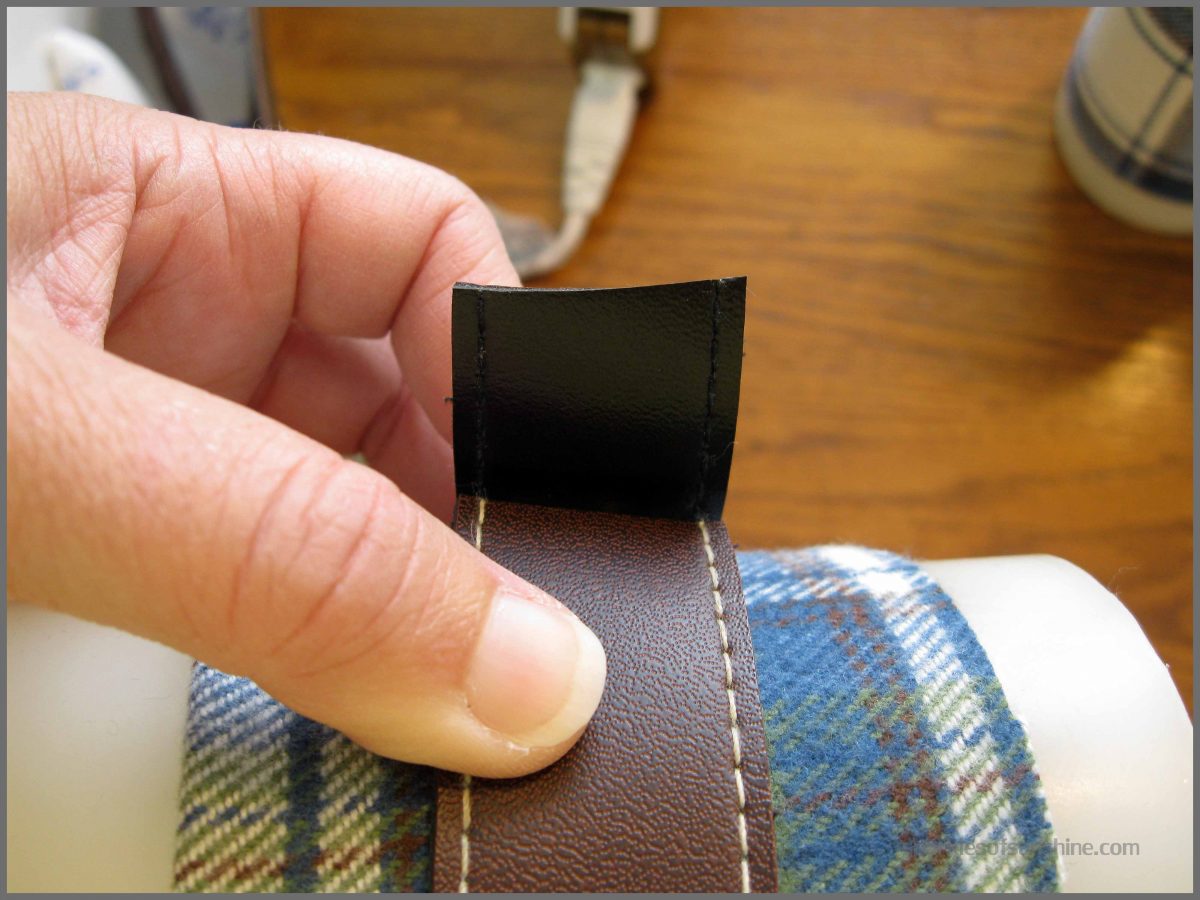
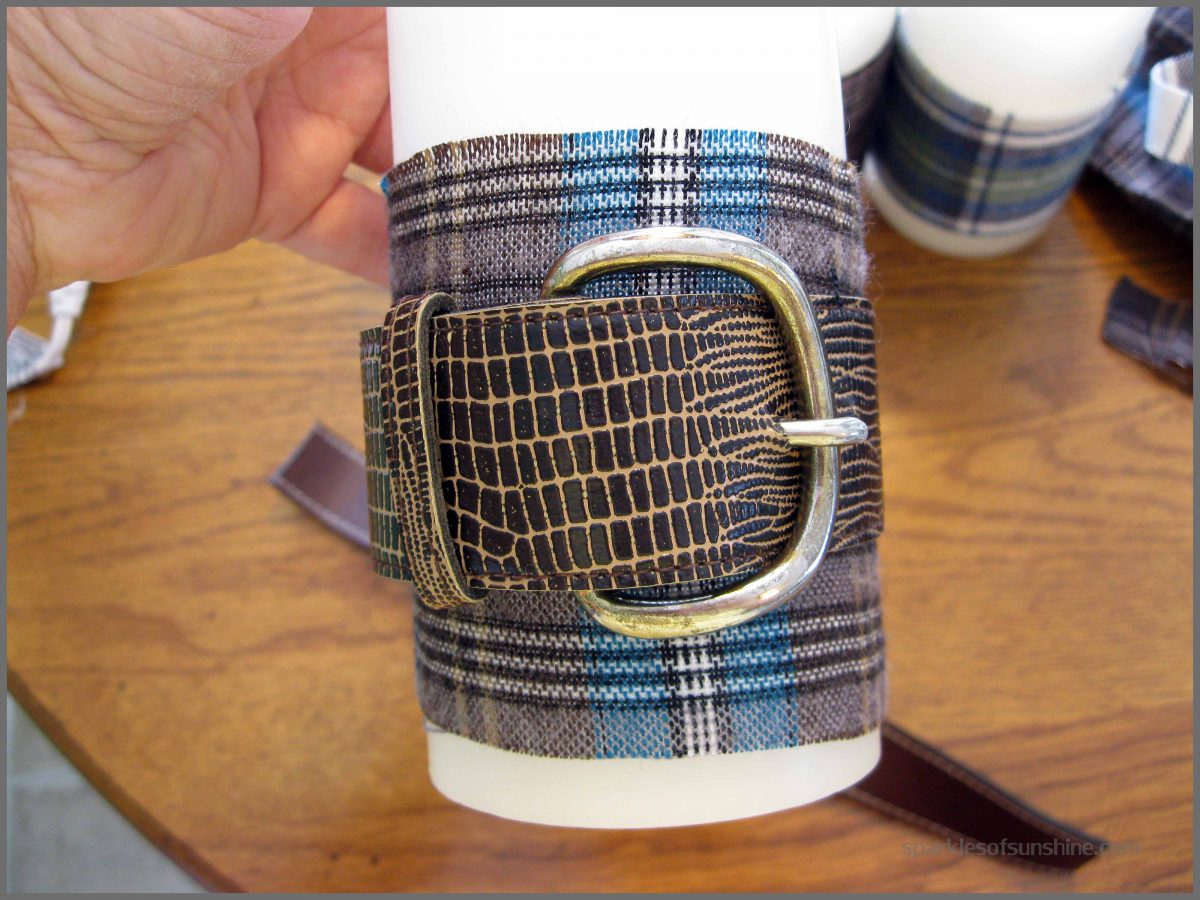
 Now wrap the belt around your candle over the flannel piece, and use the hot glue gun to secure the belt into place.
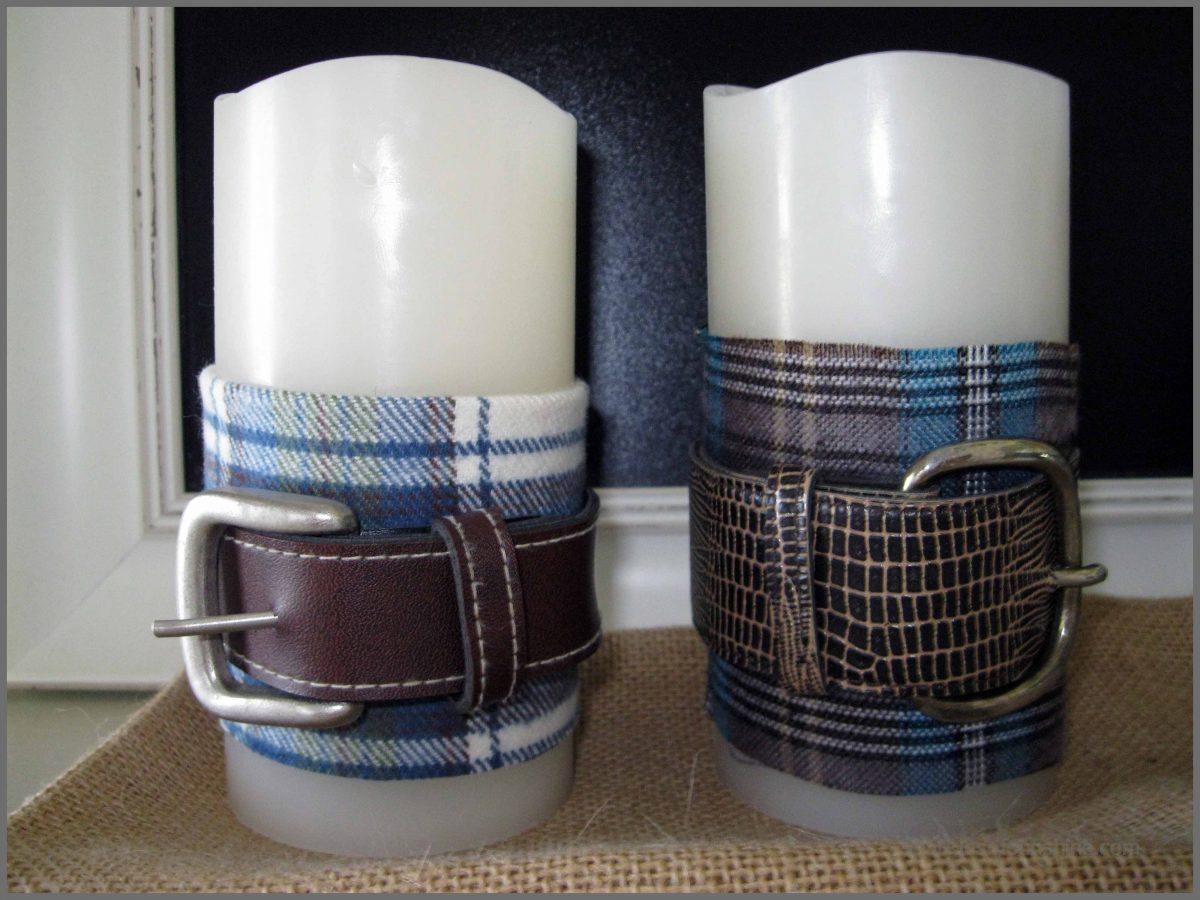
 Doesn’t that look awesome? Now repeat the process for the rest of your candles.
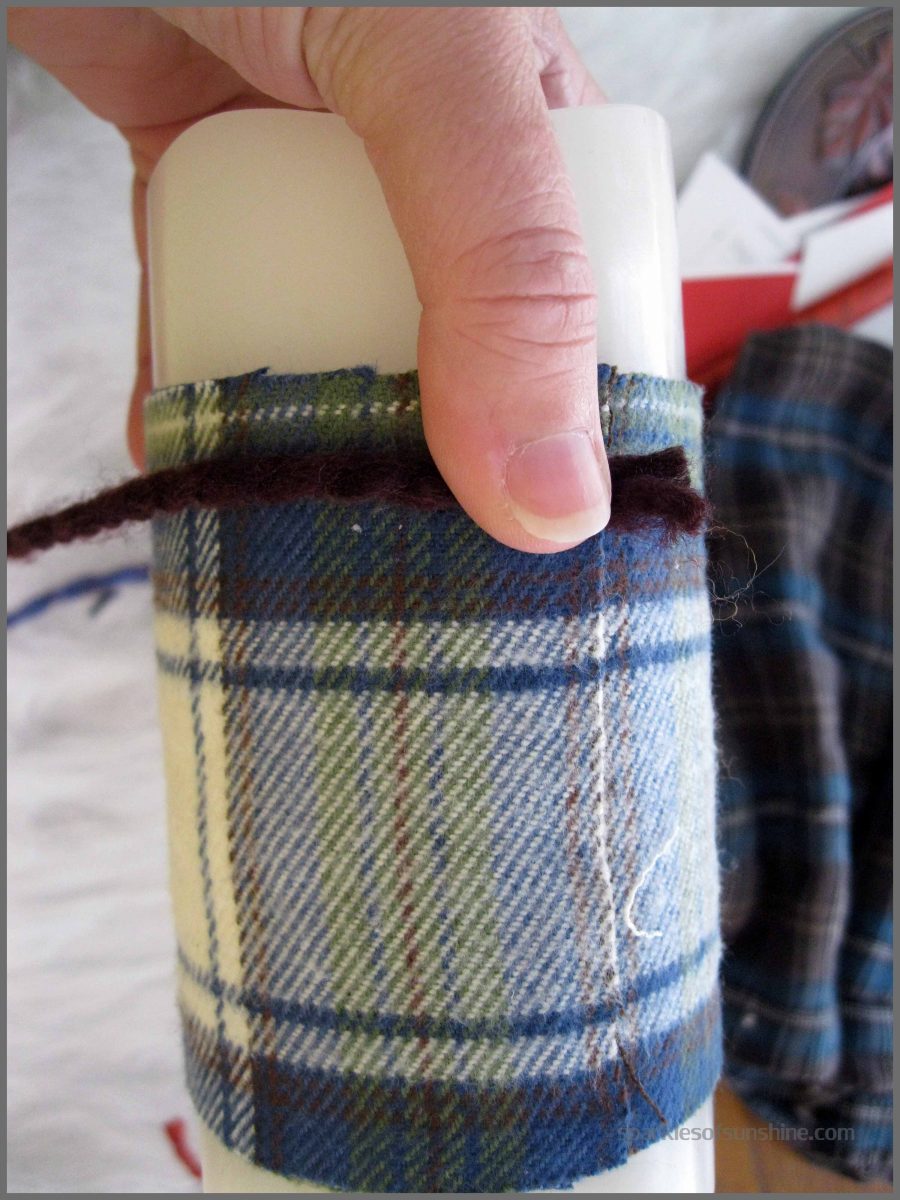
 You want to try the yarn wrapping technique? This is super easy! Just start wrapping your your around the candle at the top. I wrapped it around twice first to secure the yarn into place, then slowly wrapped the candle from top to bottom at various widths to create the crossed yarn look.
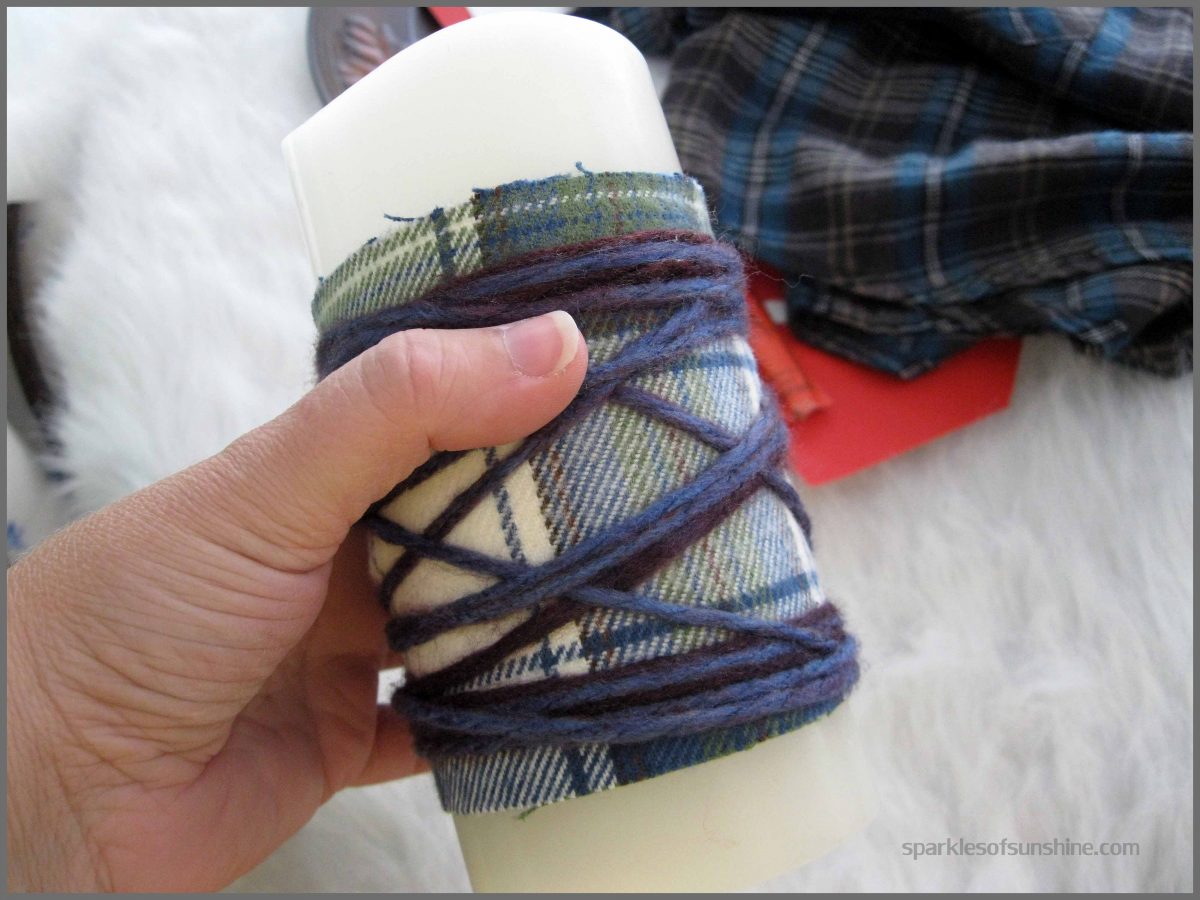
 Be sure you are holding your candle with the front side to you while you are doing this. The first time I wrapped my candle I didn’t do this, and when I turned it around it looked like a big mess! You want to see what the front side looks like while wrapping the candle so you can see what the result will look like. I had to start mine over again!
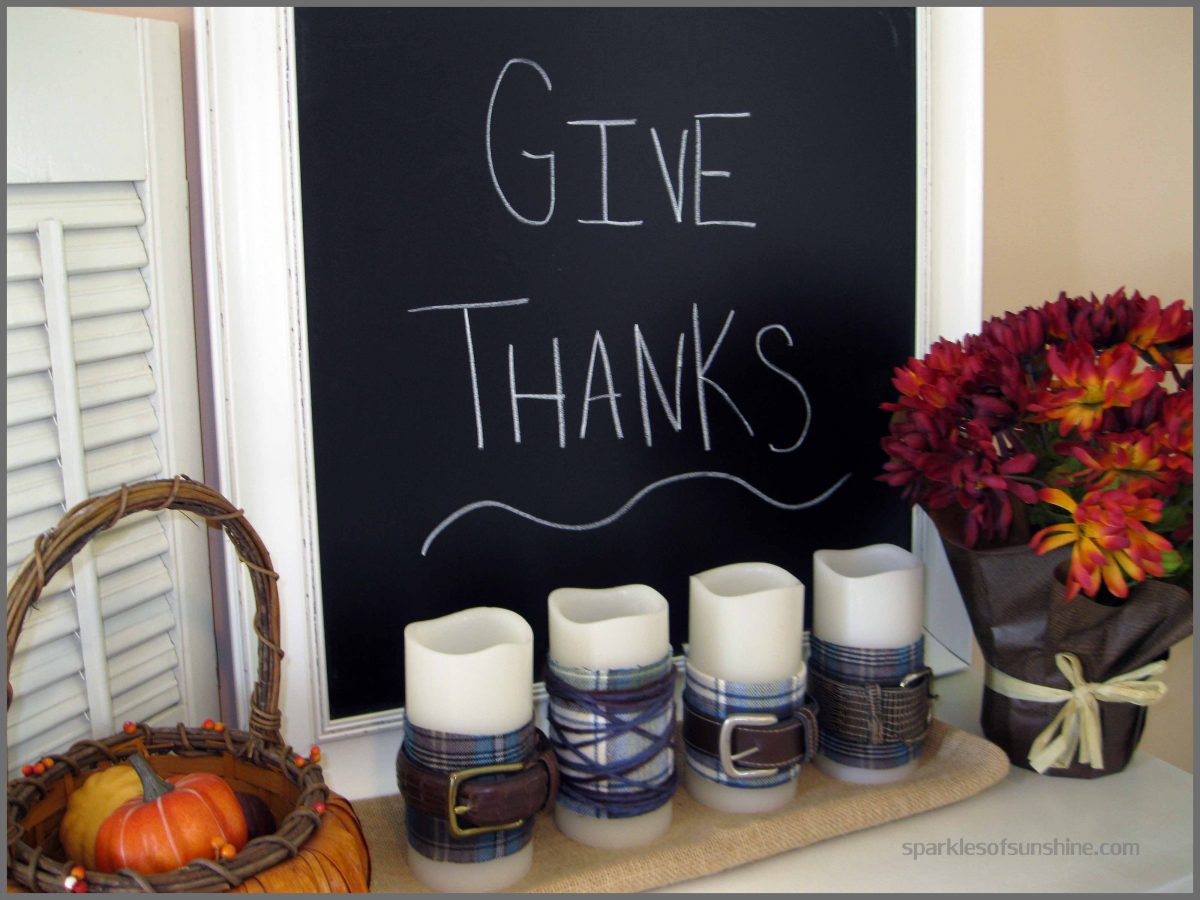
 What do you think of these dressed up candles? I think they look really great! Nothing screams fall like flannel and leather, right? For safety reasons, I used LED candles for this project. Keep in mind if you use real candles you will not be able to burn them because the wax may drip down the sides.
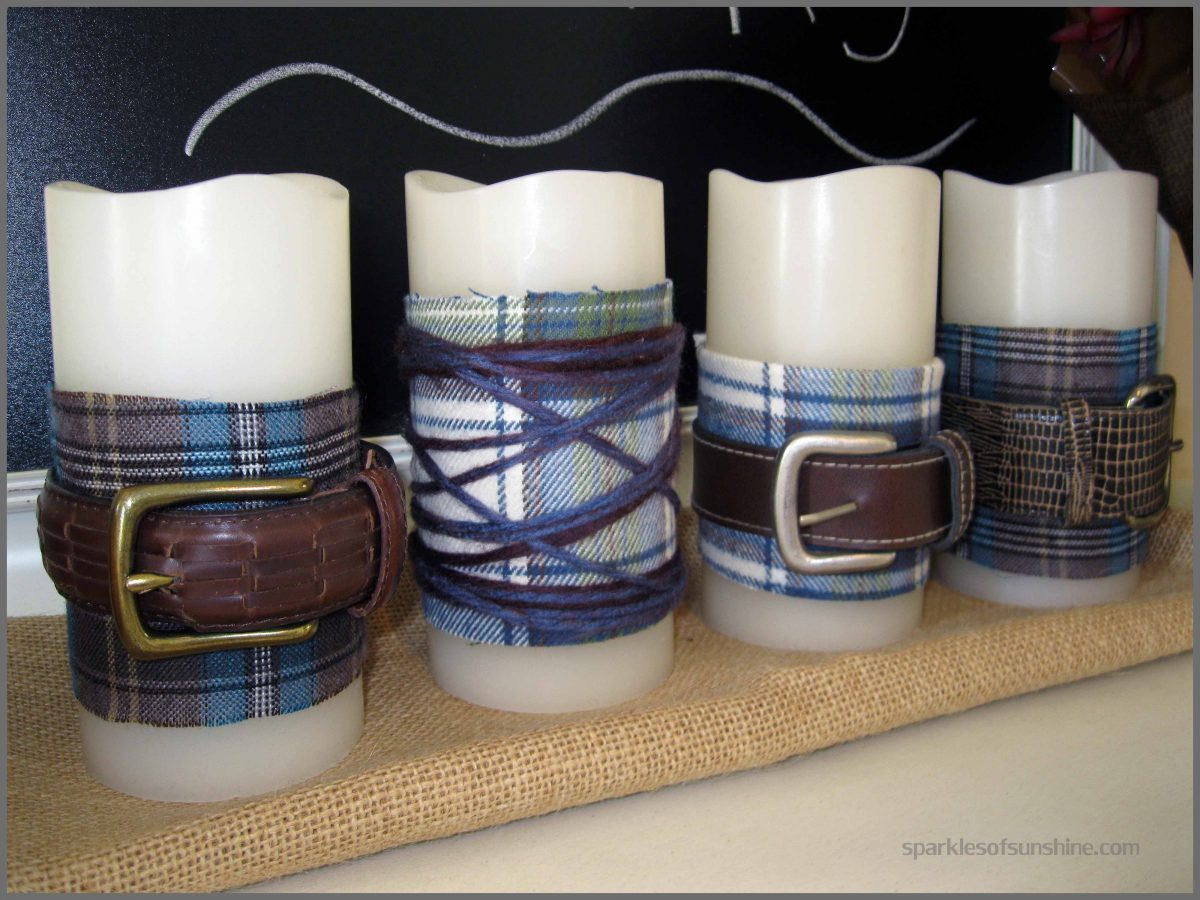
I think these look perfect on my front entry table, don’t you?
 This was an easy project to complete in a short amount of time, but provides a big impact in your home. You could try doing these for Christmas, but with red flannel and gold belts. Or use burlap instead of flannel? The possibilities are endless! Just use your creative mind and make it work for your home decor. Feel free to make changes to this project, as long as you share them with me!
Shared at the following Linky parties: Made by You Monday, Time to Sparkle, Share It Link Party, Fall Frenzy Linky Party, Lou Lou Girls Fabulous Party


This are so cute and different! I love it!
Thanks, Stephanie! They were fun to make.
Hello sweet lady! They look incredible. Pinned. We appreciate you taking the time to party with us. We hope to see you on Monday at 7 pm. We love partying with you! http://loulougirls.blogspot.com/
Happy Sunday! Lou Lou Girls