
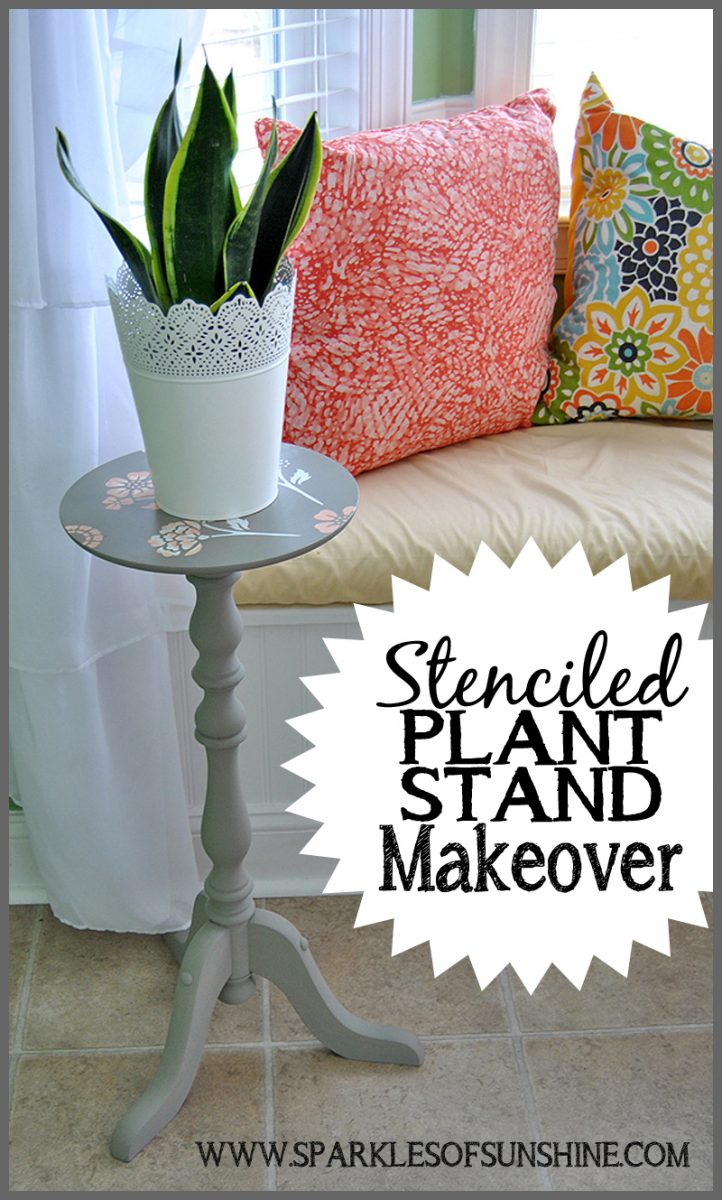
I’m so glad you’ve decided to stop by today and take a look one of my favorite projects, a Plant Stand Stenciled Makeover. This project is one of my favorites not only because it’s beautiful, but because it’s special. You see, I created this stenciled makeover for my mother for her Mother’s Day gift this year.
I almost hate to share this with you because I don’t want my mom to see how easy it was for me to complete this makeover. But even though it wasn’t difficult for me to make, it was definitely made with love, which is what really makes a gift special after all. I’ve been trying to make gifts for my loved ones this year when possible. Not only does it fit better into our budget, but it also makes the gift a personalized one. Sometimes I make gifts from start to finish, but other times I choose simply to makeover something I’ve found at a thrift store or dug from my attic.
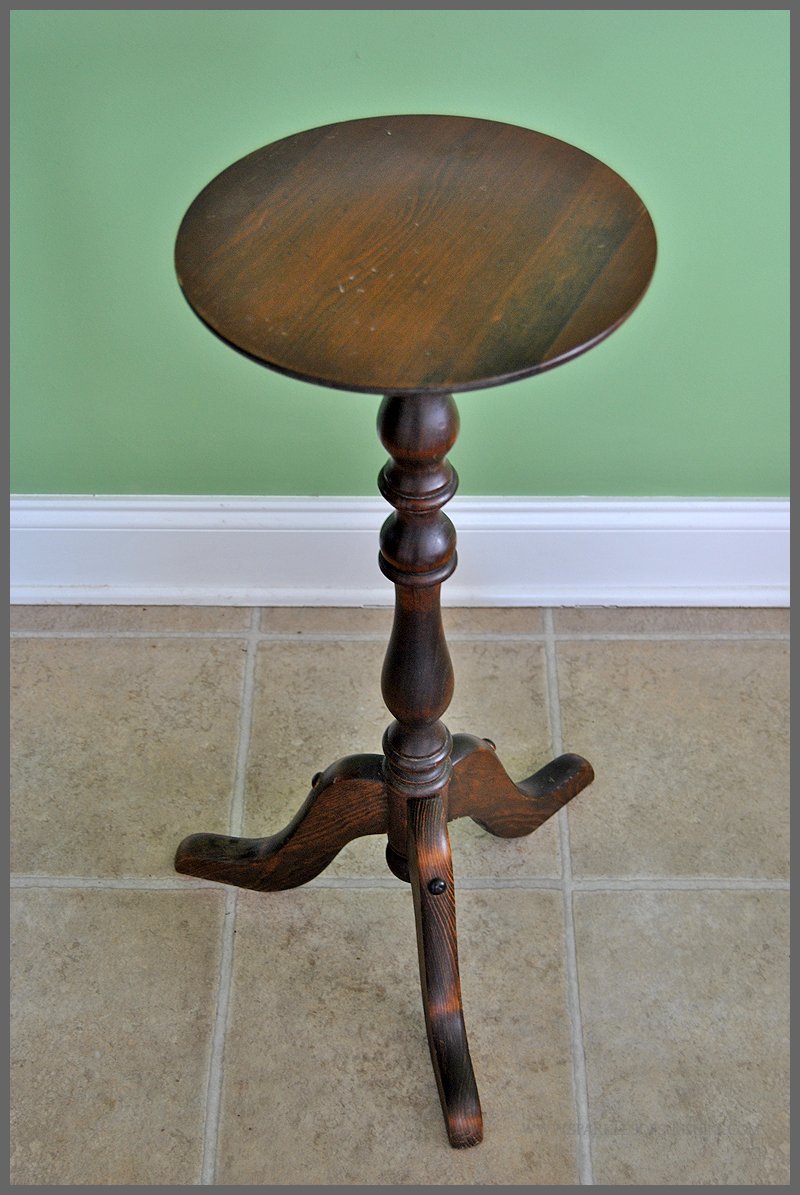
When I saw this plant stand at my local Goodwill Thrift Store, I knew this would make an excellent gift for my mom. I snatched it up, then headed home to get to work on the transformation. The stand was in excellent shape except for some scratches on the top surface, so I gathered my supplies while my hubby sanded the top for me. Here is what I used for this stenciled makeover:
- Wooden plant stand
- Folk Art Home Decor Chalk Paint in White Adirondack and Castle
- Martha Stewart Crafts Vintage Decor Paint in Cantaloupe
- Sponge Brush
- Stencil Brush
- Decorative Stencil
- Mod Podge Matte Finish
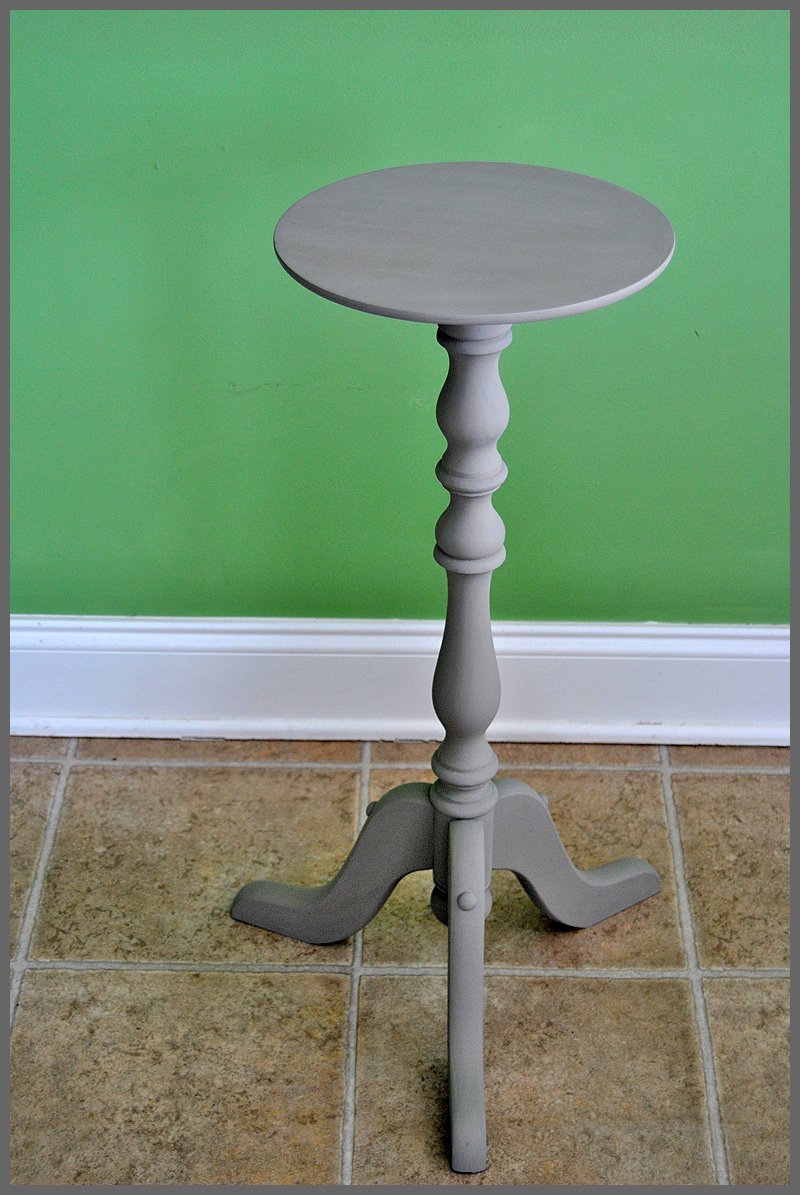
I started out by painting the plant stand with the Castle shade of chalk paint using the sponge brush. It took me two full coats of paint and then some extra for touch ups.
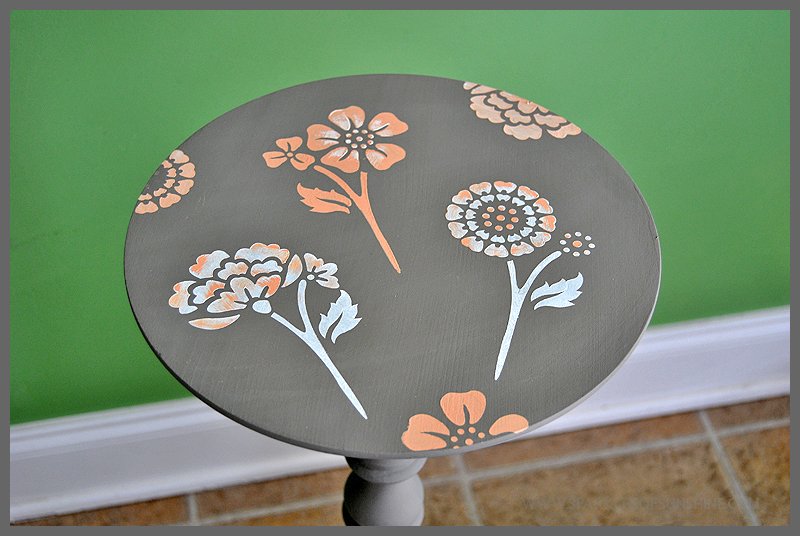
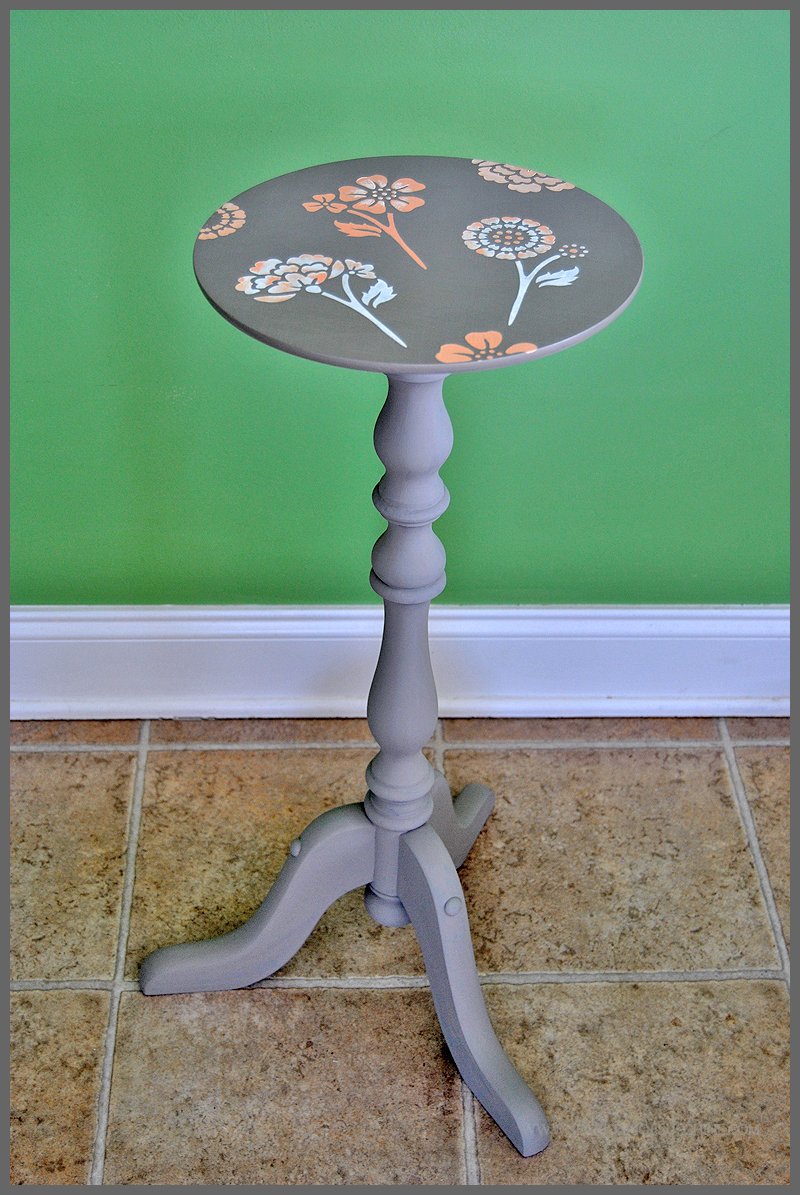
I placed my stencil onto the plant stand to plan on the arrangement I wanted to use. I started out by stenciling the flowers onto the plant stand surface, painting each flower with my desired chalk paint color.

Once the paint dried, I gently placed the stencil over the flowers and then used a stencil brush in the alternate color to accent the flowers. I really like the two-toned look of the flowers, don’t you? It definitely adds some extra interest to this piece.
Once the top surface was dry, I brushed a thin layer of Mod Podge over it to seal the paint and protect the surface. Once the Mod Podge was dry, my project was completed.
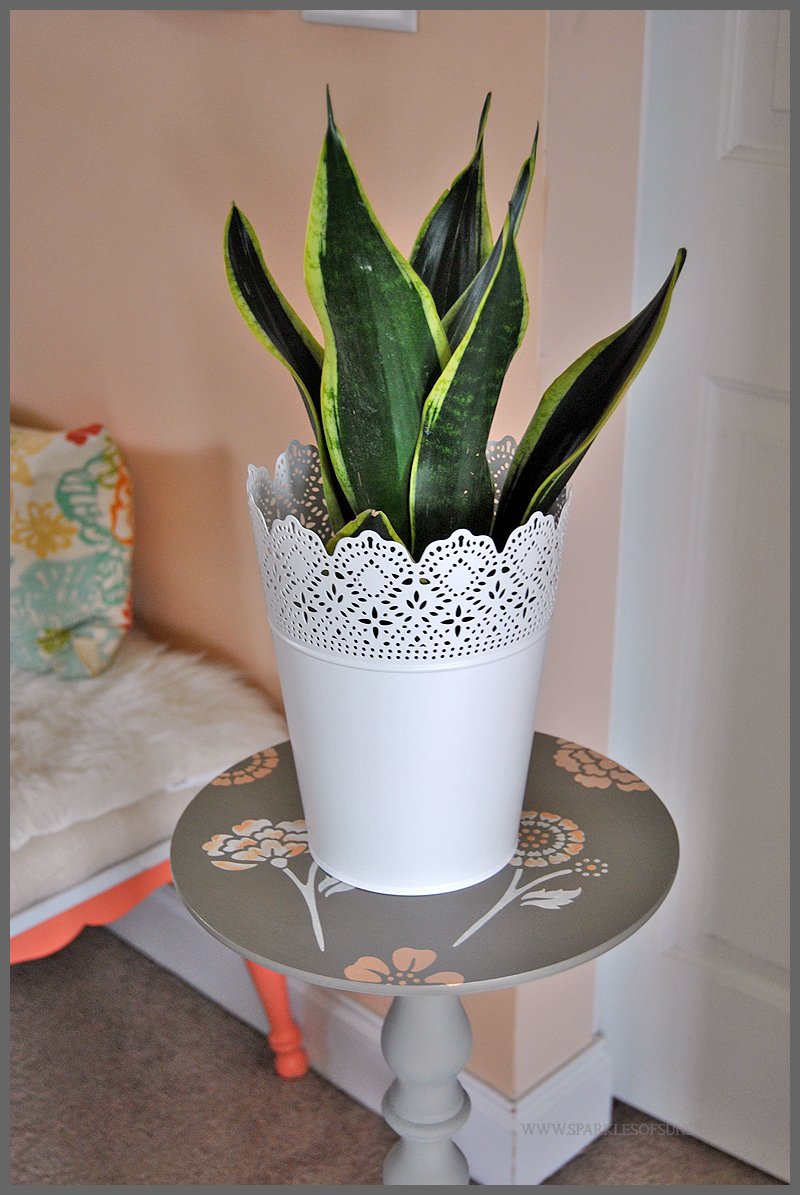
That was all it took to create this beautiful stenciled makeover plant stand transformation. It seems way too simple, right? Sometimes just a little bit of effort can provide huge results. These are the types of projects I really love.
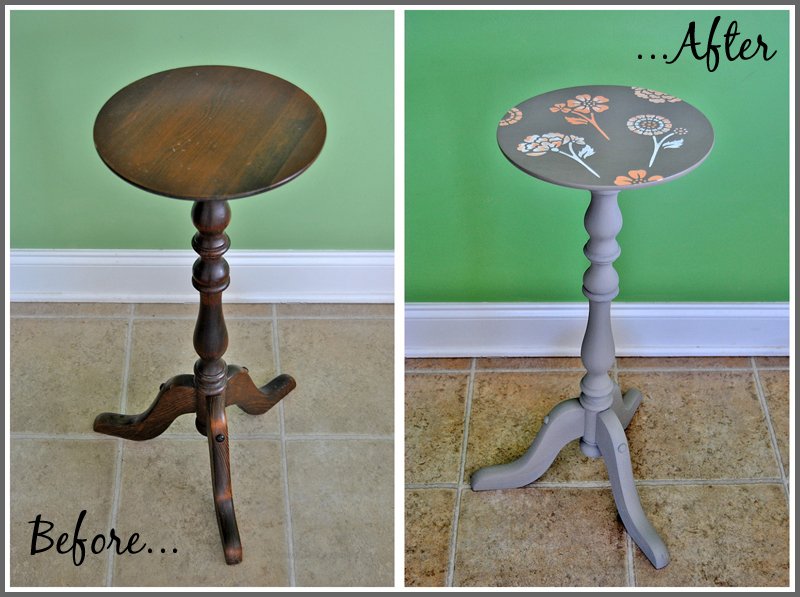
Let’s take a look at the before and after pictures again. Isn’t this a beautiful update to an outdated piece of furniture?
Tell me, what furniture pieces do you have hidden in your home that you’d like to give new life to? Maybe you even have some knick-knacks boxed up that could use a makeover. Pull those suckers out, grab a brush and some chalk paint, and get to work!


I like this. It turned out beautiful even though it wasn’t hard to make. Those are the best kind of projects. I used to have a plant stand just like this and now I am not sure where it is. Hmmmm I may have to find it. Thanks for the great idea.