
My husband and I recently had one of our best vacations ever. After spending a week relaxing by the beach in Marco Island, Florida, I returned home energized and inspired and decided it was time to complete my living room makeover. So, instead of grilling and having fun on Memorial Day this year, we spent our day priming and painting our living room. Twice. 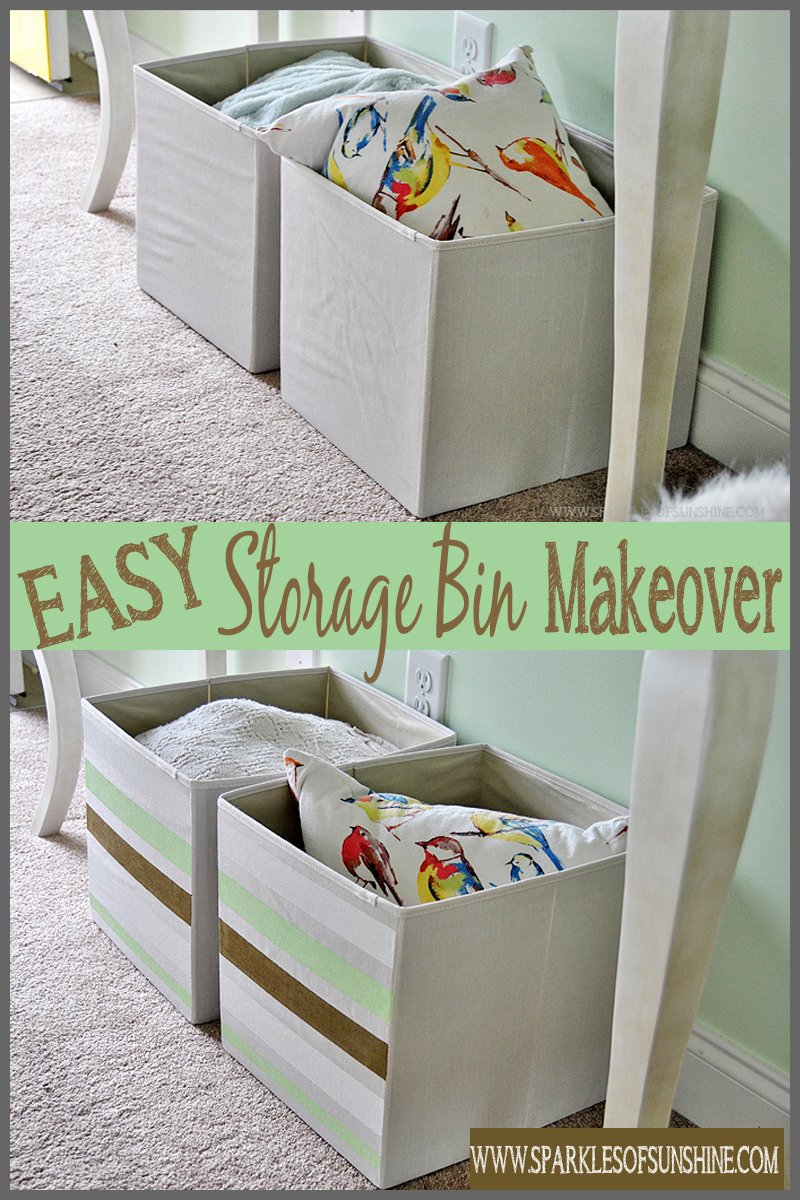 That’s right…it took two coats of primer and two coats of paint to cover the Valspar Montpelier Peach that previously covered our living room walls. Yes, we may have erased the entire week of vacation from our minds with two days of painting! By the time we were done, though, and I had that “Ahhh…it looks so good!” moment, I knew it was all worth it. Not sure my husband would agree, but I know I’m so happy with the new look of my living room! I’ll be sharing the projects I’ve done to give my living room a new look here on the blog, and I can’t wait to share all the details with you! Let’s start with something easy, shall we? Today I’m going to show you my easy storage bin makeover.
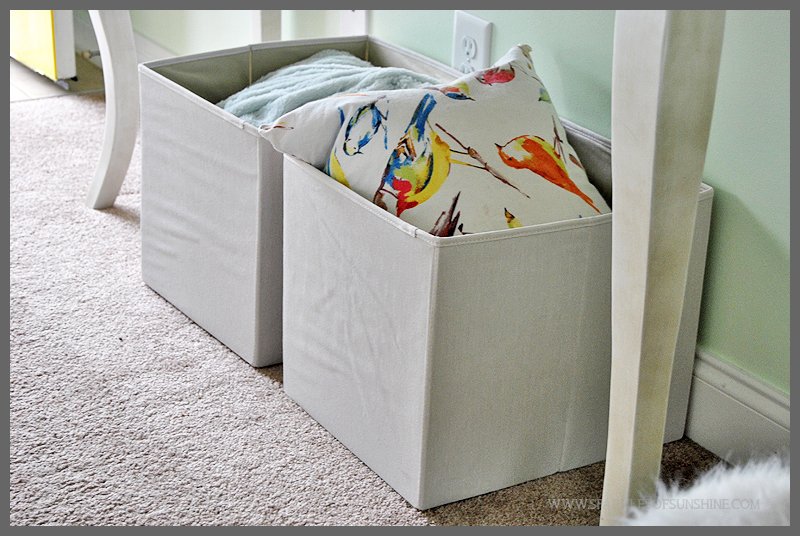 I had purchased these cheap storage bins from Walmart for $5 each last year. They’ve served a great purpose by storing my extra pillows and throws, but let’s admit it. They really lacked personality! I decided it was time to dress these storage bins up a bit, so I grabbed some paint, brushes and painters tape and got to work. I started by emptying them out and folding them to lay flat.
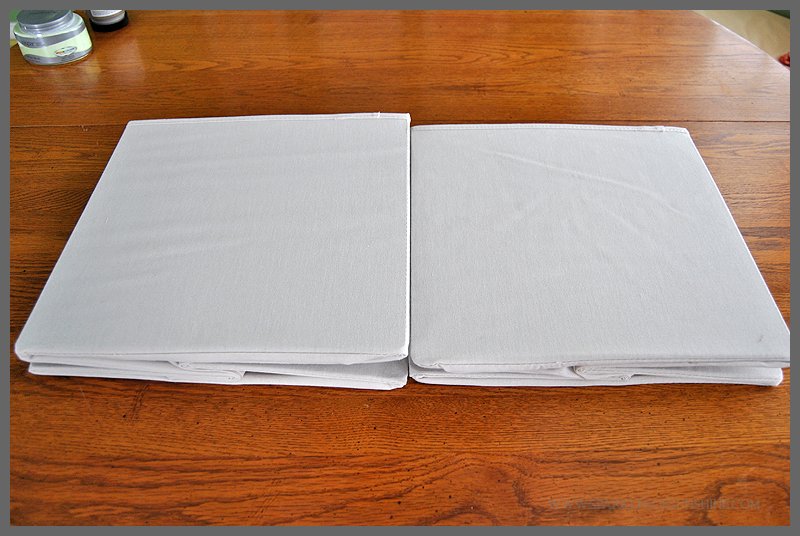 I wanted my bins to have stripes, so I added strips of painters tape to the front of them. I used a varied pattern so my stripes are different widths, and added the tape to the bins while they were side-by-side to make sure the stripes would line up.
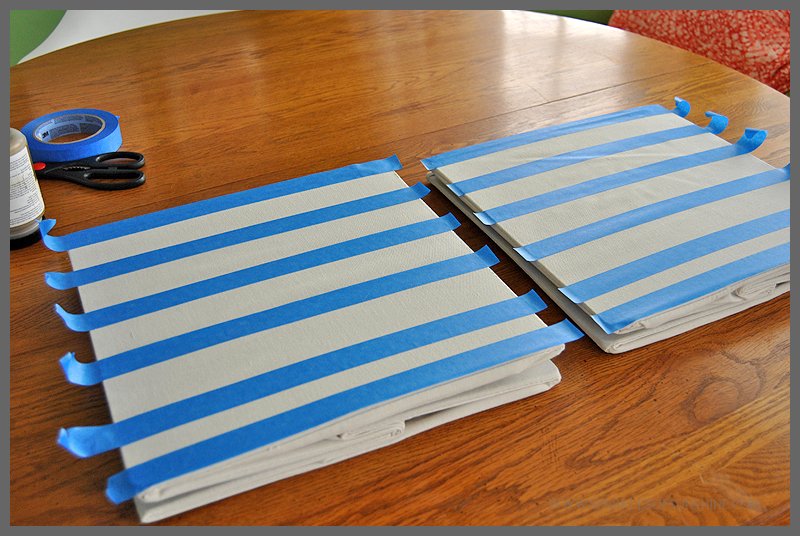 I then painted the stripes on the bins. I used Folk Art Home Decor Chalk Paint and a Valspar paint sample that I had on hand to do this. I forgot to mention earlier that this isn’t only an easy storage bin makeover, but it’s also a very frugal project since I already had the materials on hand.
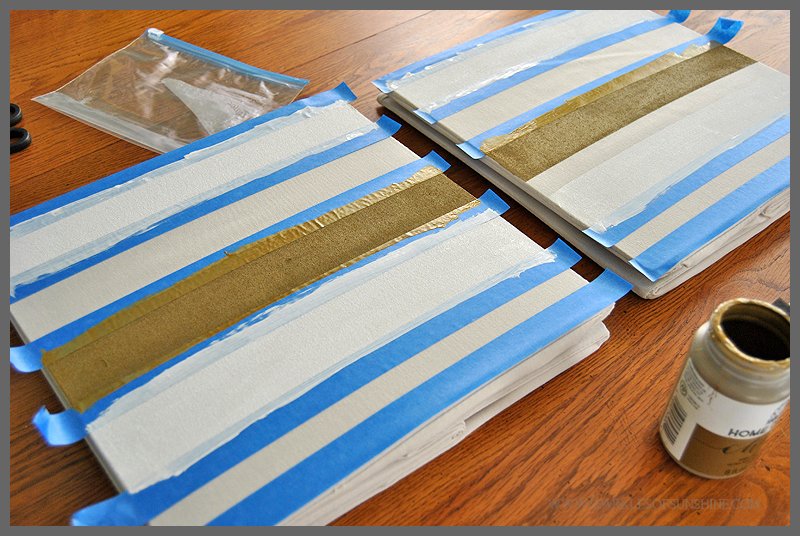 Once I was done painting the stripes, I gently removed the painters tape and allowed the paint to dry.
 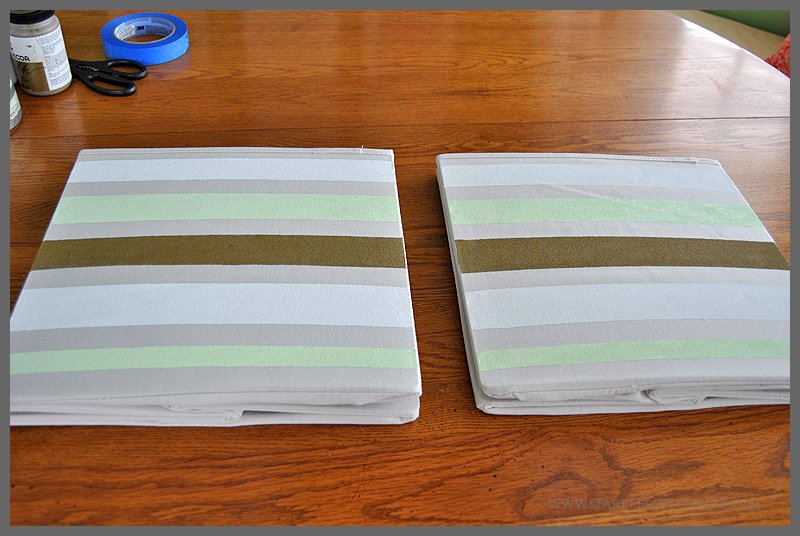 Once the storage bins were dry, I unfolded them and admired my handiwork. This was definitely an easy project since it took me less than 30 minutes from start to finish, which includes waiting for the paint to dry!
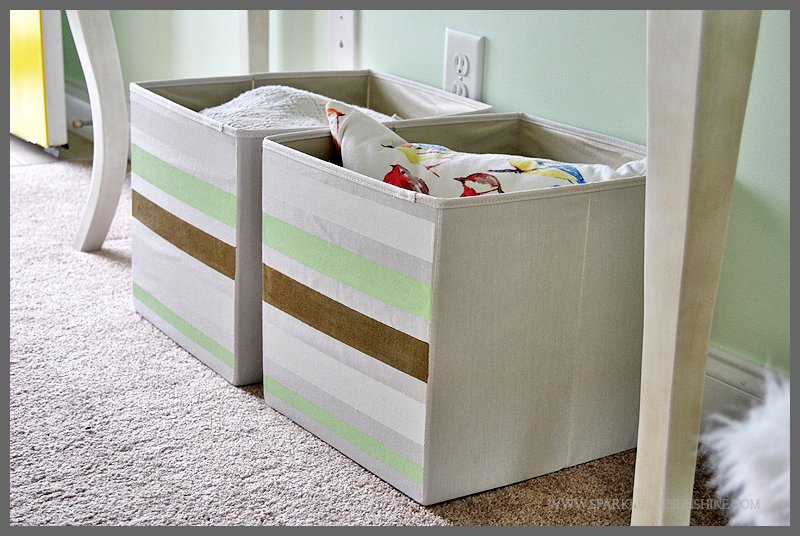
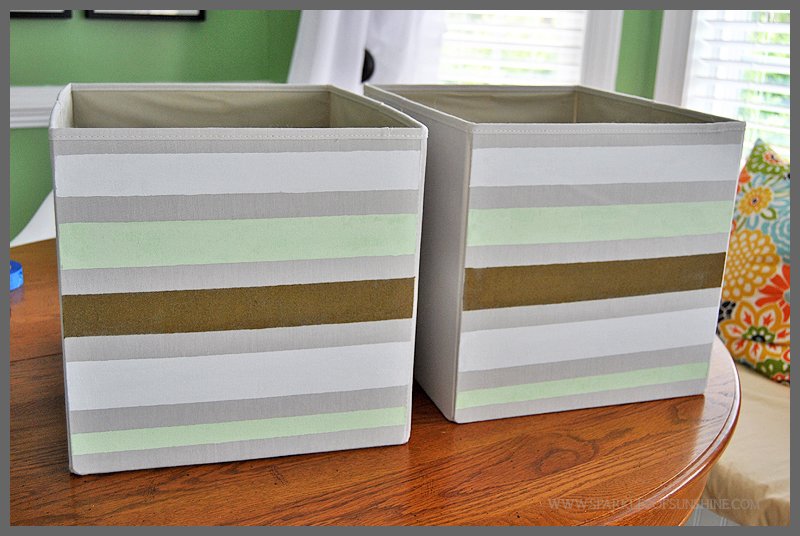 Don’t these bins look more stylish now? I just love the stripes, don’t you?
 If you have a set of storage bins that need a change, there are so many different ways you could decorate them. You can do stripes like I did, or use the painters tape to create a chevron or plaid pattern, or you could do something abstract by crisscrossing the tape and painting different colored triangles. Instead of painters tape you could use a stencil to add detail to your bins. Oooh, what about monogrammed bins? I’m getting so excited thinking about all the possibilities!
 I hope you’ve enjoyed the first easy storage bin makeover project from my living room transformation. Stay tuned for more easy projects you can do to give your living room a new look, too.


Hi Christie! Just found your blog a couple of days ago and I’m enjoying your posts. I’ve also been studying the way you have your page set up as I am about to become a blogger myself. Love the simple but effective projects that you show like this one. Very smart, very frugal, very pretty!
Thanks so much, Jodi. How exciting that you are going to join the blogging world soon!! Let me know if I can help you at all. I’m thrilled you’ve enjoyed exploring my blog!
Oh Christie, I love these! Such a simple way to customize and coordinate with a room. If you are out surfing the web I’d love for you to come link up on my page. Have a great day!!
Thanks, Trish! It was such an easy project, but ended with an awesome result. I’m headed over to visit you, now! 🙂
This turned out so cute! I would of never thought of painting those..great idea!! Shared 😉
Thanks, girl! I love them, too. I still can’t believe how easy it was to do!